Azure
Microsoft Azure is a comprehensive cloud computing platform provided by Microsoft that offers over 200 products and services, ranging from virtualized compute and storage to advanced AI and networking. In this lab, we will deploy a FortiGate firewall virtual appliance using a custom VHD image. We will configure multi-interface networking and use User-Defined Routes (UDRs) to ensure that all traffic from an internal Linux host is inspected by our firewall before reaching the internet.
Resource Group
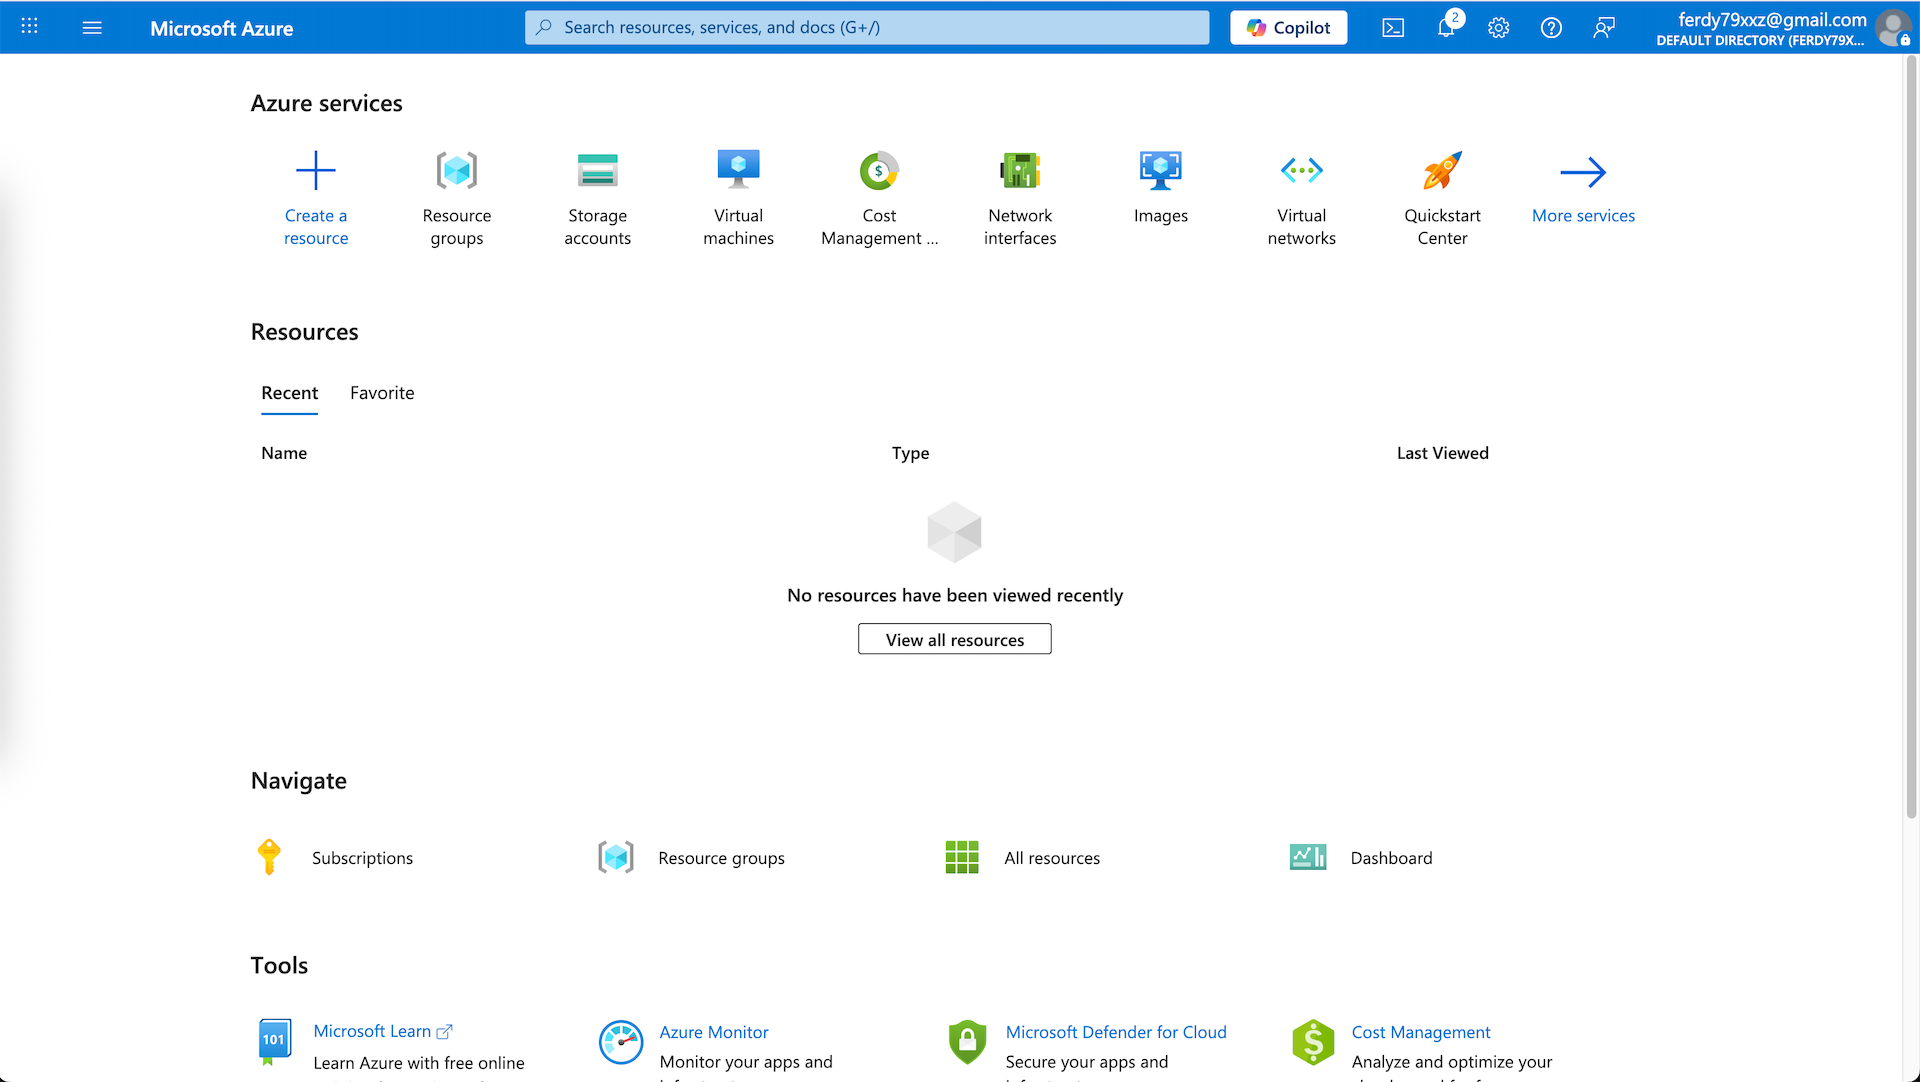
First we setup our Azure Account
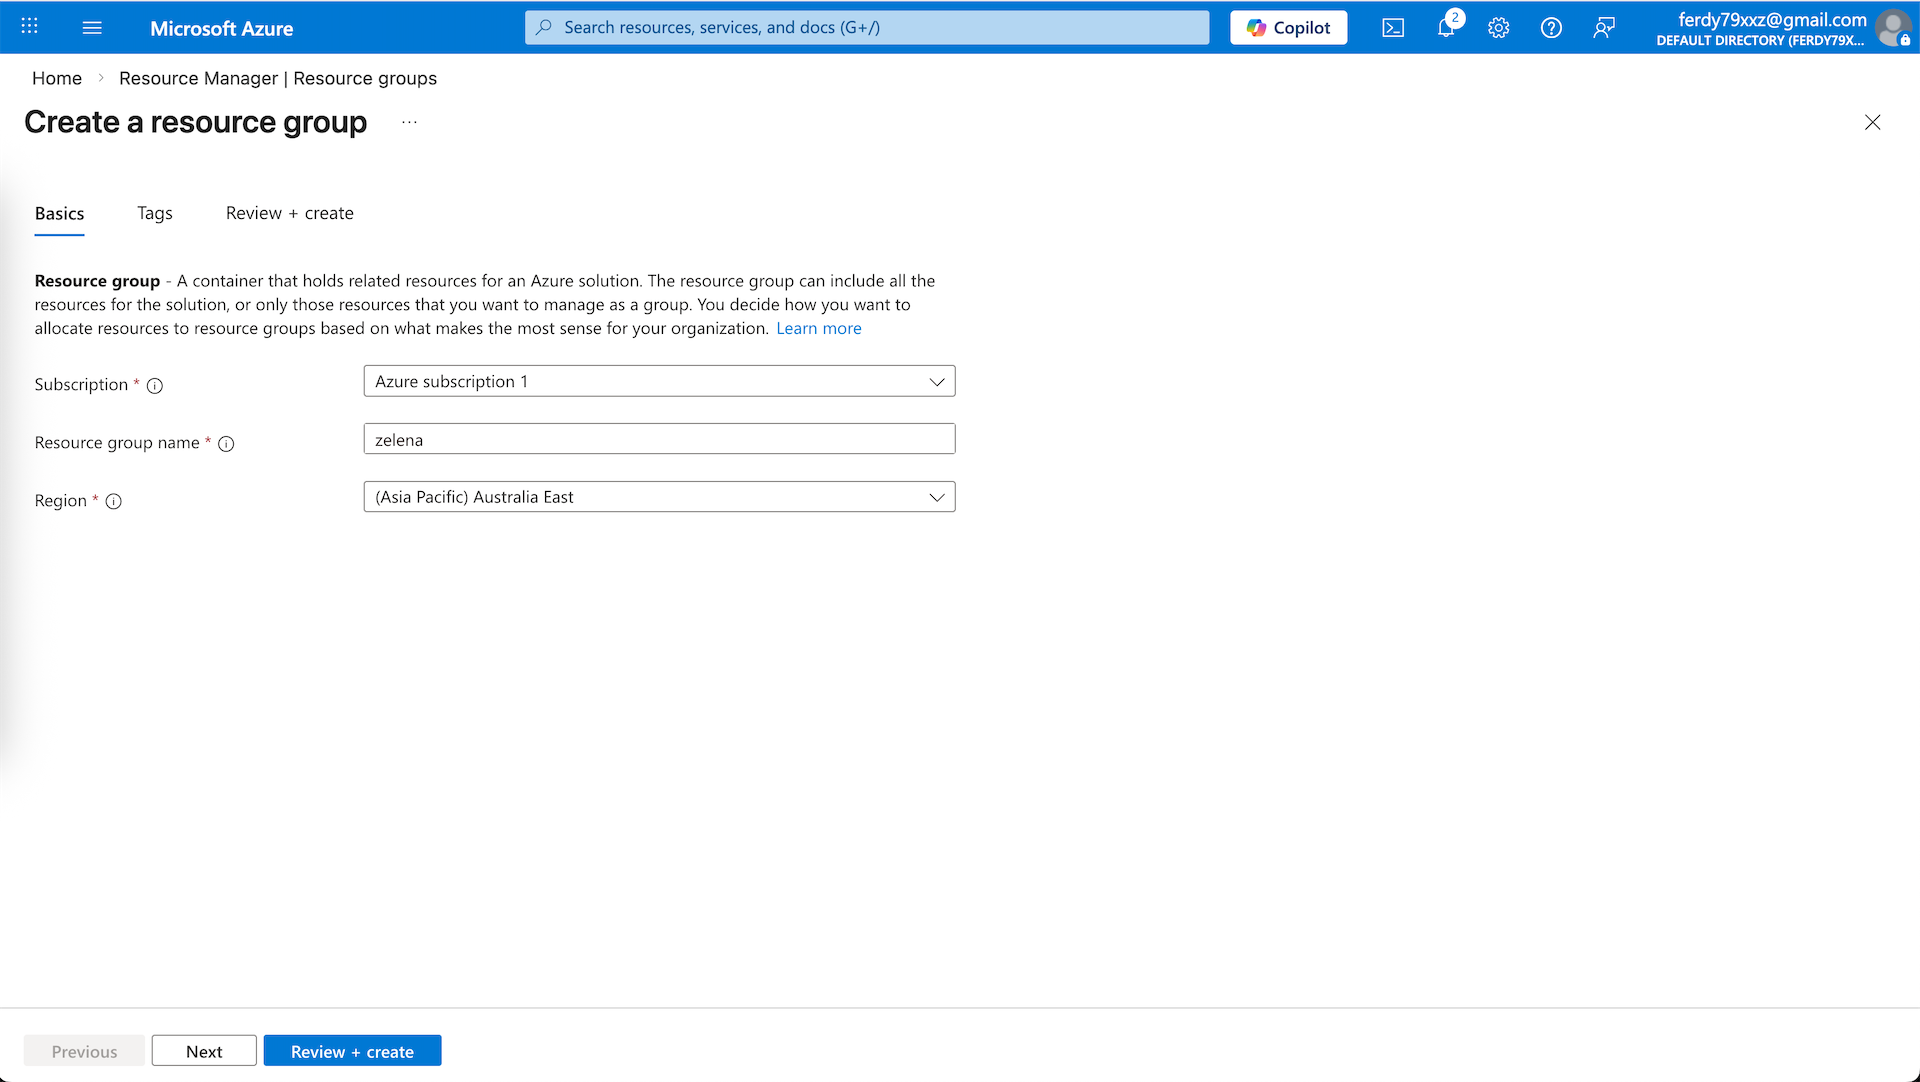
Next we configure Resource Group, Resource Group is a logical container that holds related Azure resources (VMs, networks, storage, databases) together.
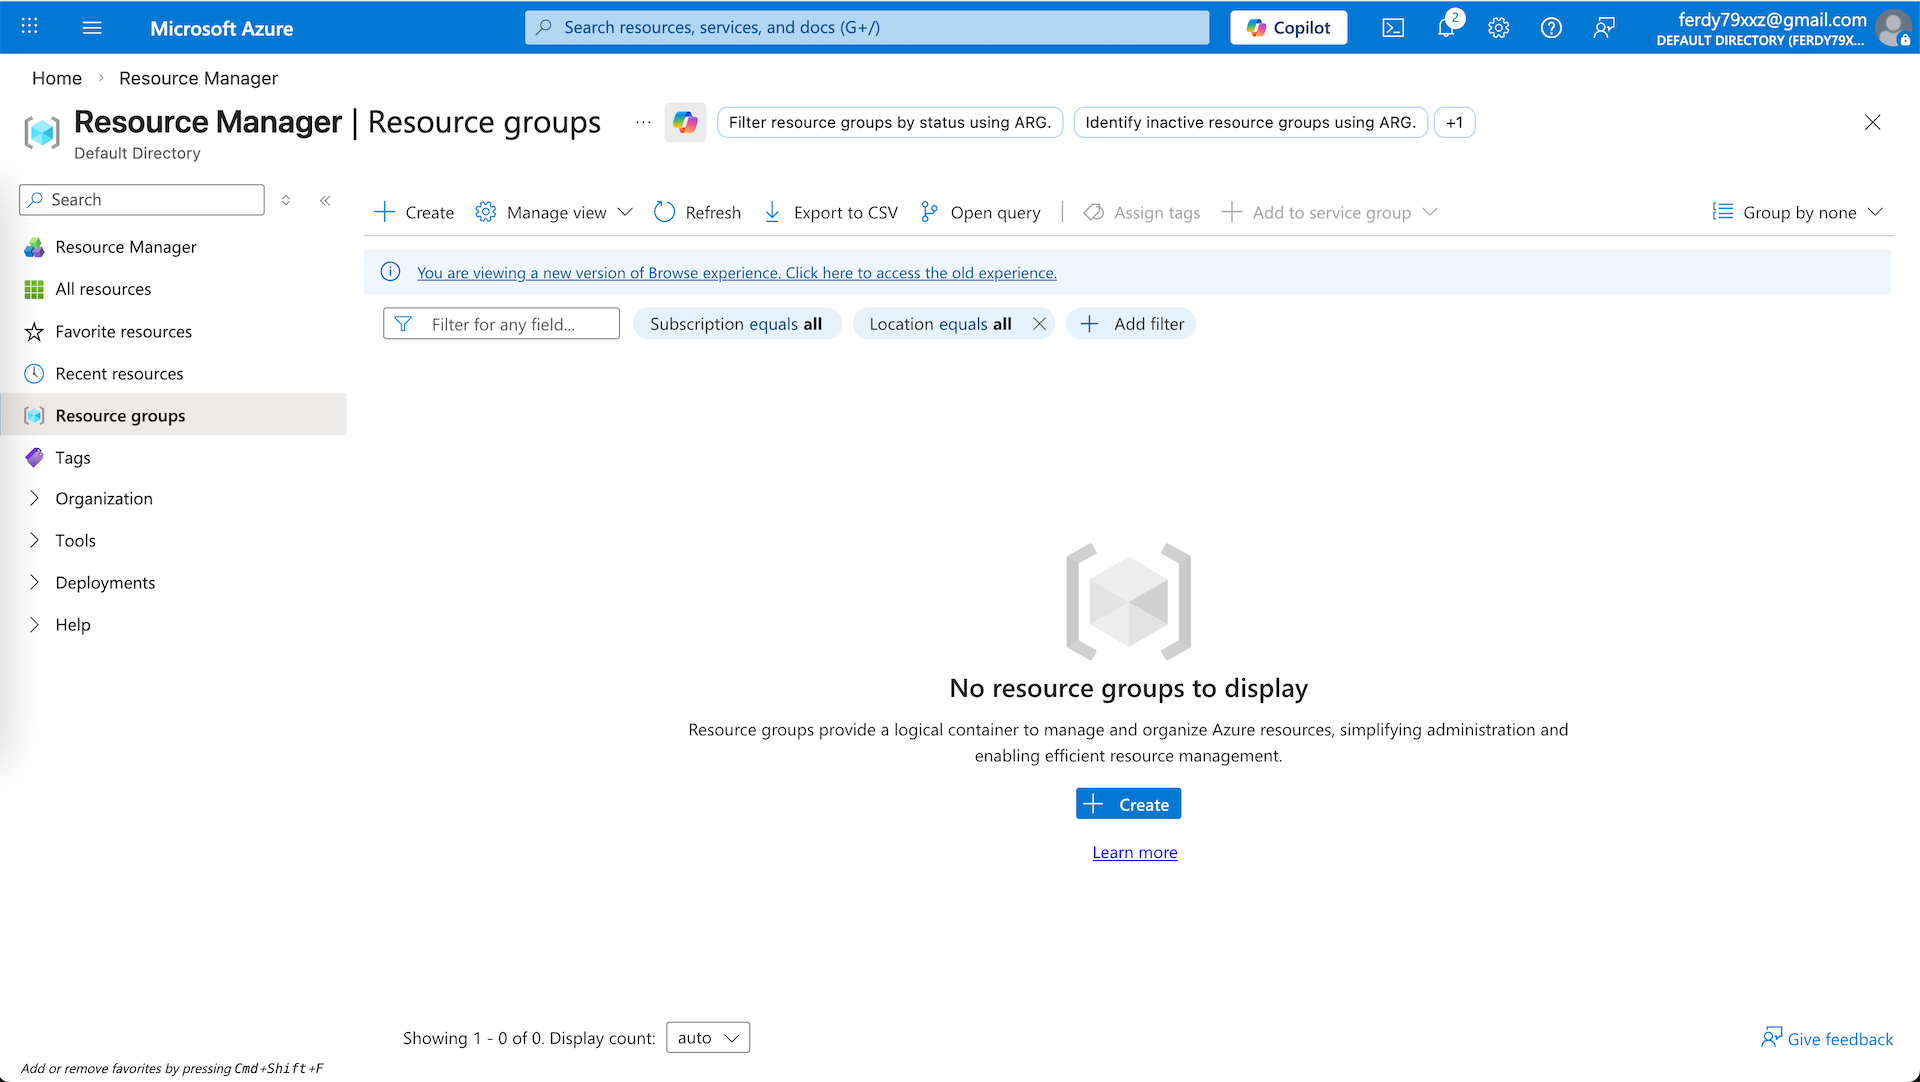
Create a new RG with the specified region

Creating VM Image
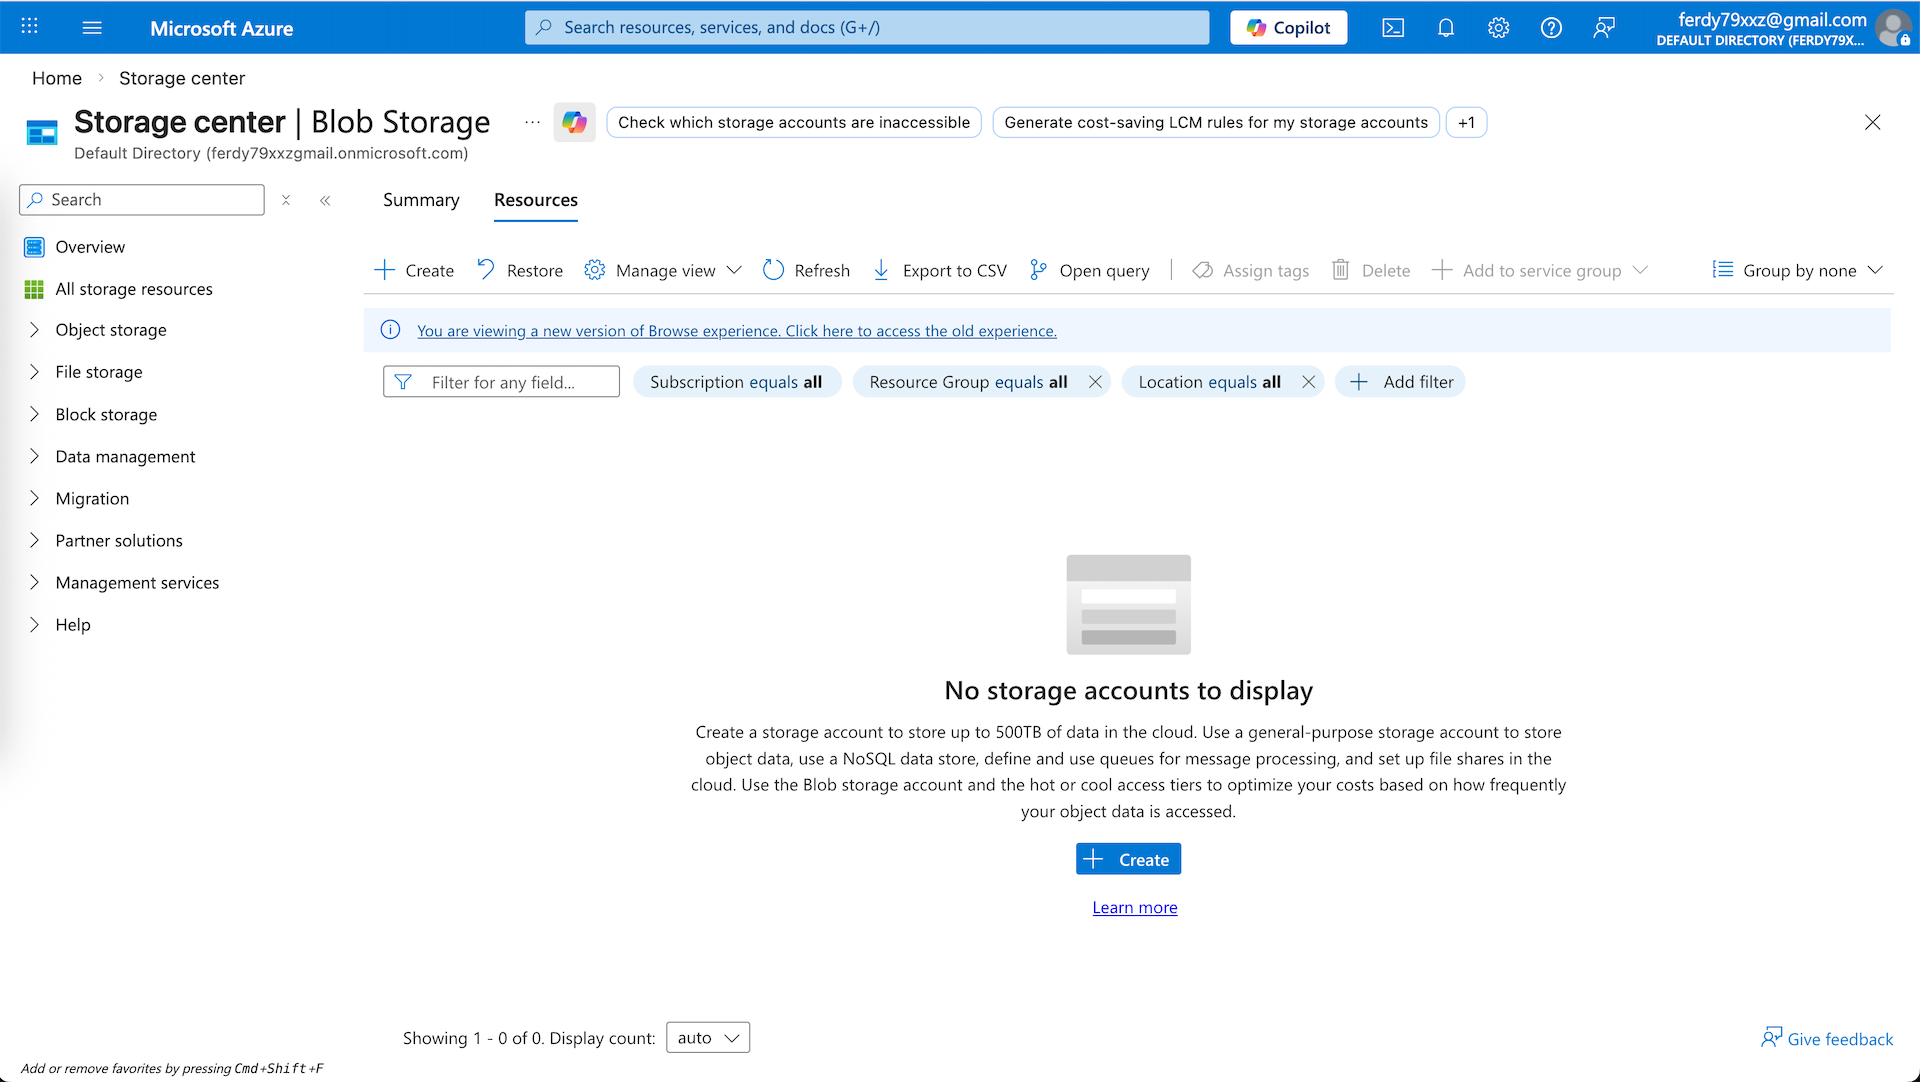
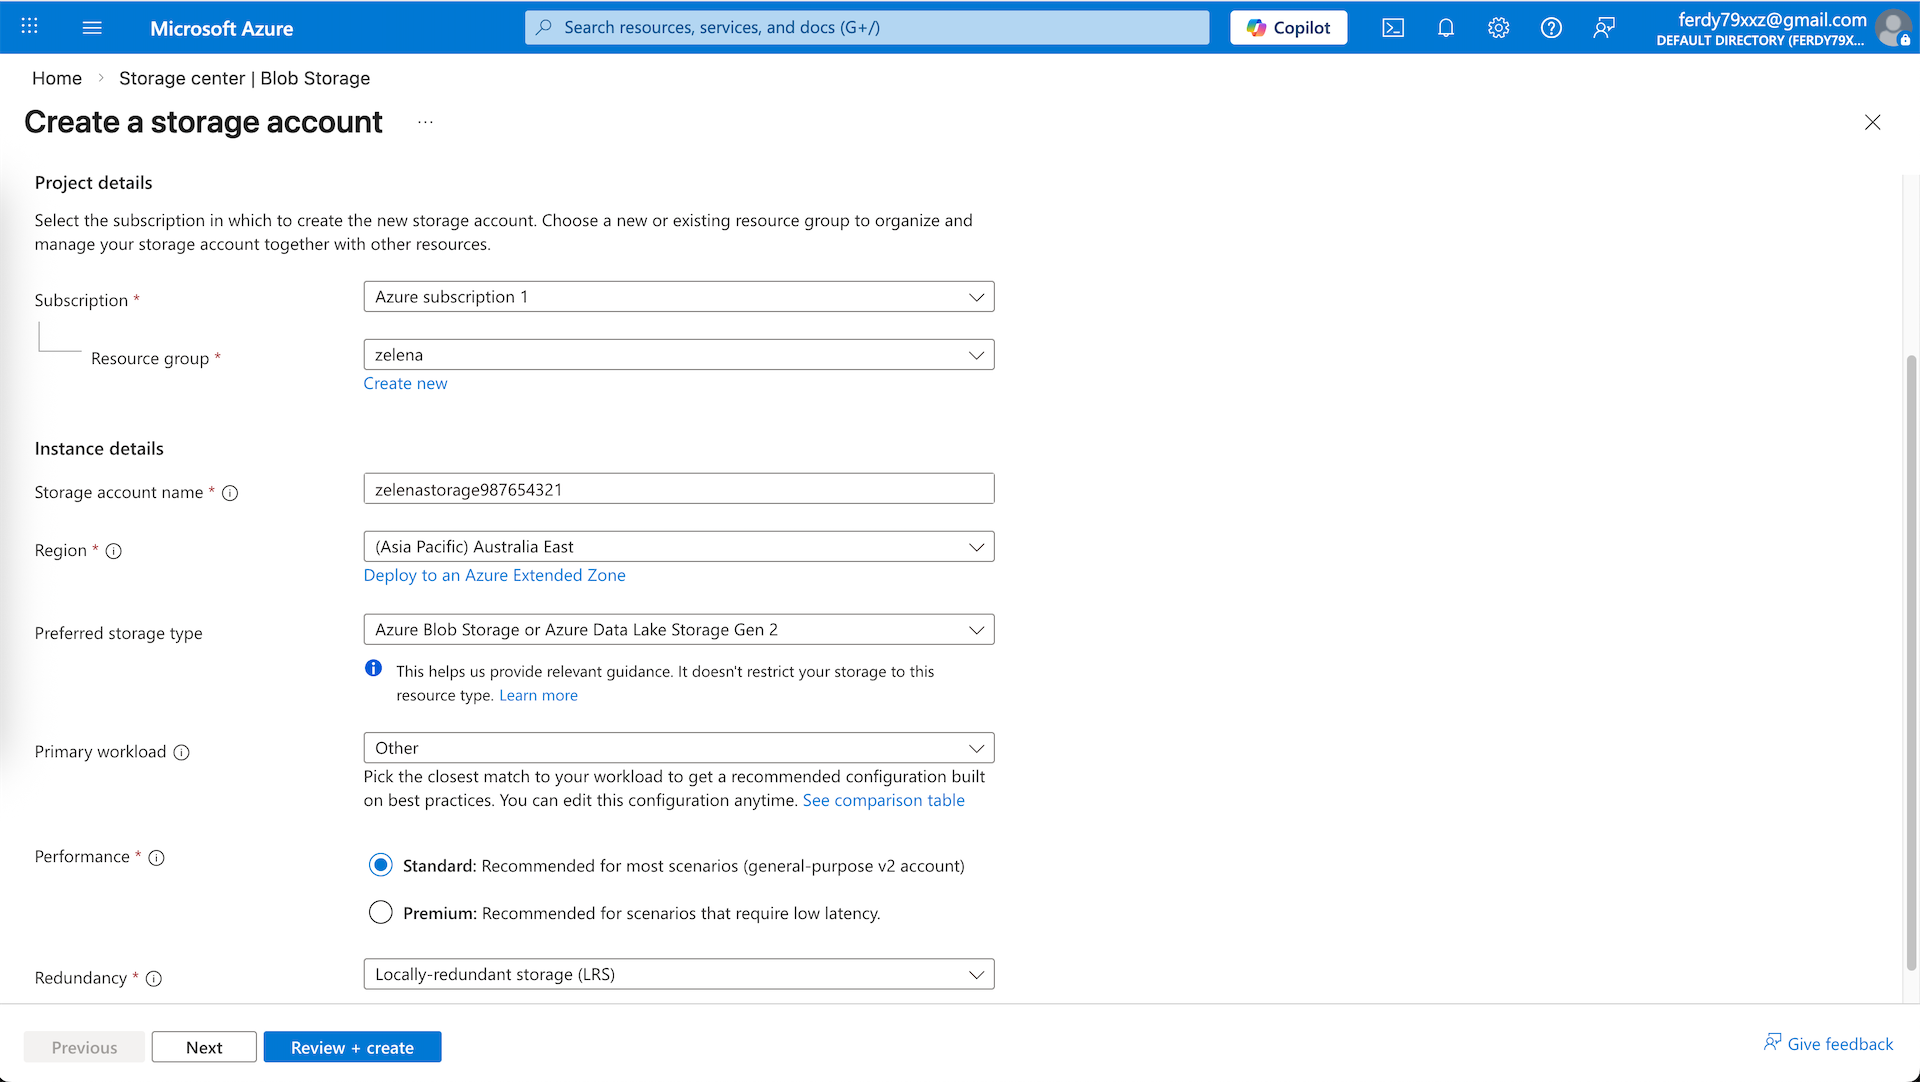
Next we will upload .VHD Fortigate Image that we will later use to deploy a VM. First lets create a Storage Account
Give it a unique name and some parameters, leave the rest as defaults and hit create
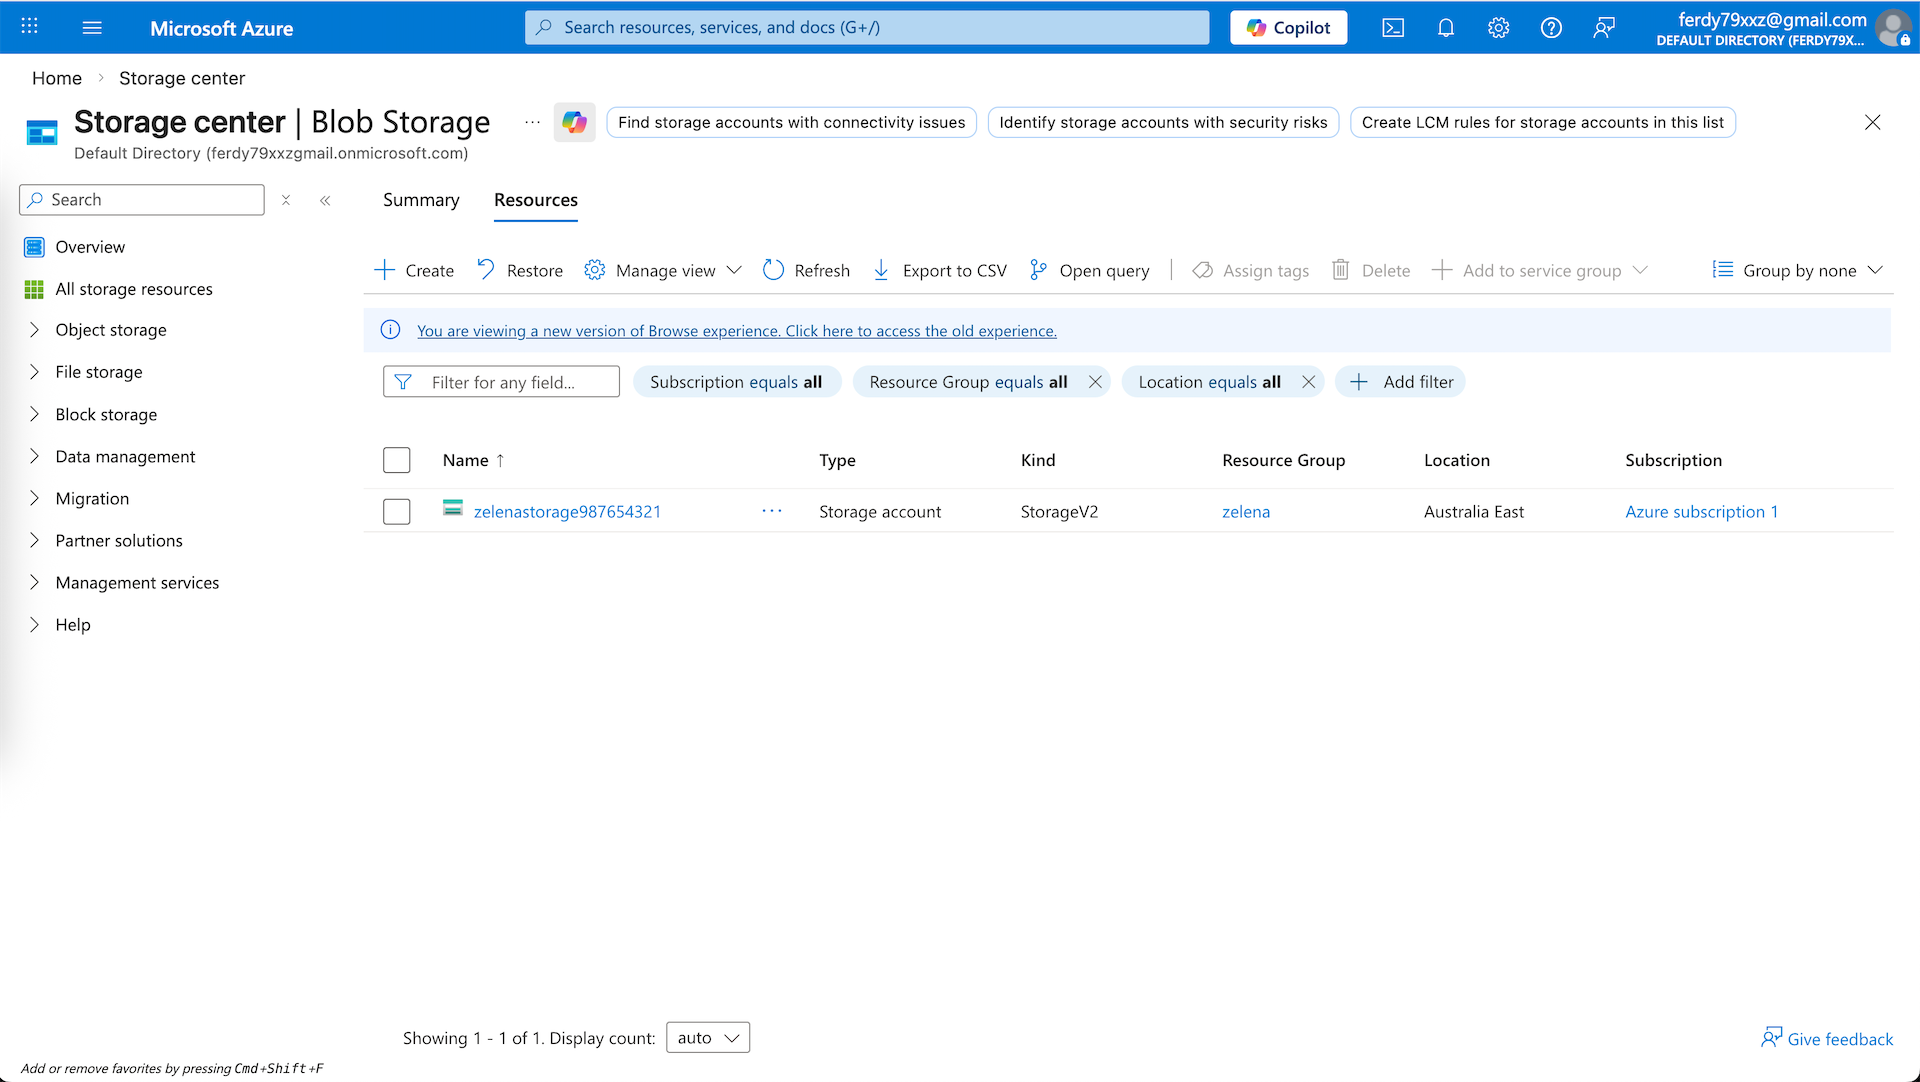
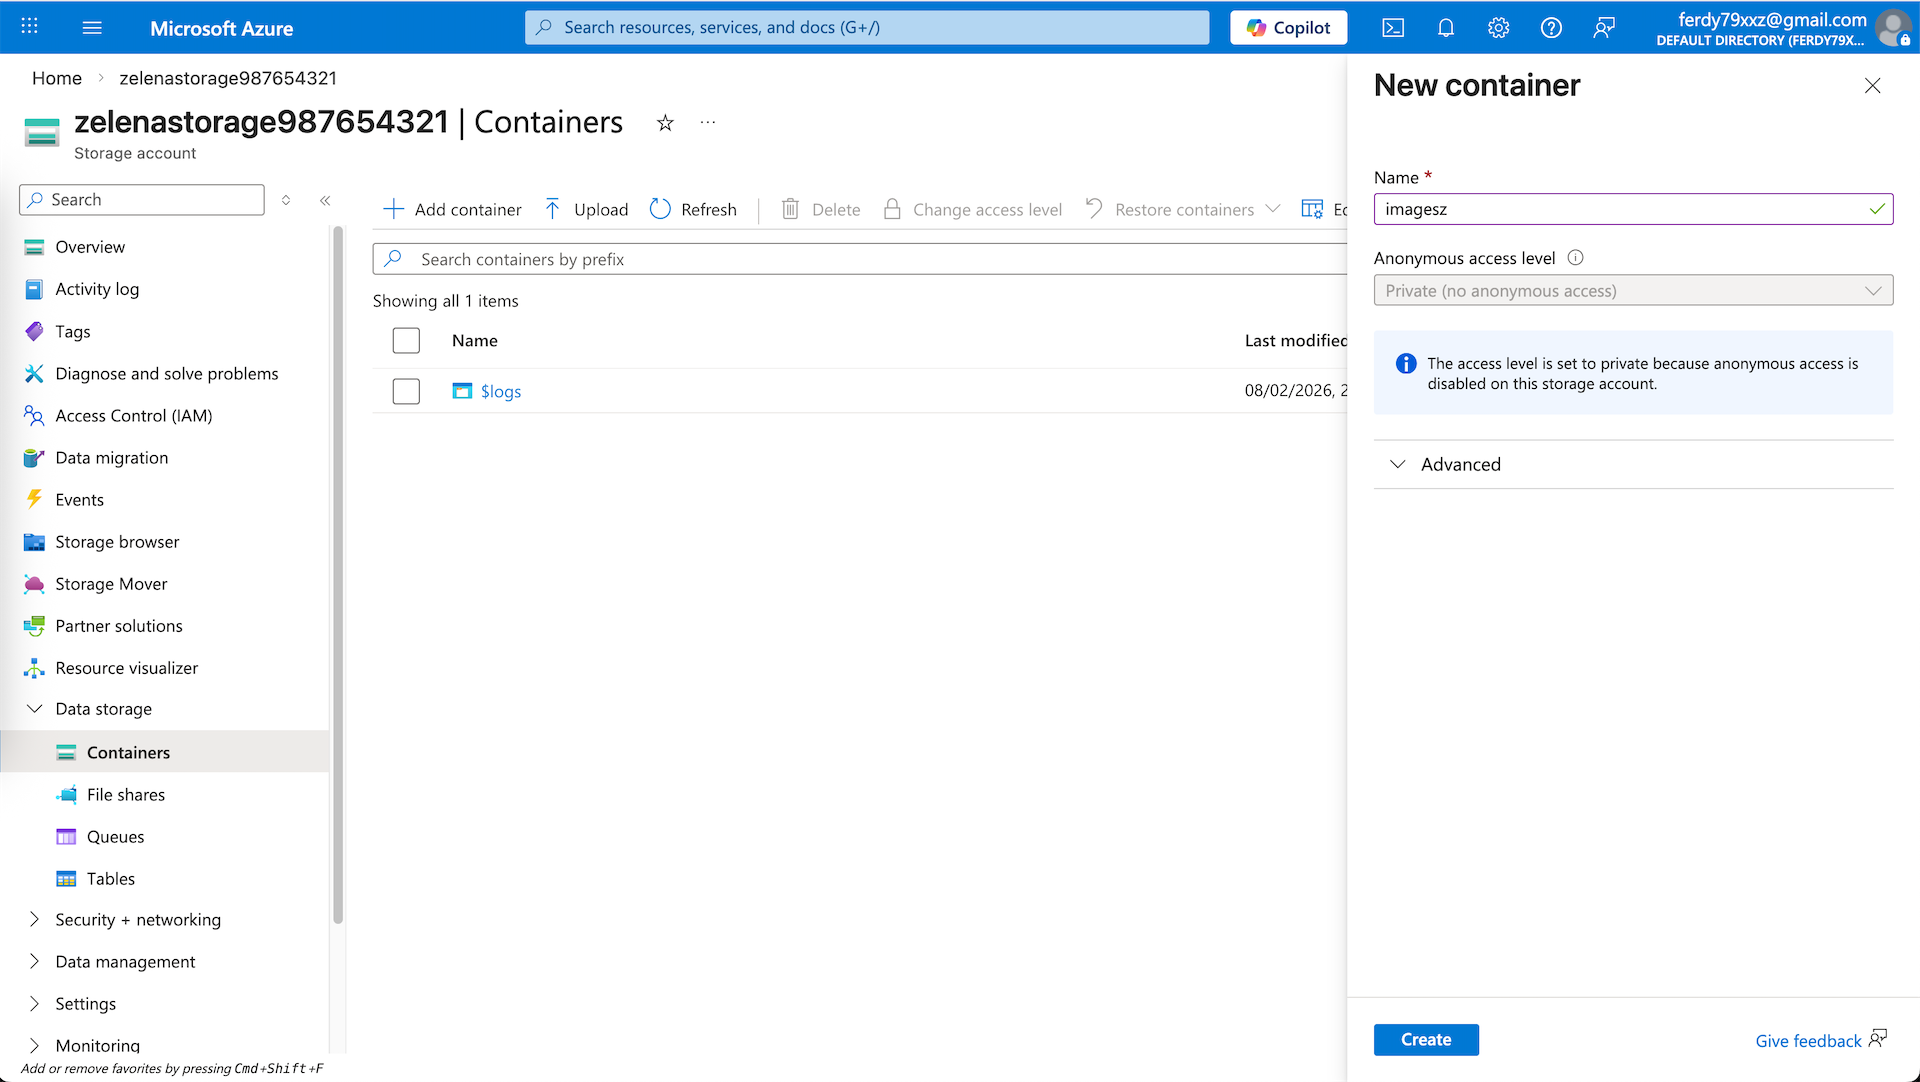
Now move into the created Storage Account and create a new Container, we’ll upload our Image into this ‘imagez’ container
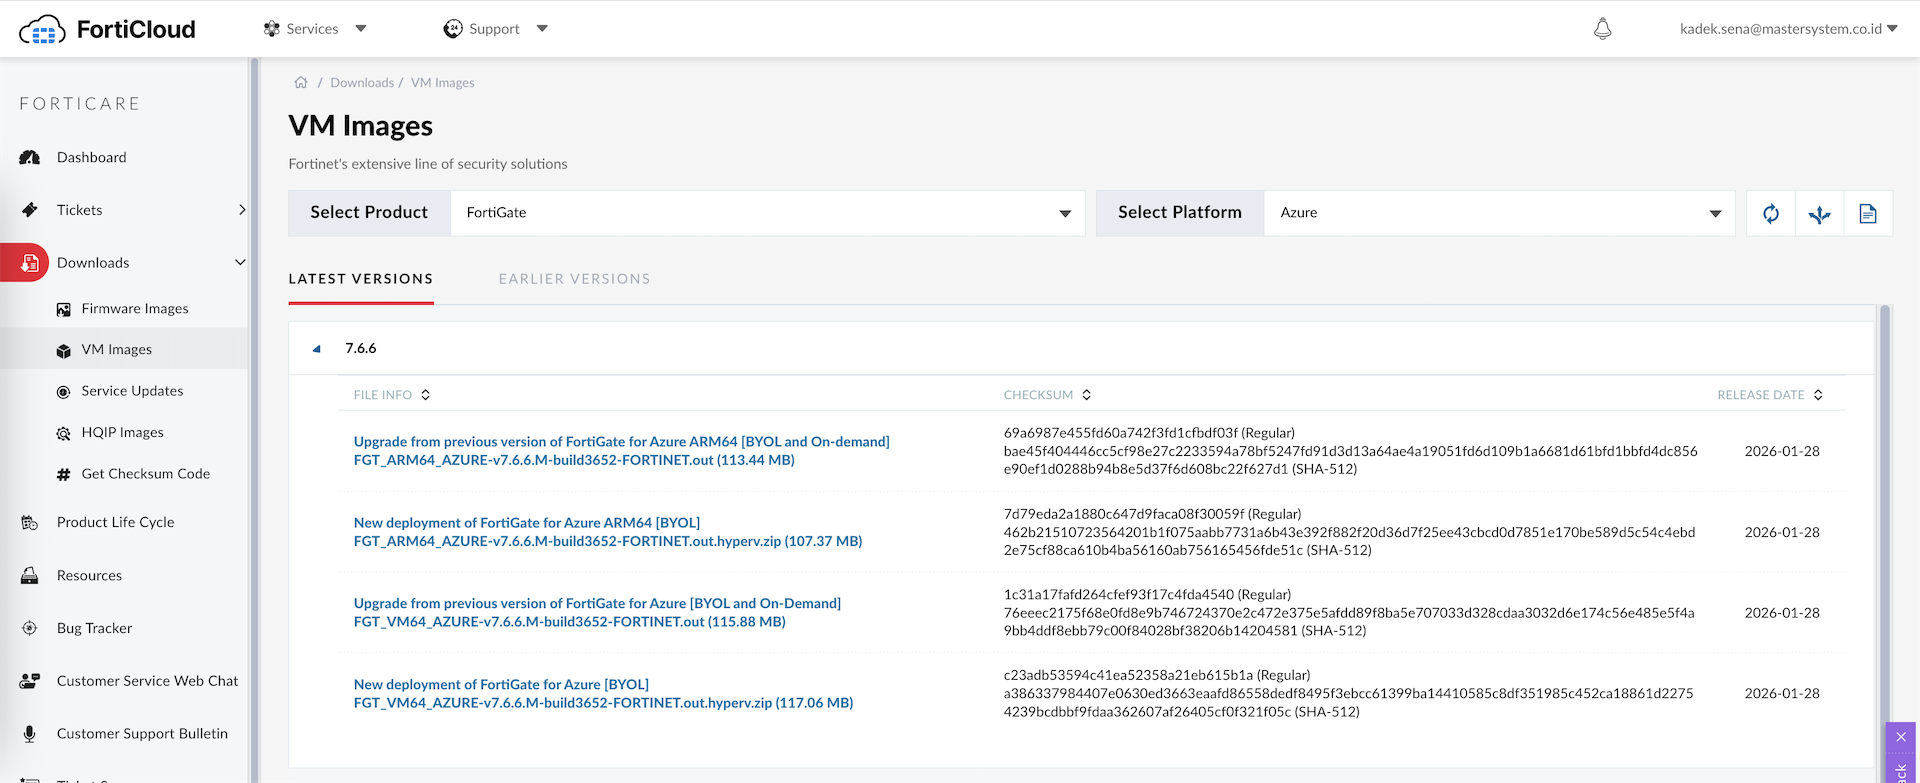
Next download the actual VM image from Fortinet’s website
Azure is strict about VHD formats. If we use a standard dynamic disk, we’ll hit the “Conectix” cookie error. We solve this by converting the image to a Fixed-size VHD aligned to a 1MB
1
qemu-img convert -f vpc -O vpc -o subformat=fixed,force_size fortios-old.vhd fortios.vhd
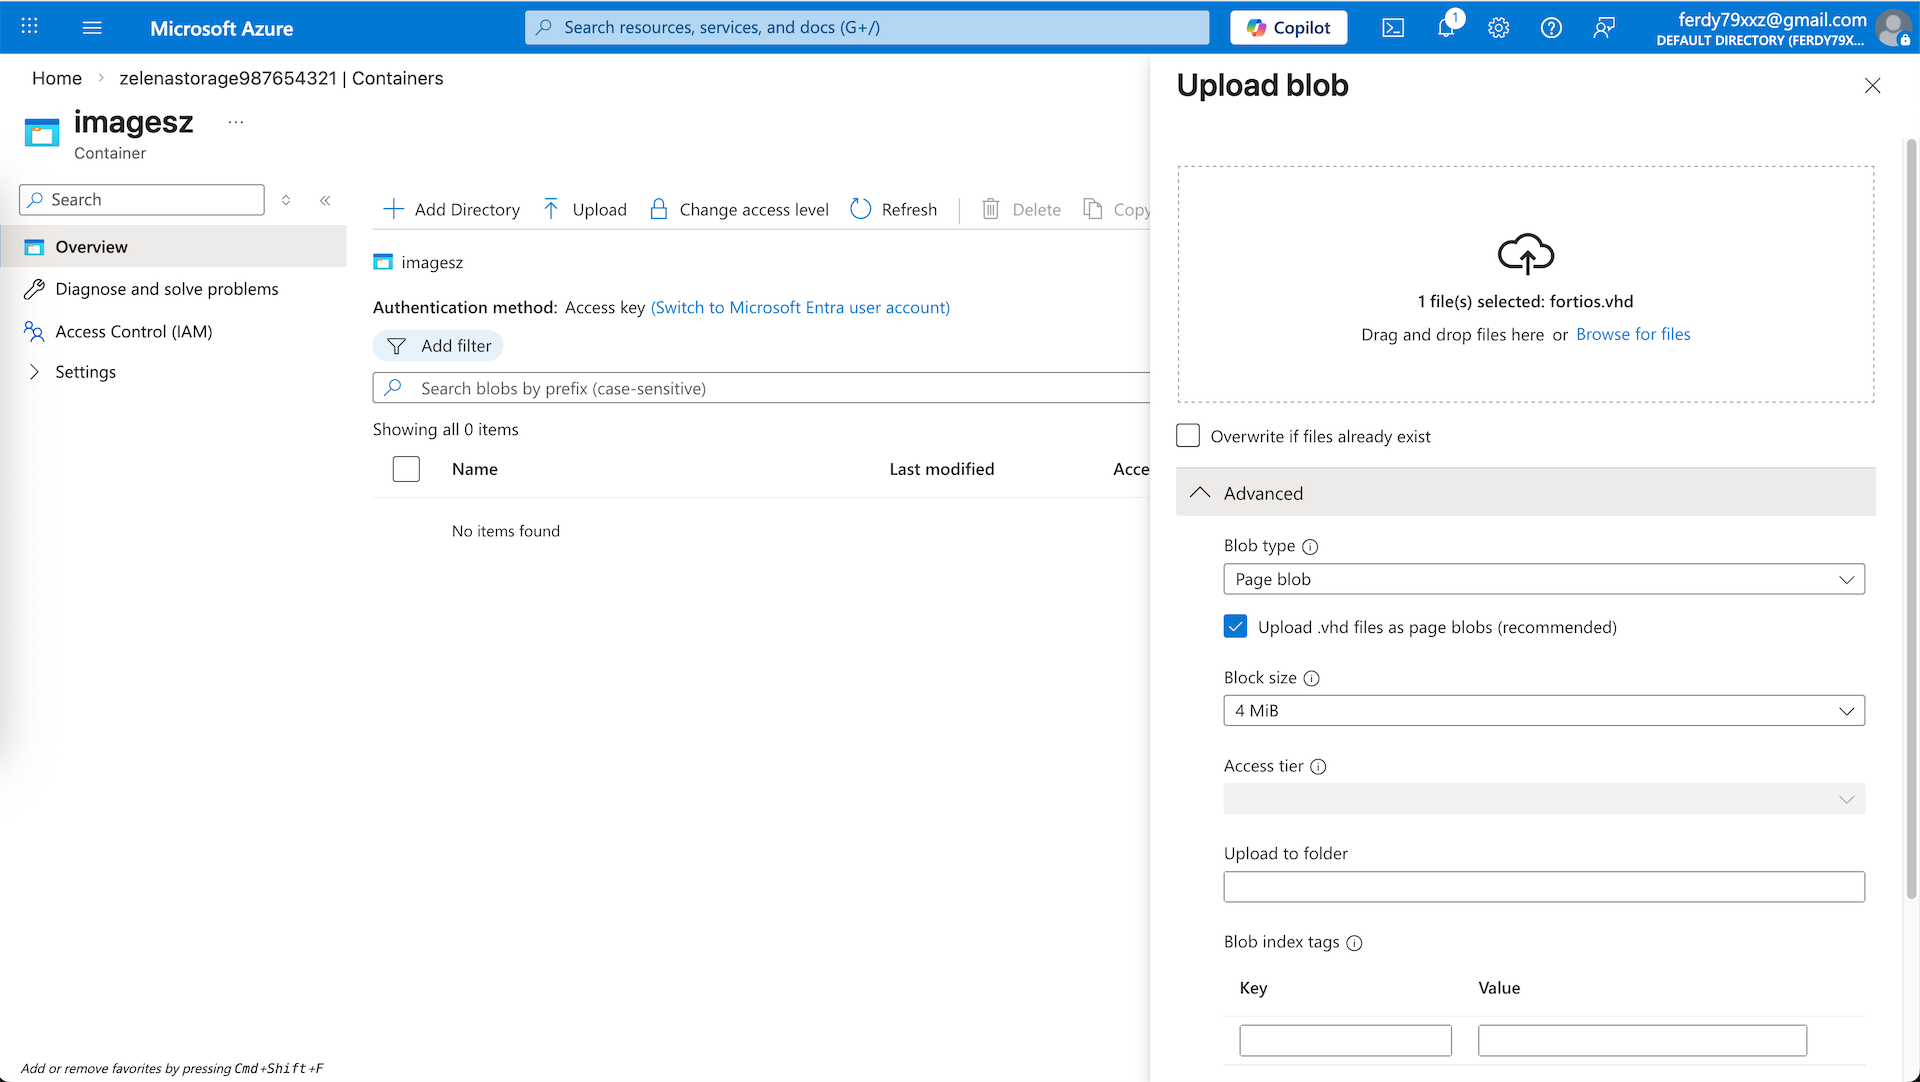
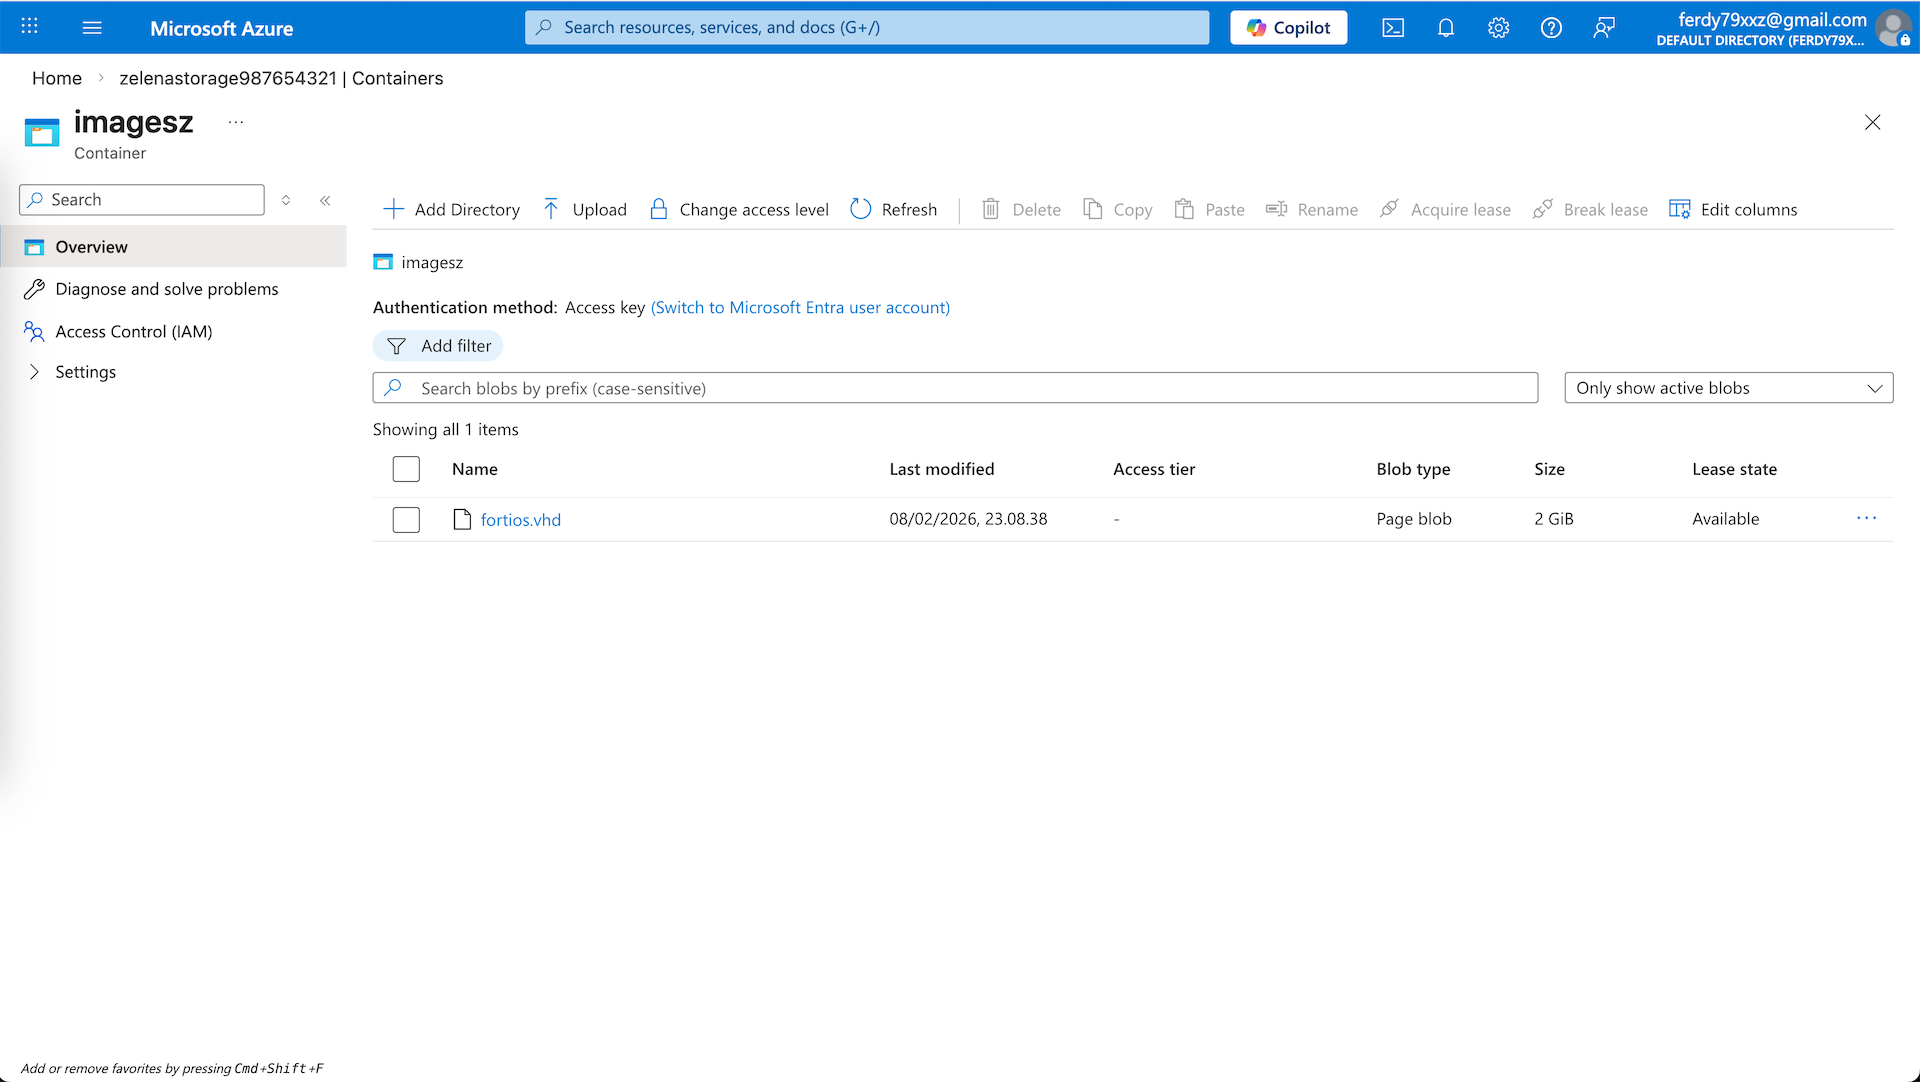
And upload it to the container as ‘page blob’
At this point, we could create a VM image directly. However, Azure may provision the image with a legacy SCSI-based disk controller instead of NVMe, which can limit compatibility with newer VM sizes that require NVMe storage. To address this, we will use an Azure Compute Gallery to create and distribute the image with modern disk controller support.
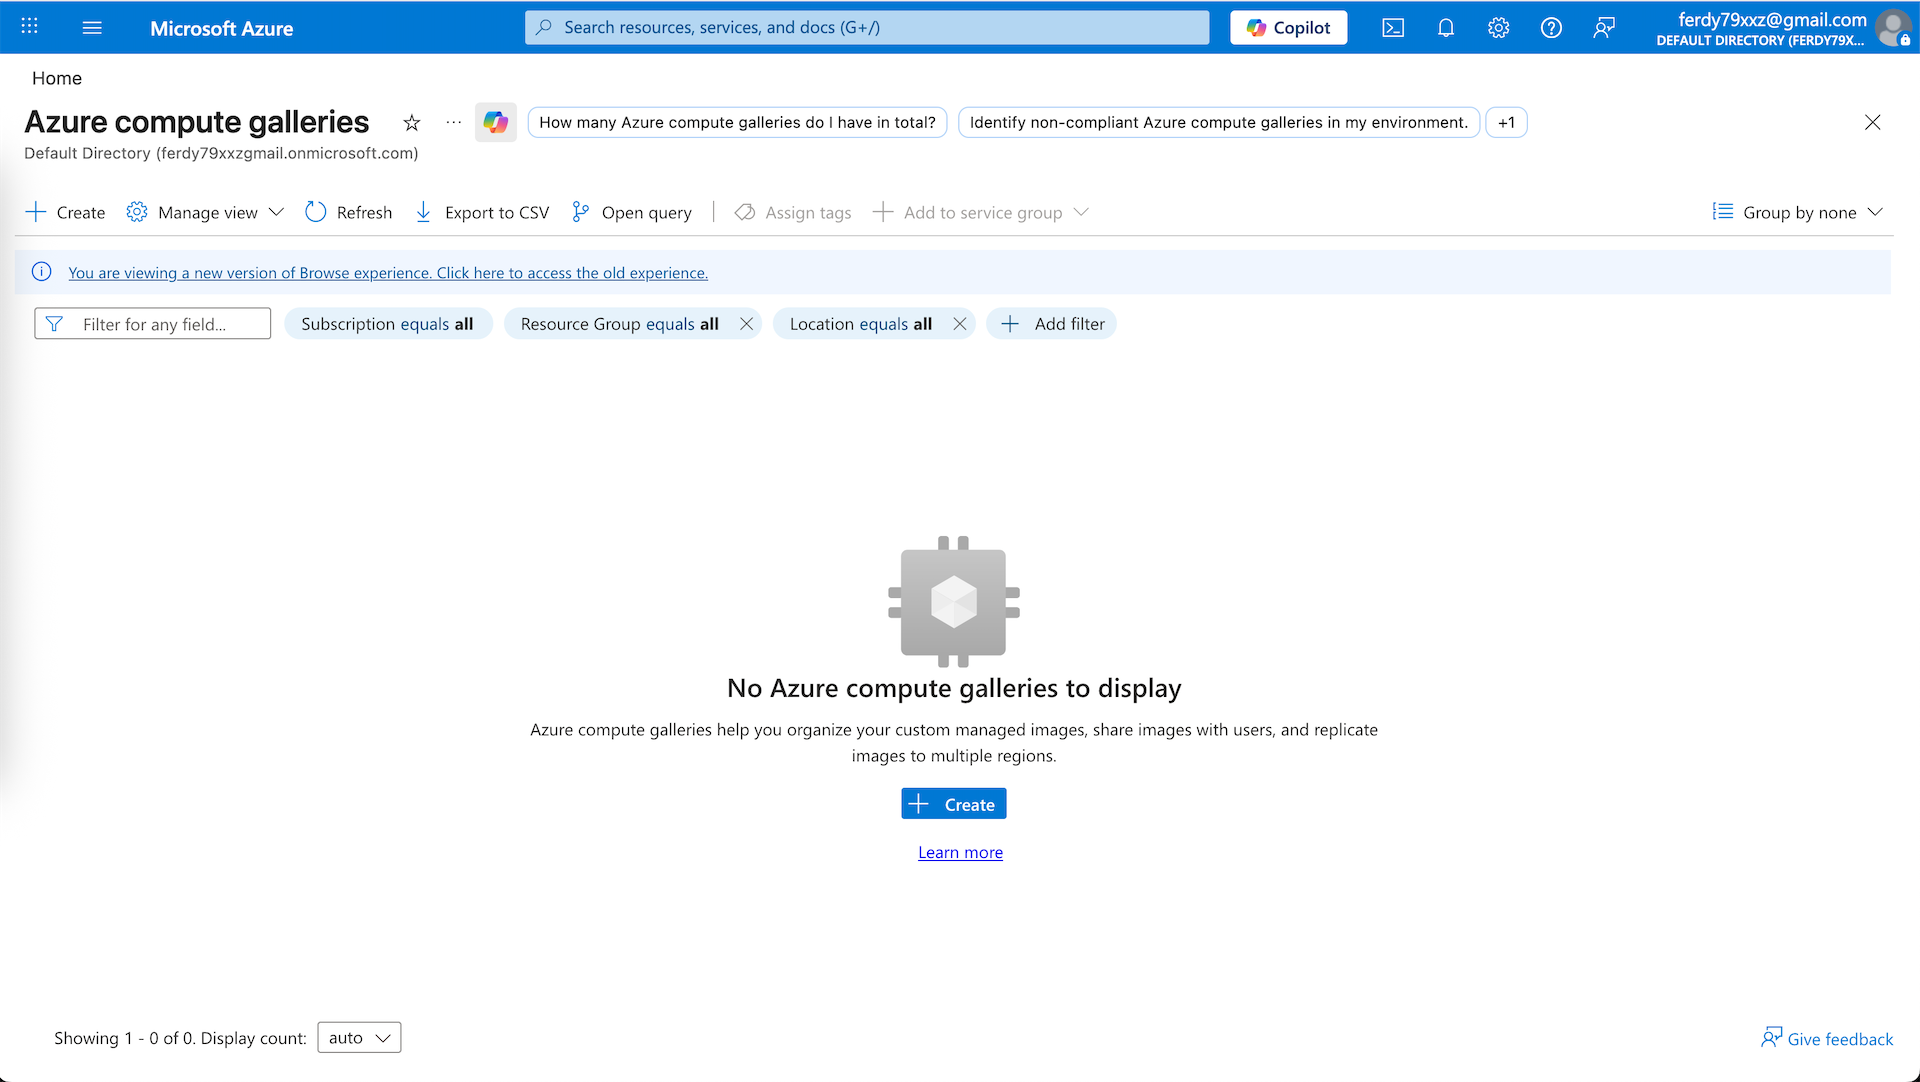
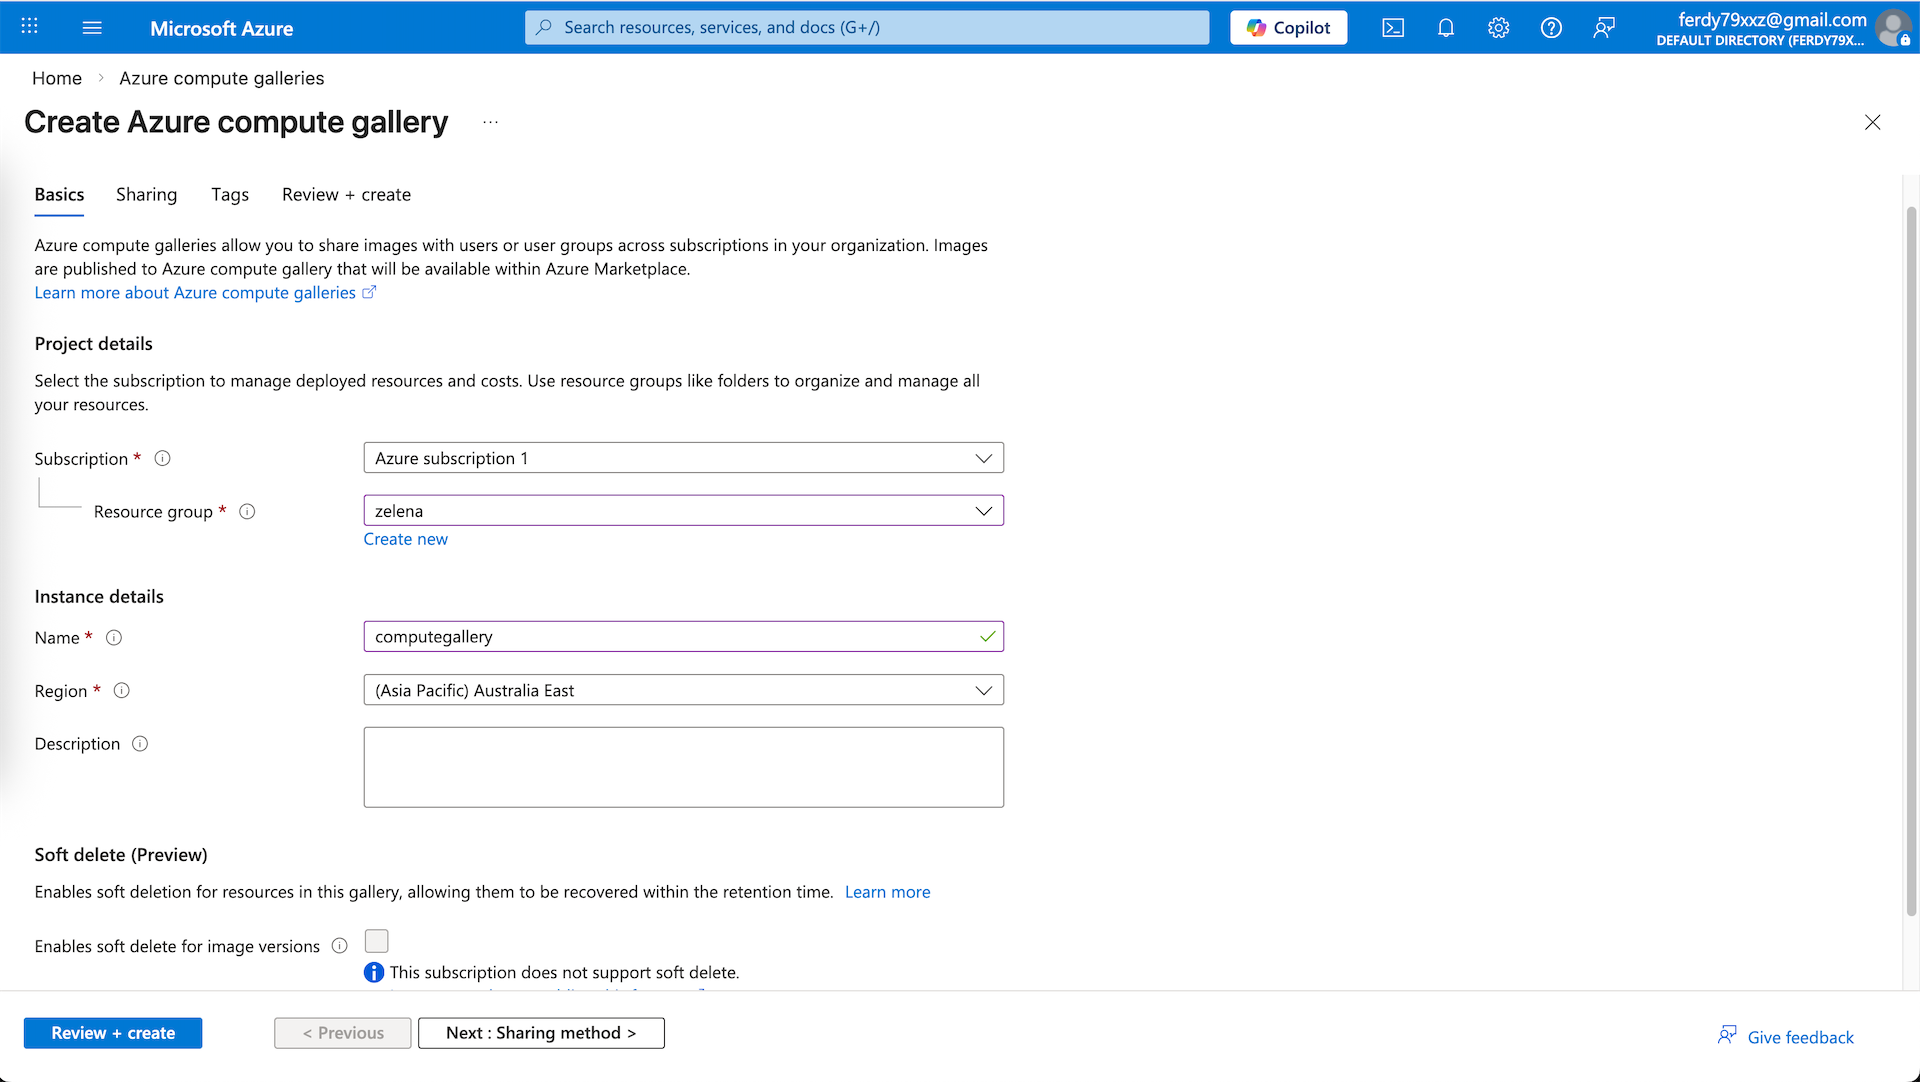
Here we create a new Compute Gallery named ‘computegallery’
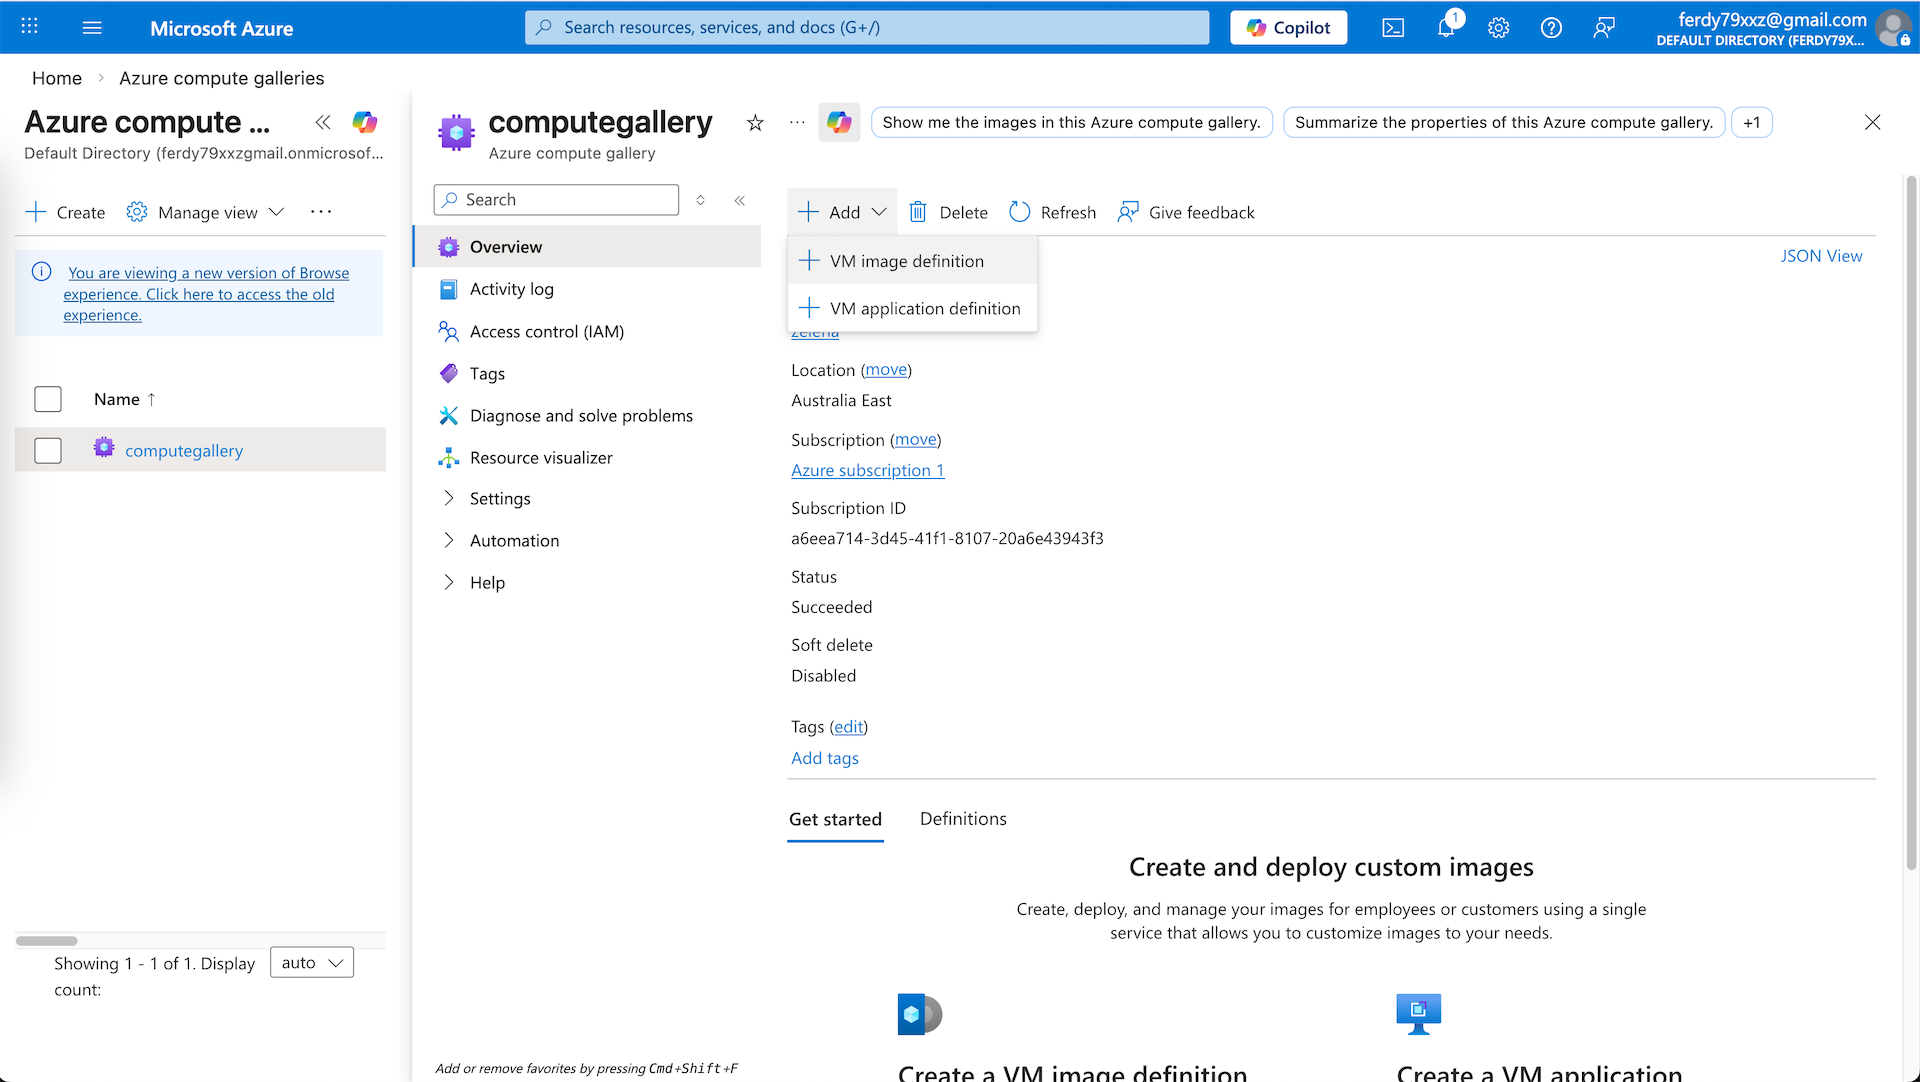
Next open the computegallery and add VM Image Definition
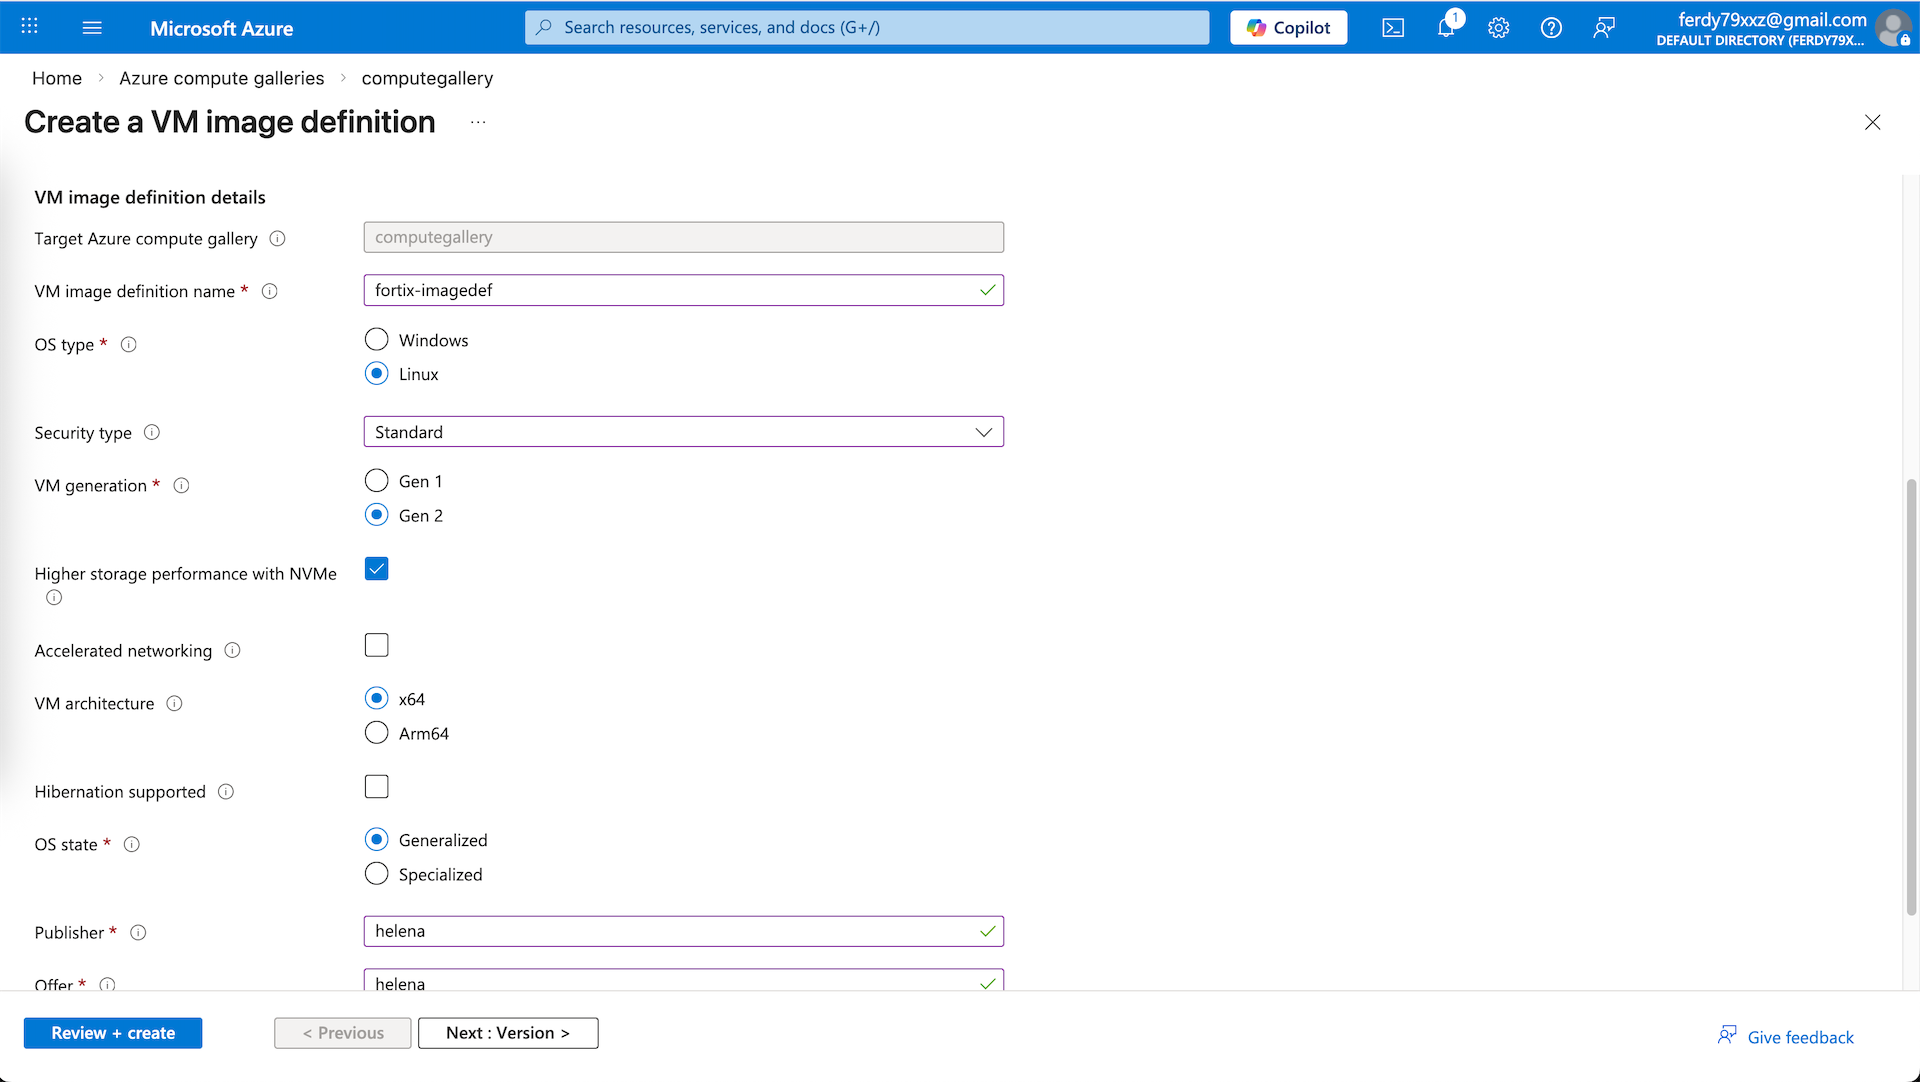
Here we create our Fortigate Image Definition, ensure NVMe with Gen 2 VM generation are selected
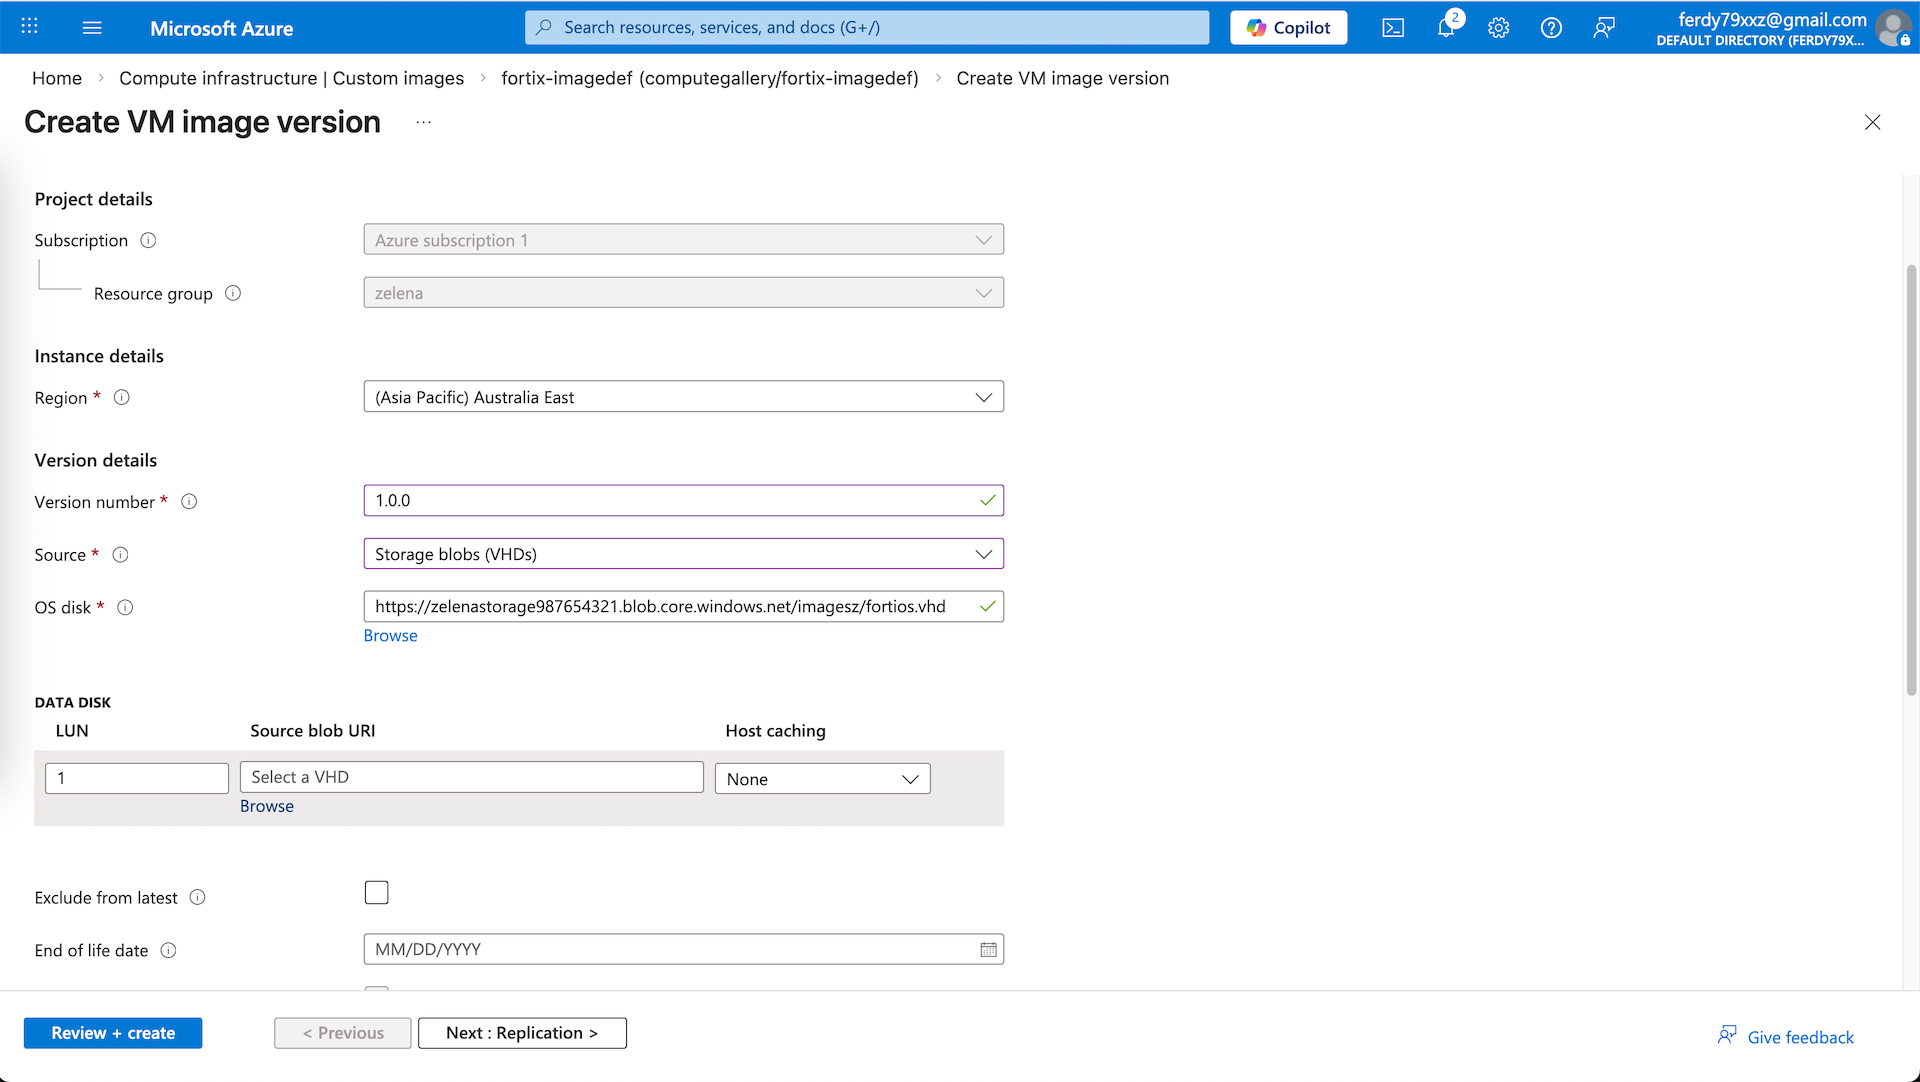
After that open the Image Definition select Add Version
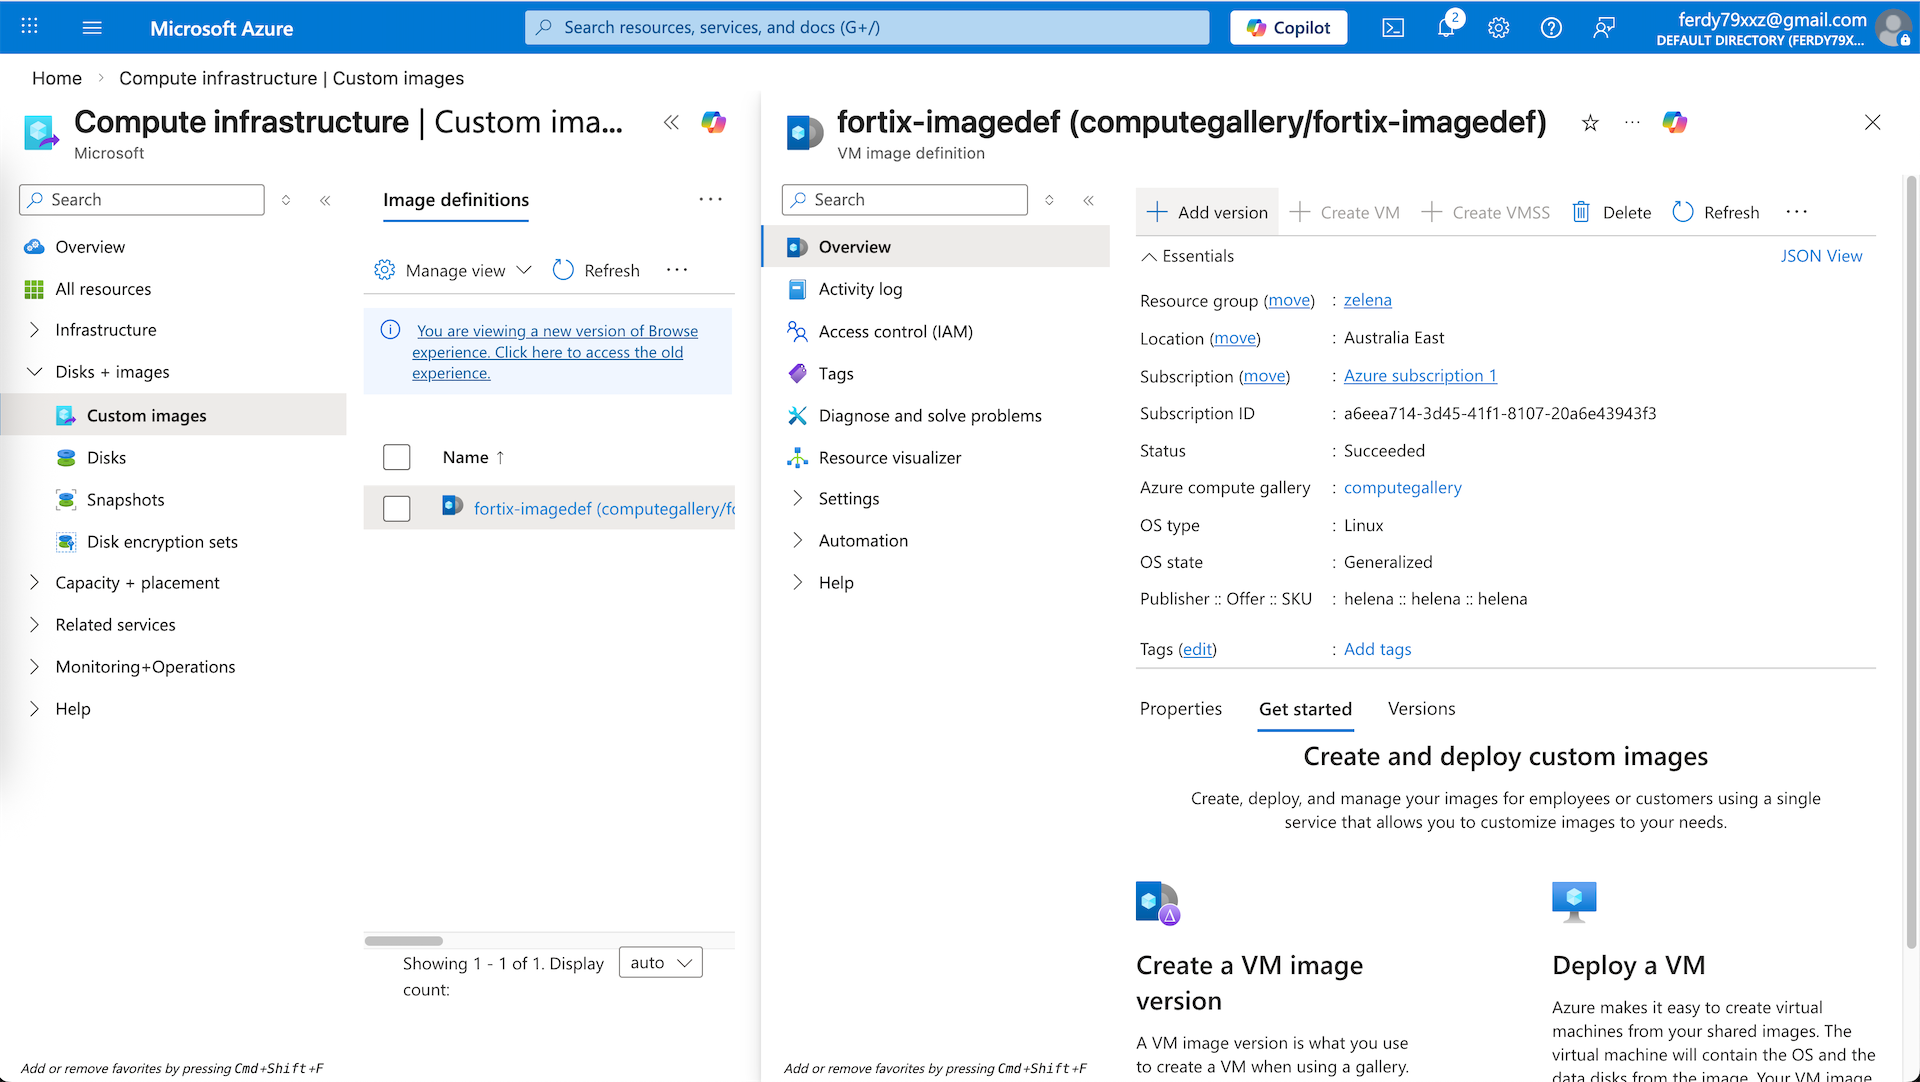
Here we select the VHD that we uploaded earlier, this should conclude our VM Image Creation
Virtual Network
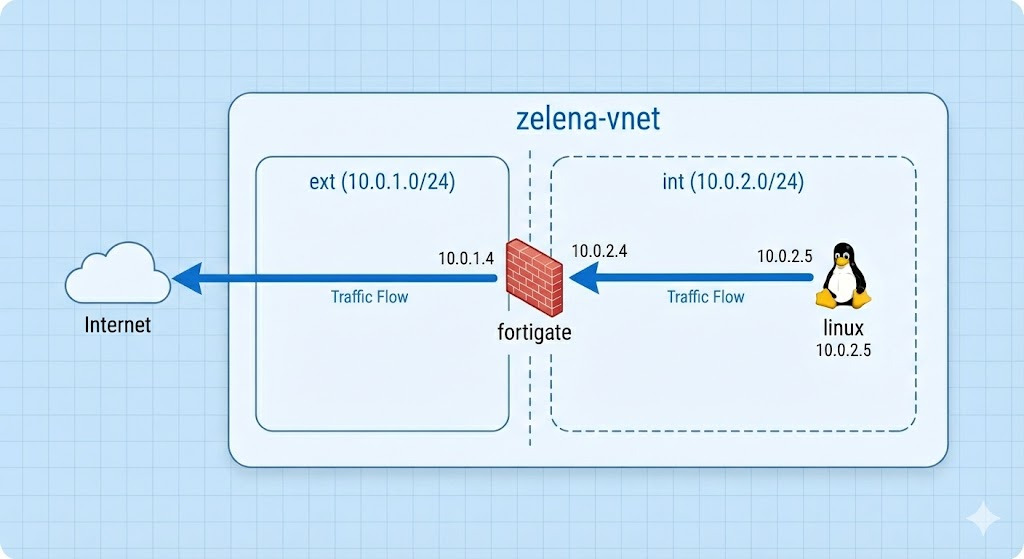
Now we configure the networking, Virtual Network (VNet) is a private network in the cloud that lets Azure resources securely communicate with each other, the internet, and on-premises networks.
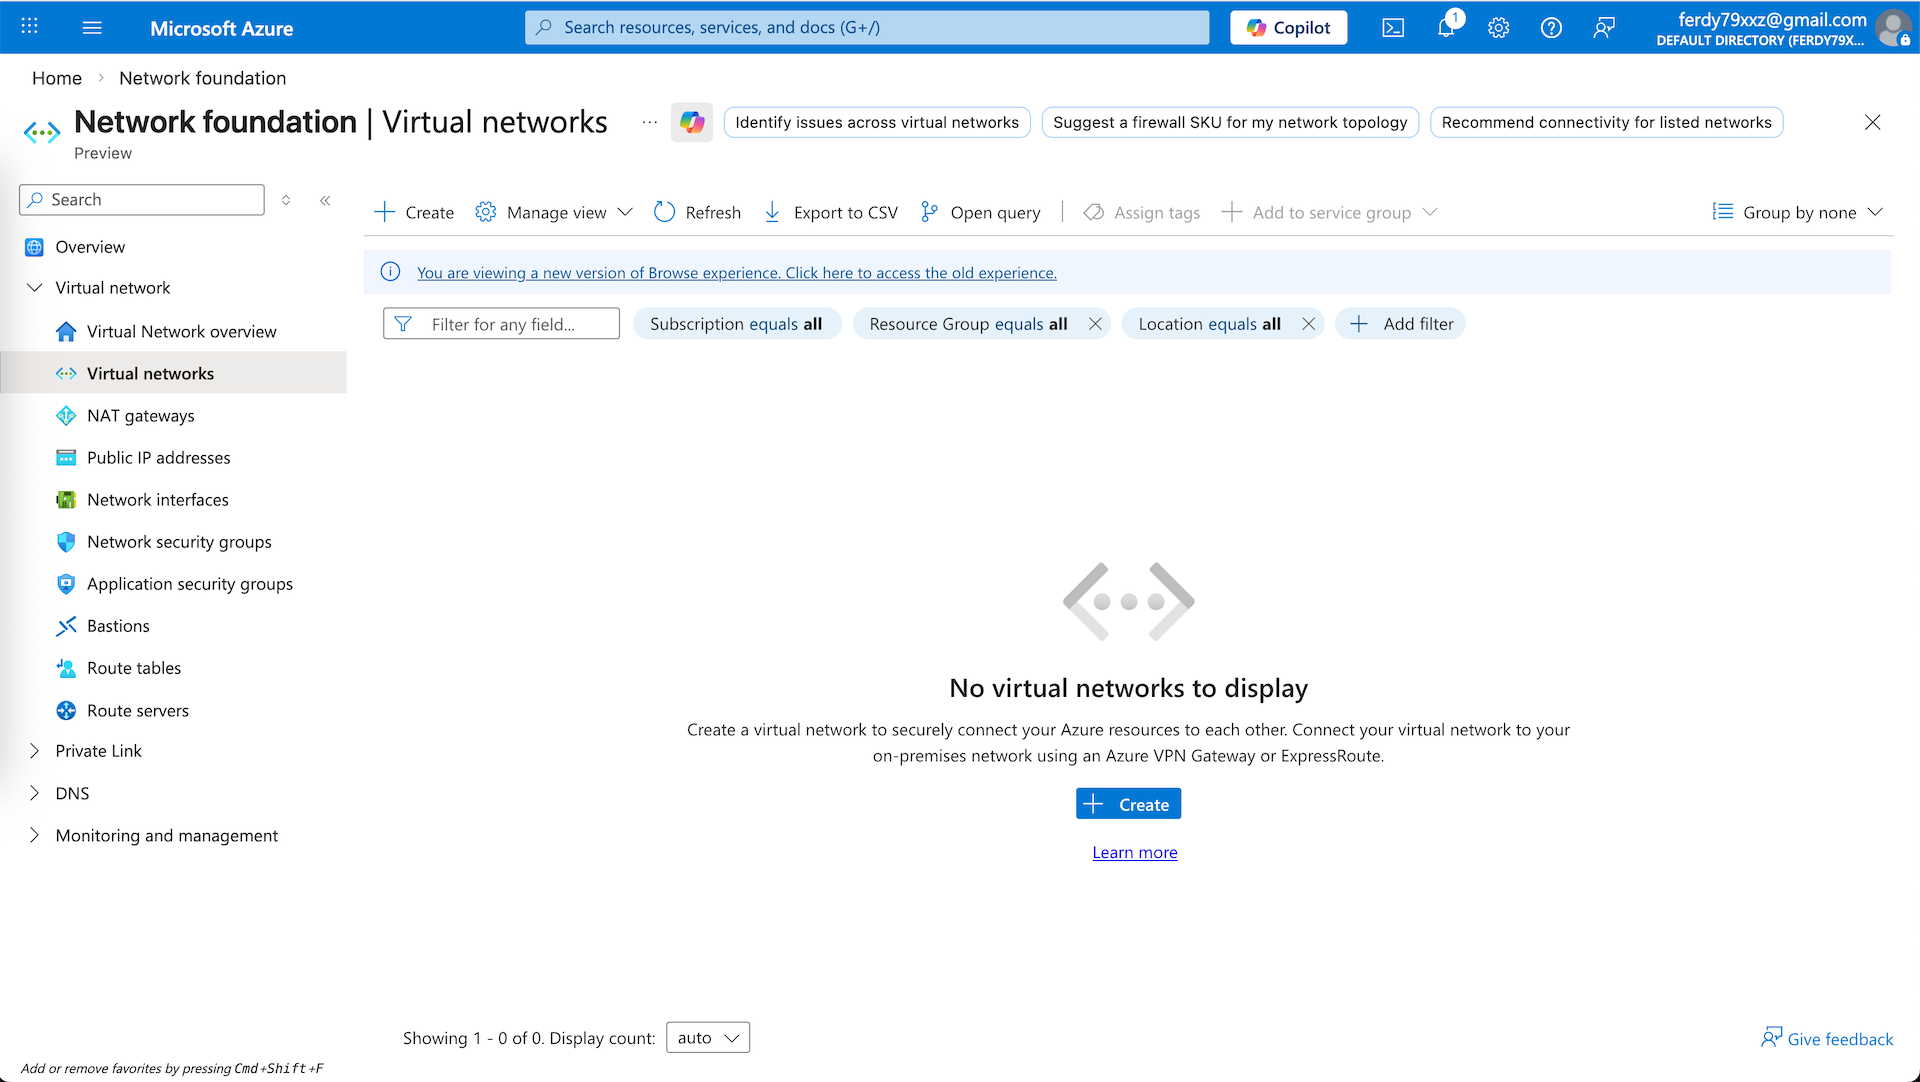
Here we create a new ‘zelena-vnet’
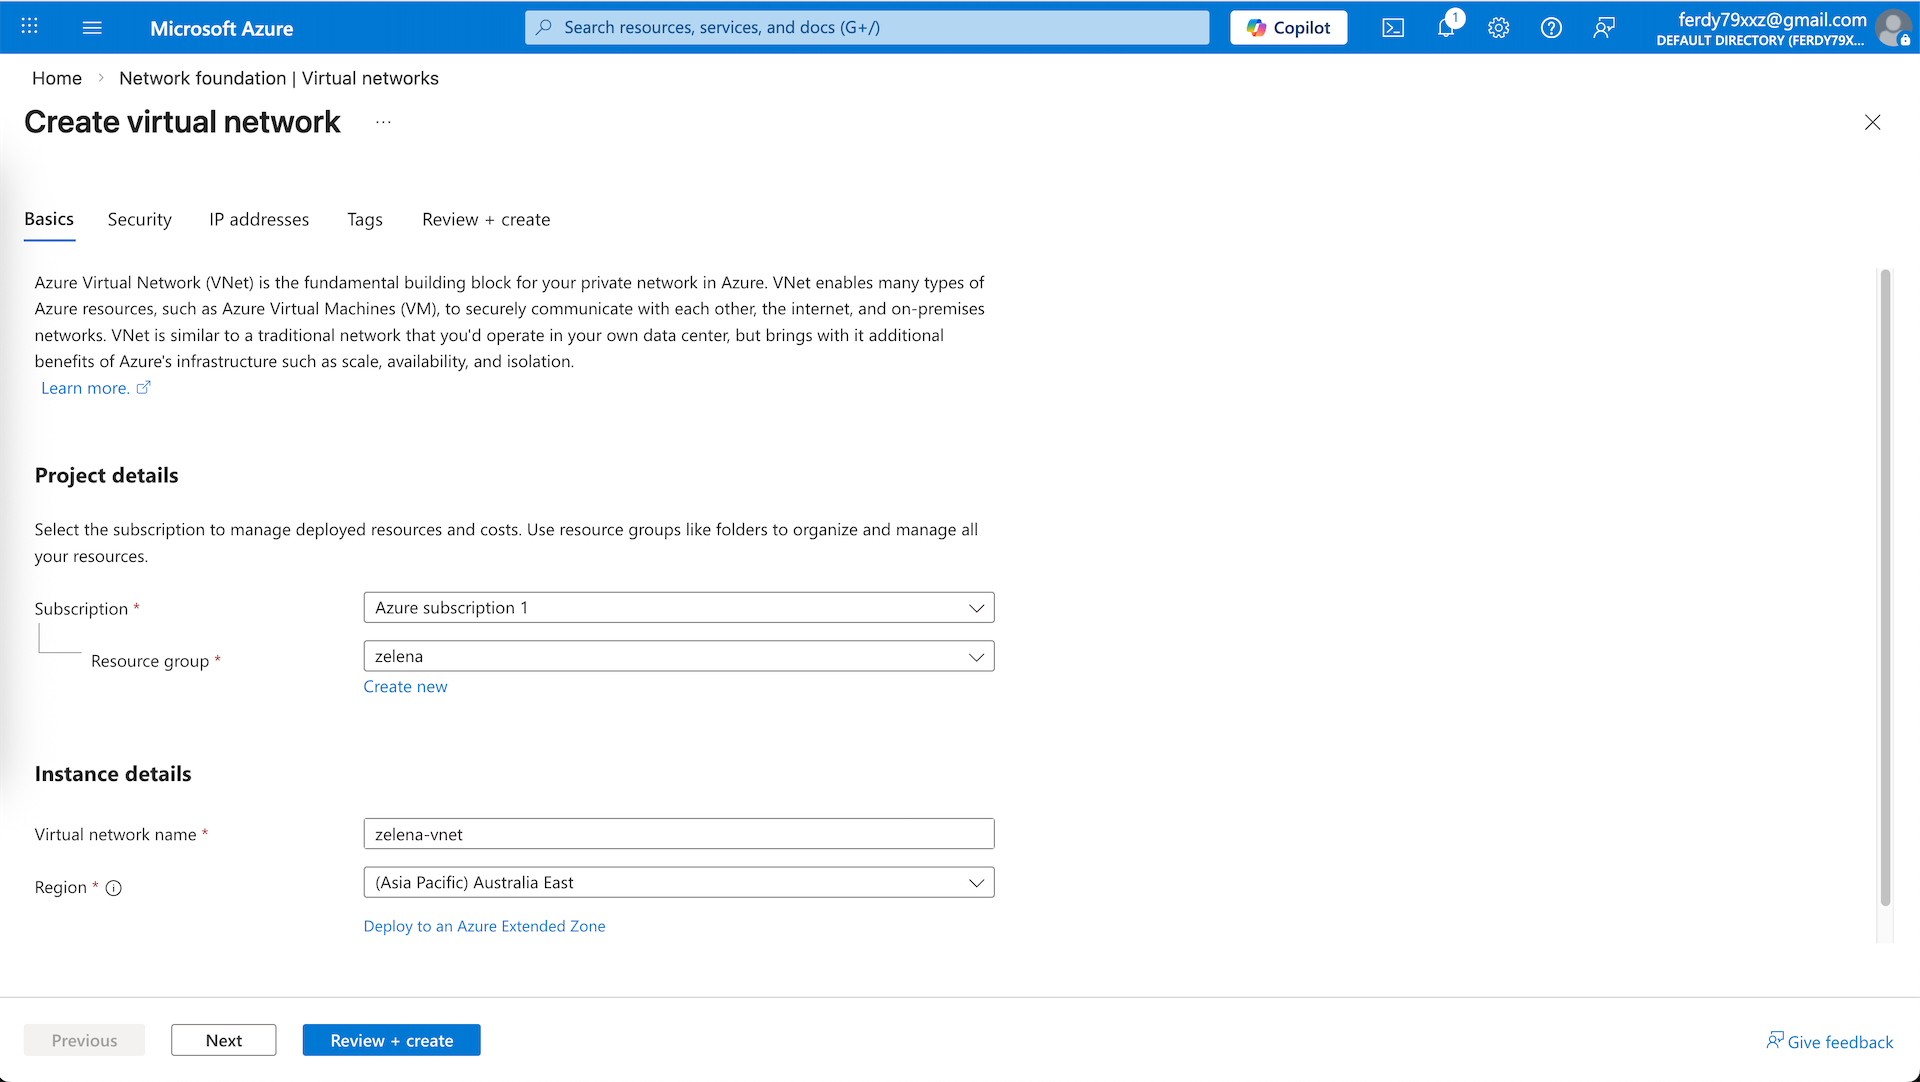
We will allocate two subnets, external and internal, and hit create
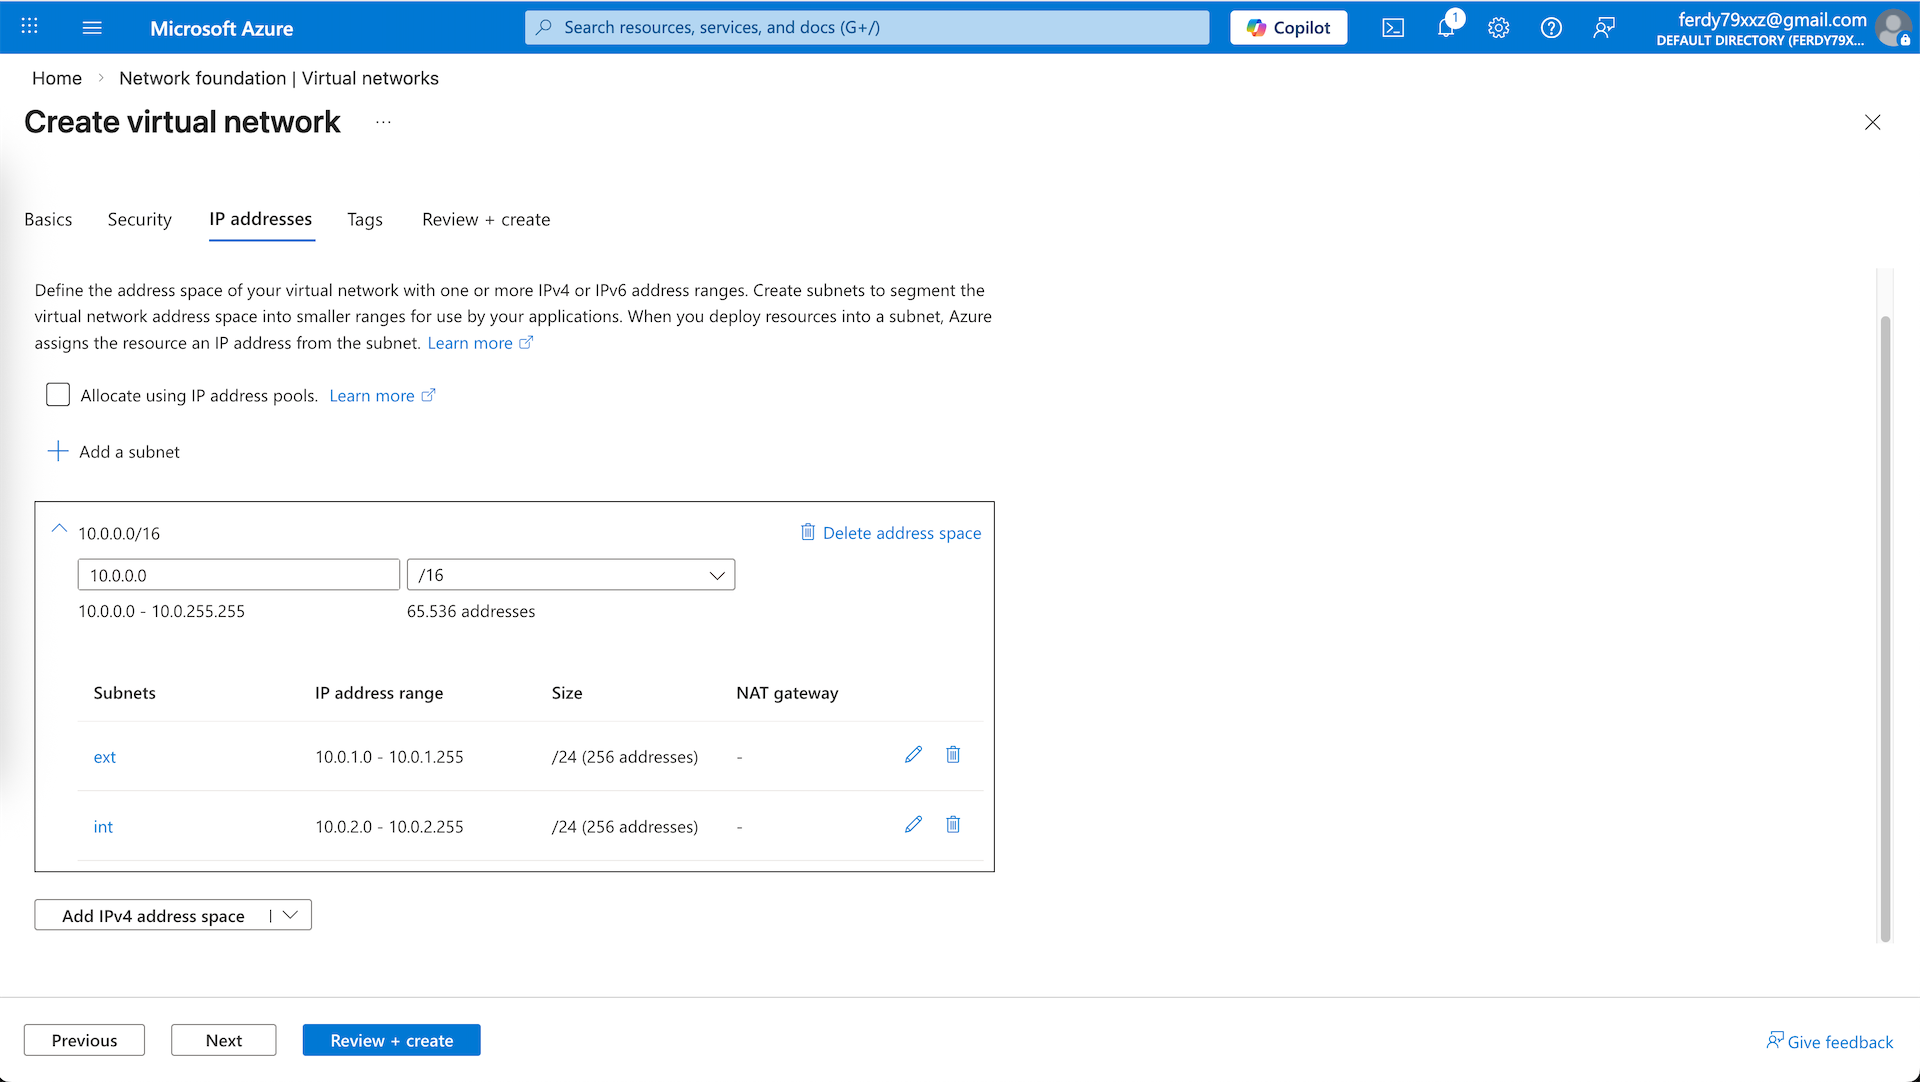
Here we have a vnet with 2 subnets

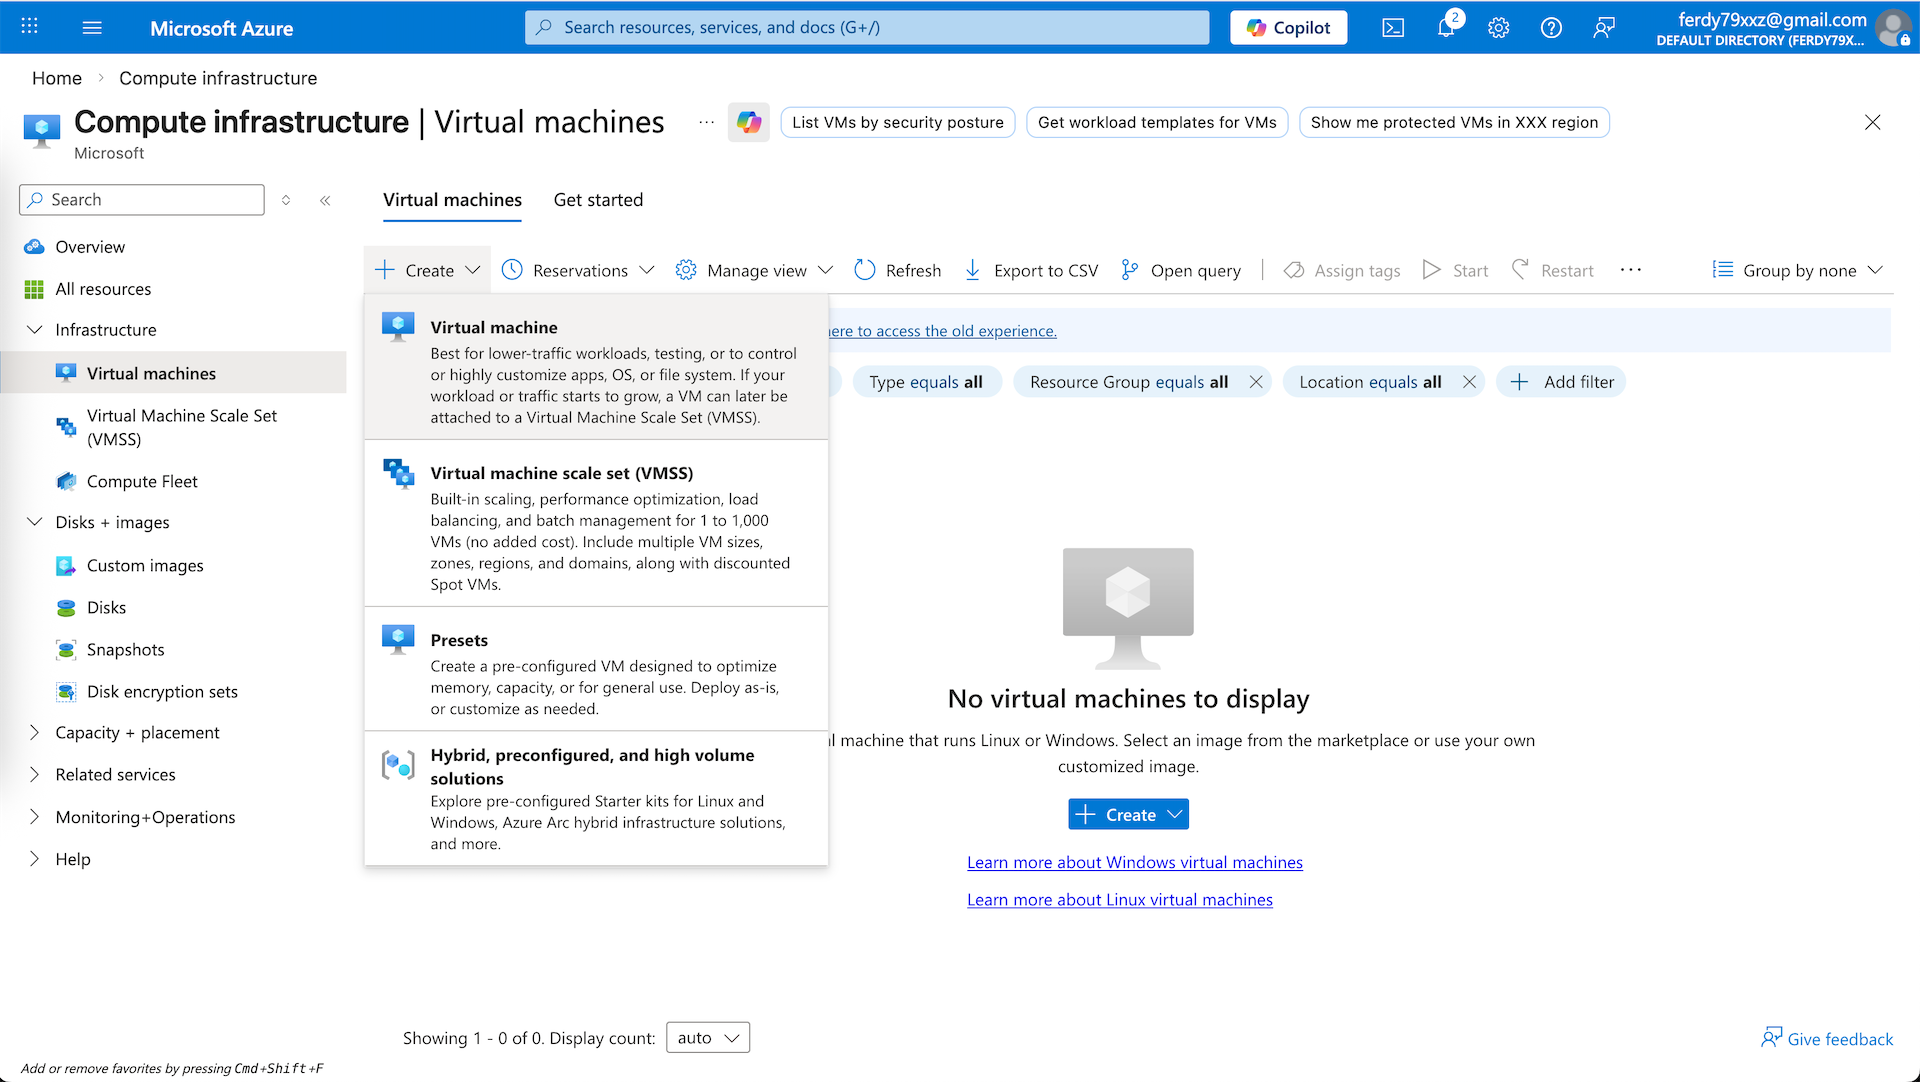
Virtual Machine
Now we can proceed to deploy our Fortigate VM, hit create new Virtual Machine
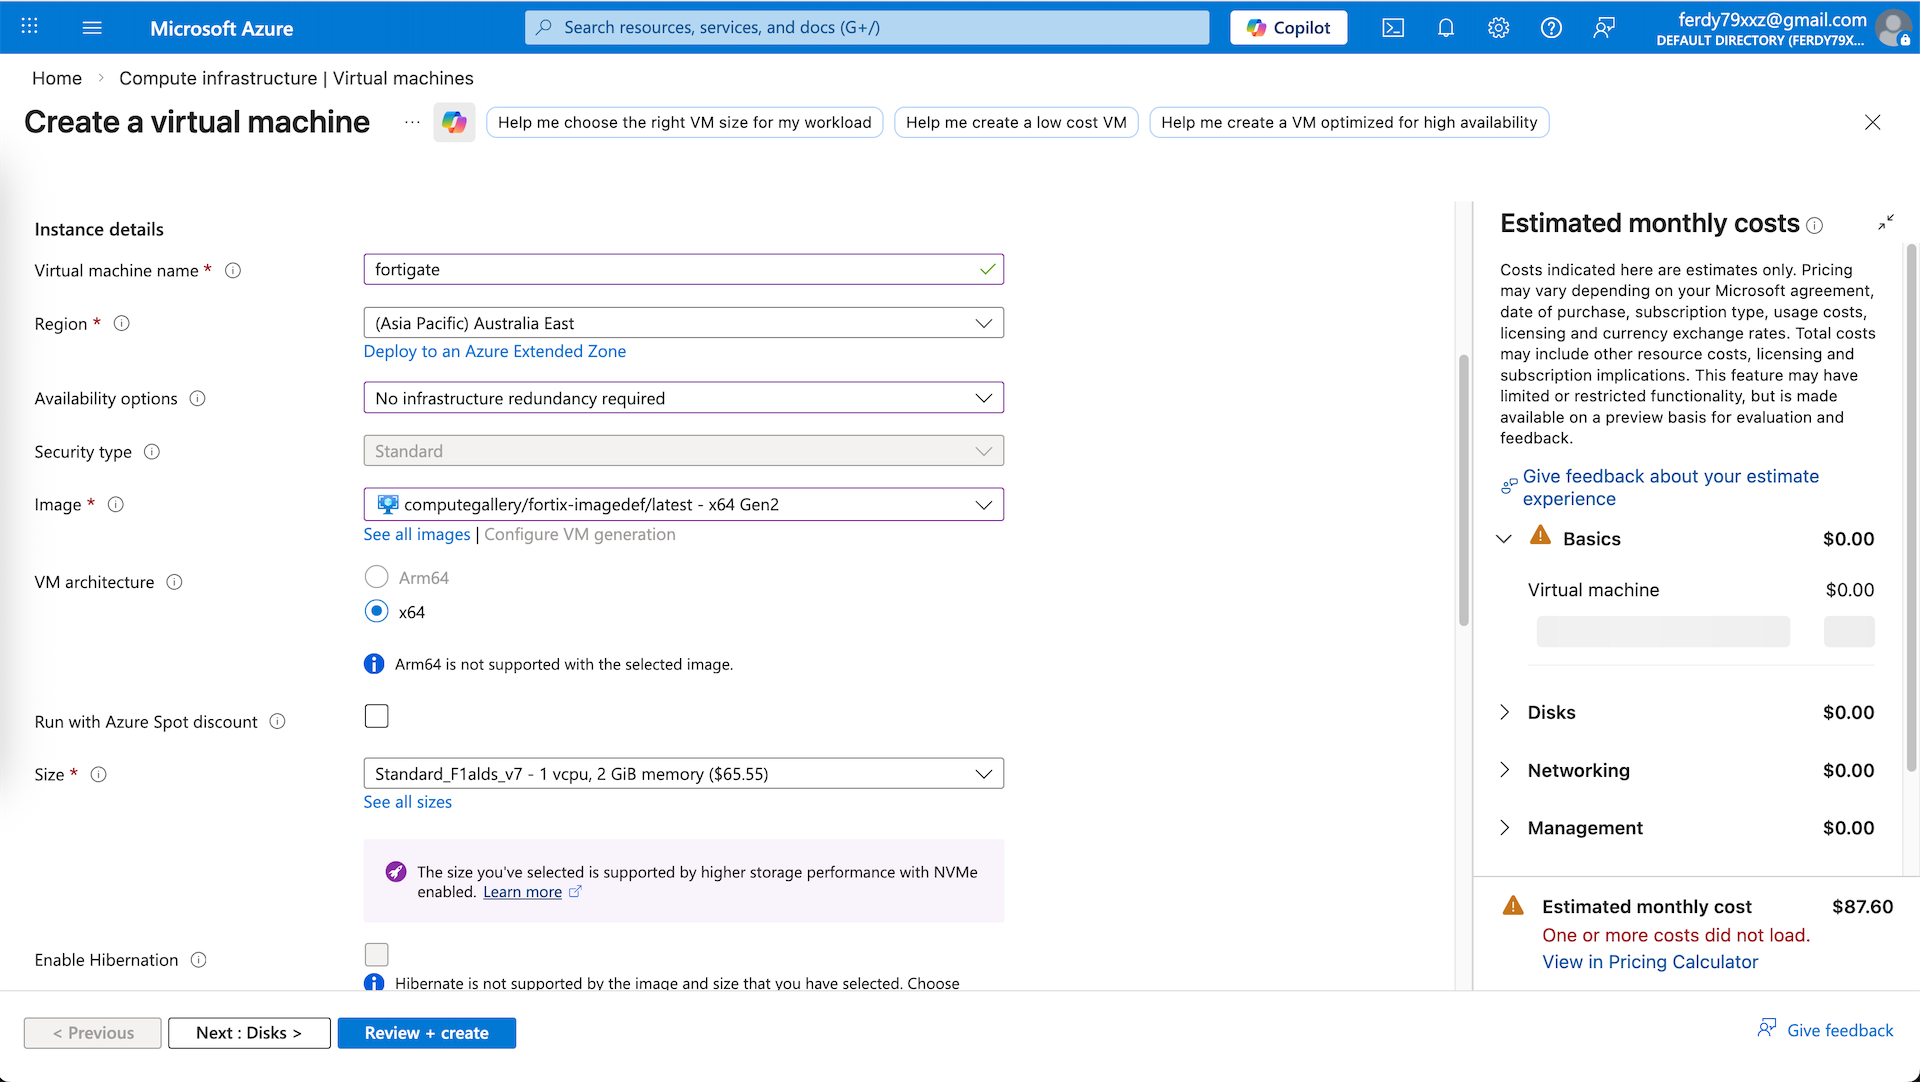
We use the fortigate image that we created earlier and select the compute with 1 CPU and 2 GB of RAM
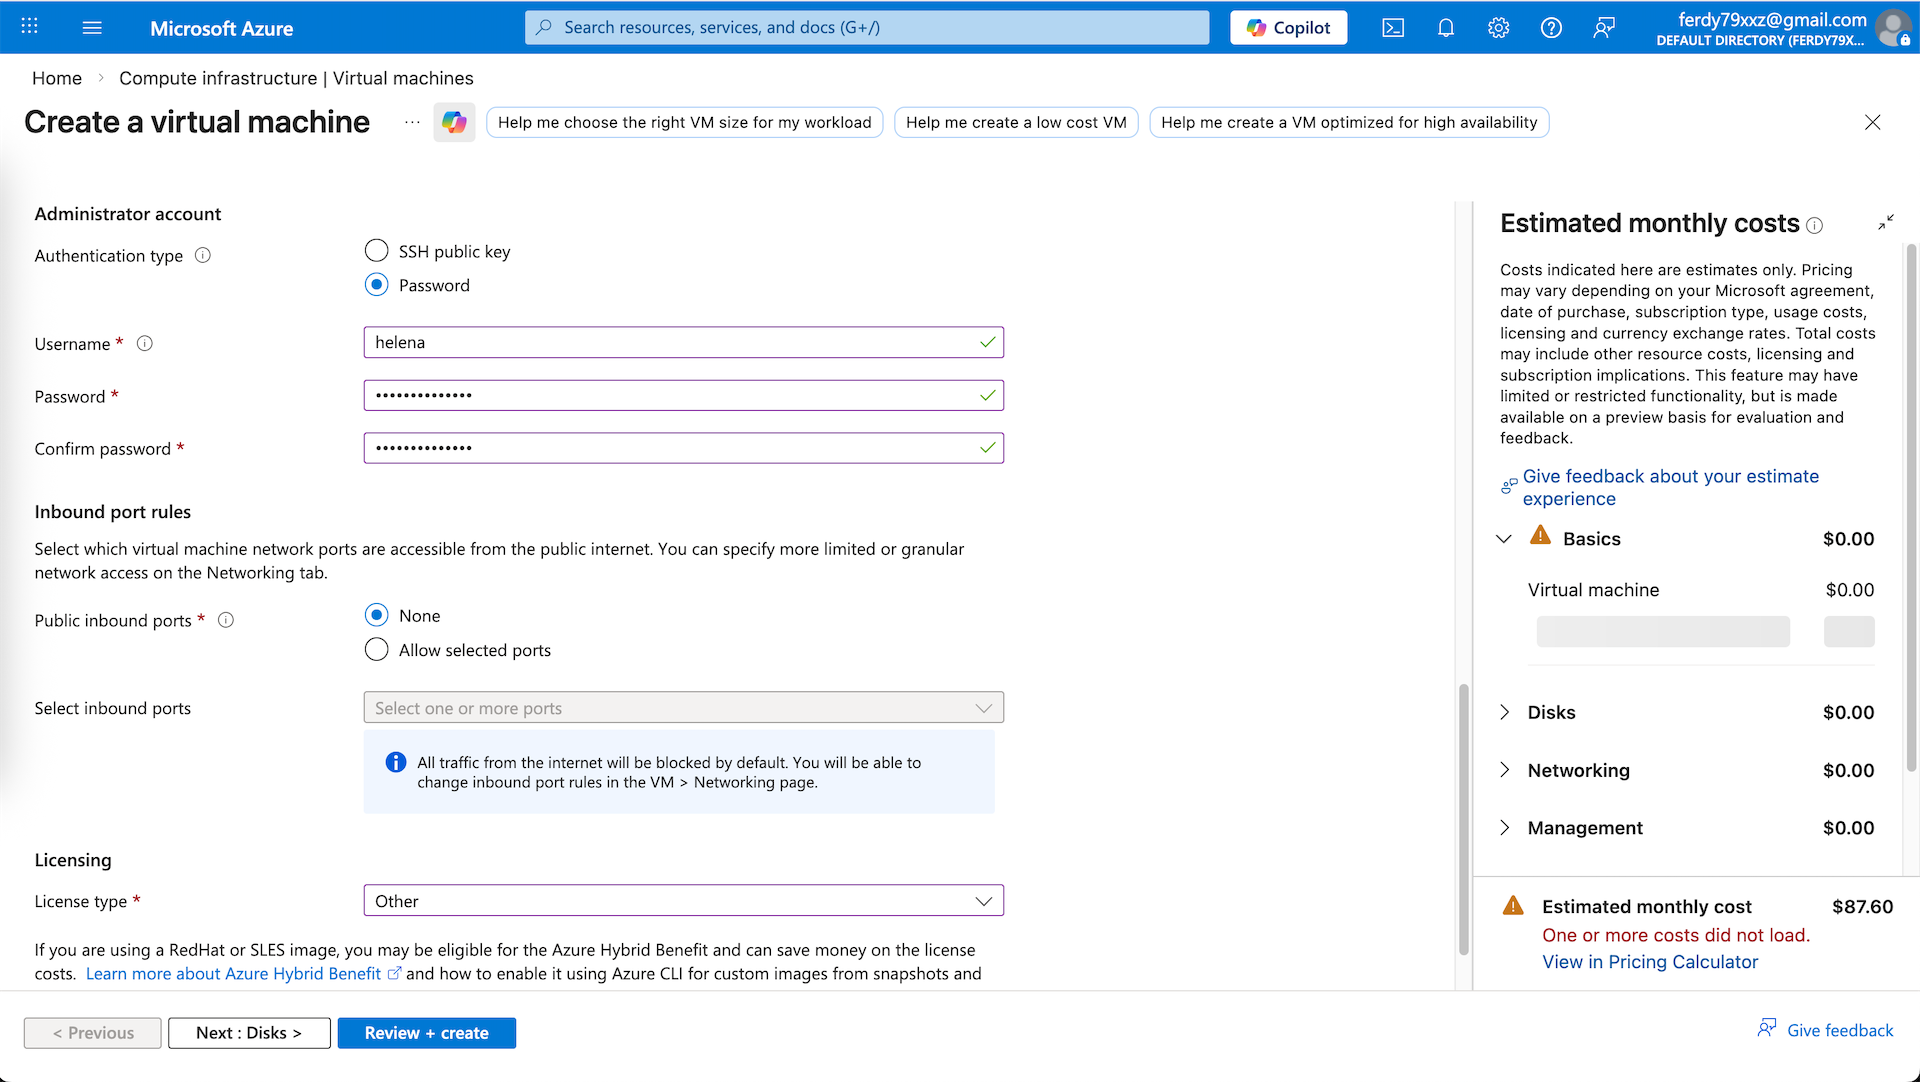
For Admin account, we have to create new account because the default ‘admin’ account is practically not usable for initial configs. For inbound/outbound rules we select None because we will manually configure later
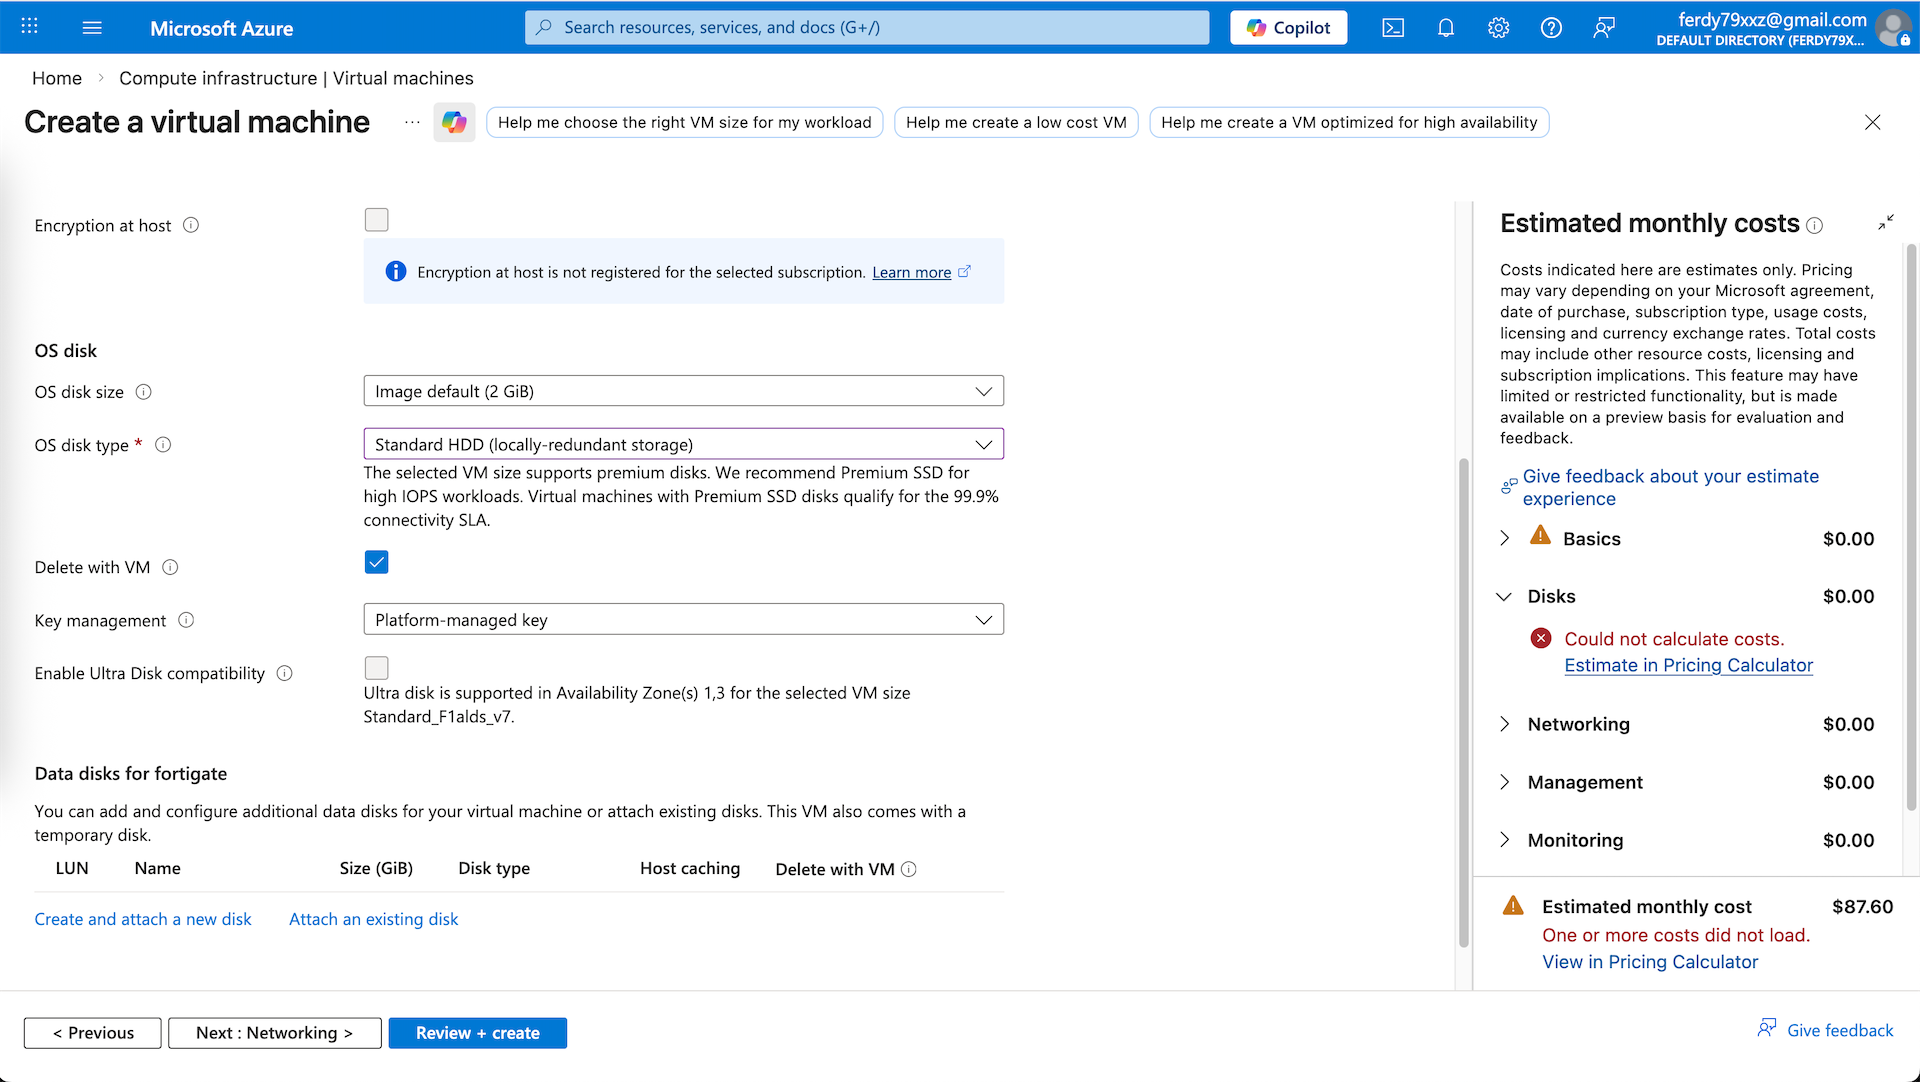
Then select the disk size and type
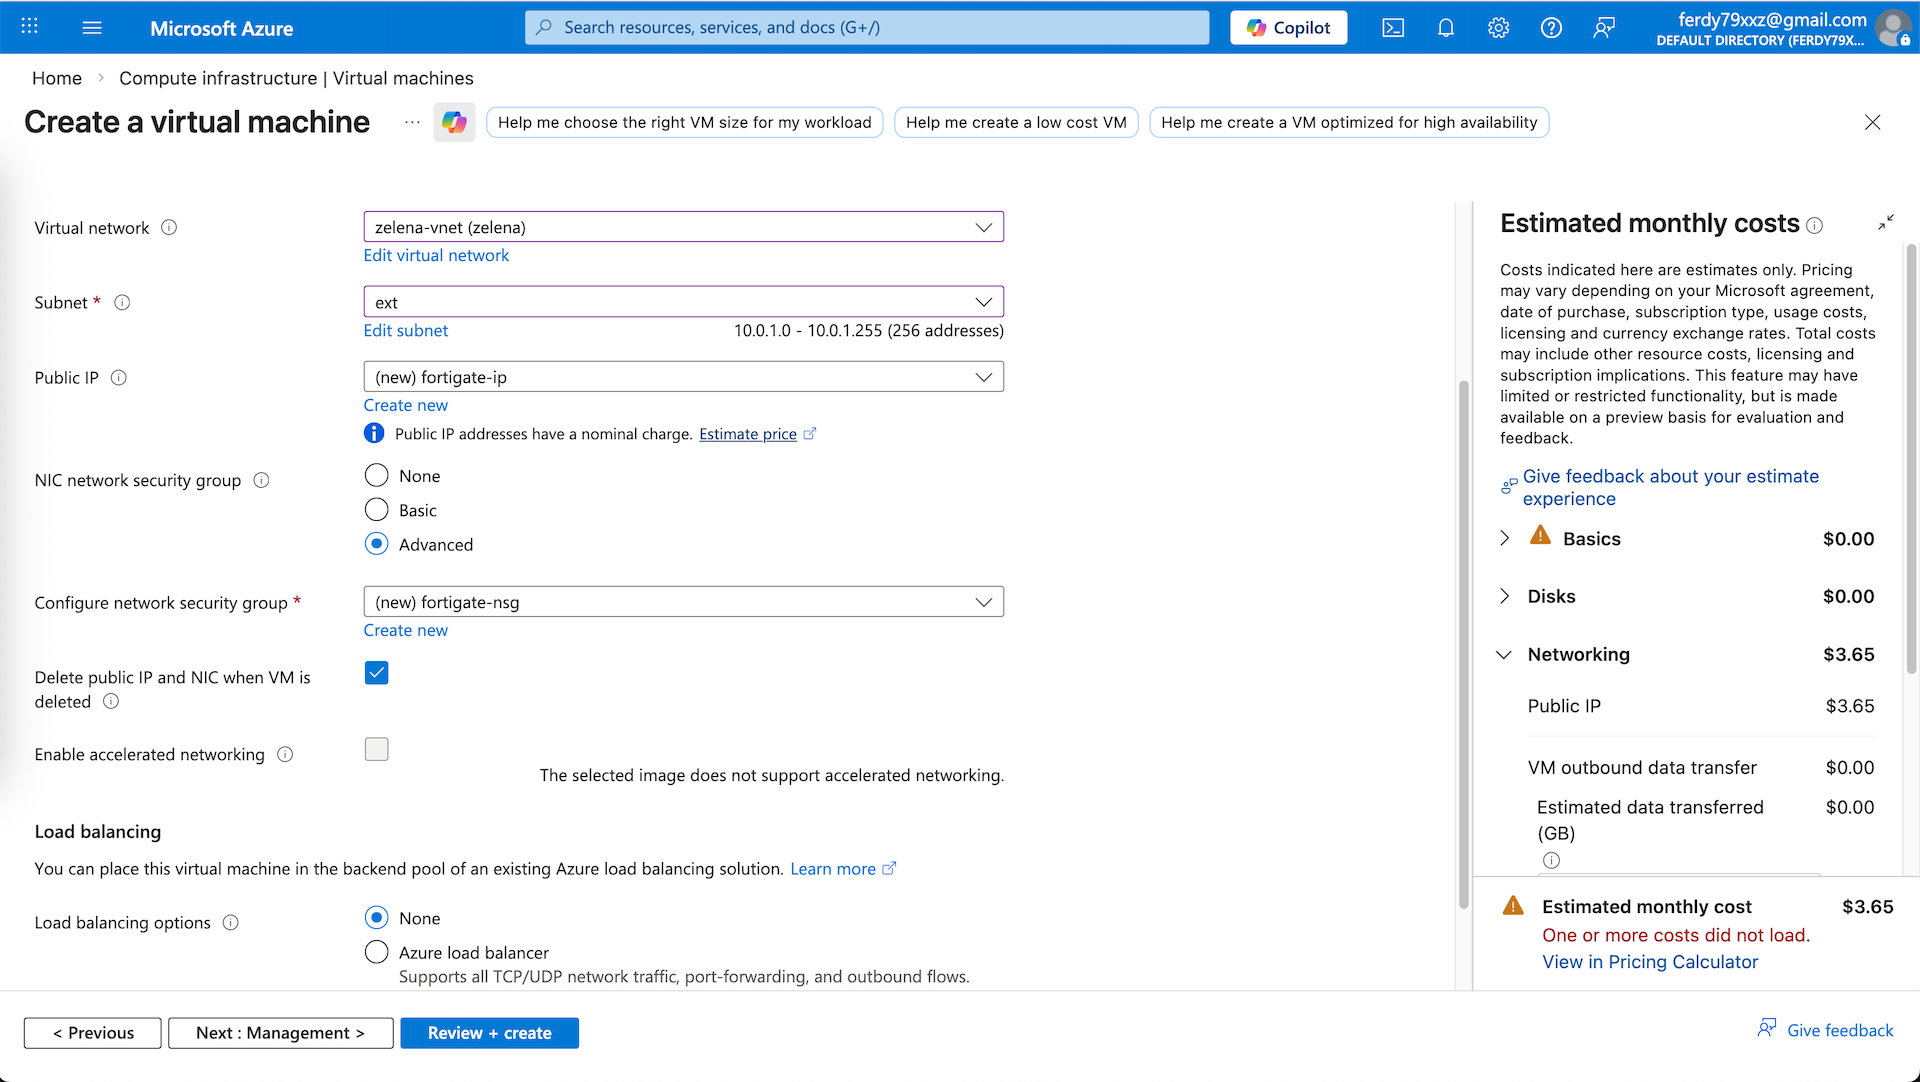
On networking, we select the ext subnet as our internet facing interface with new public IP. NIC NSG we will select advanced to create new NSG that we will adjust after this
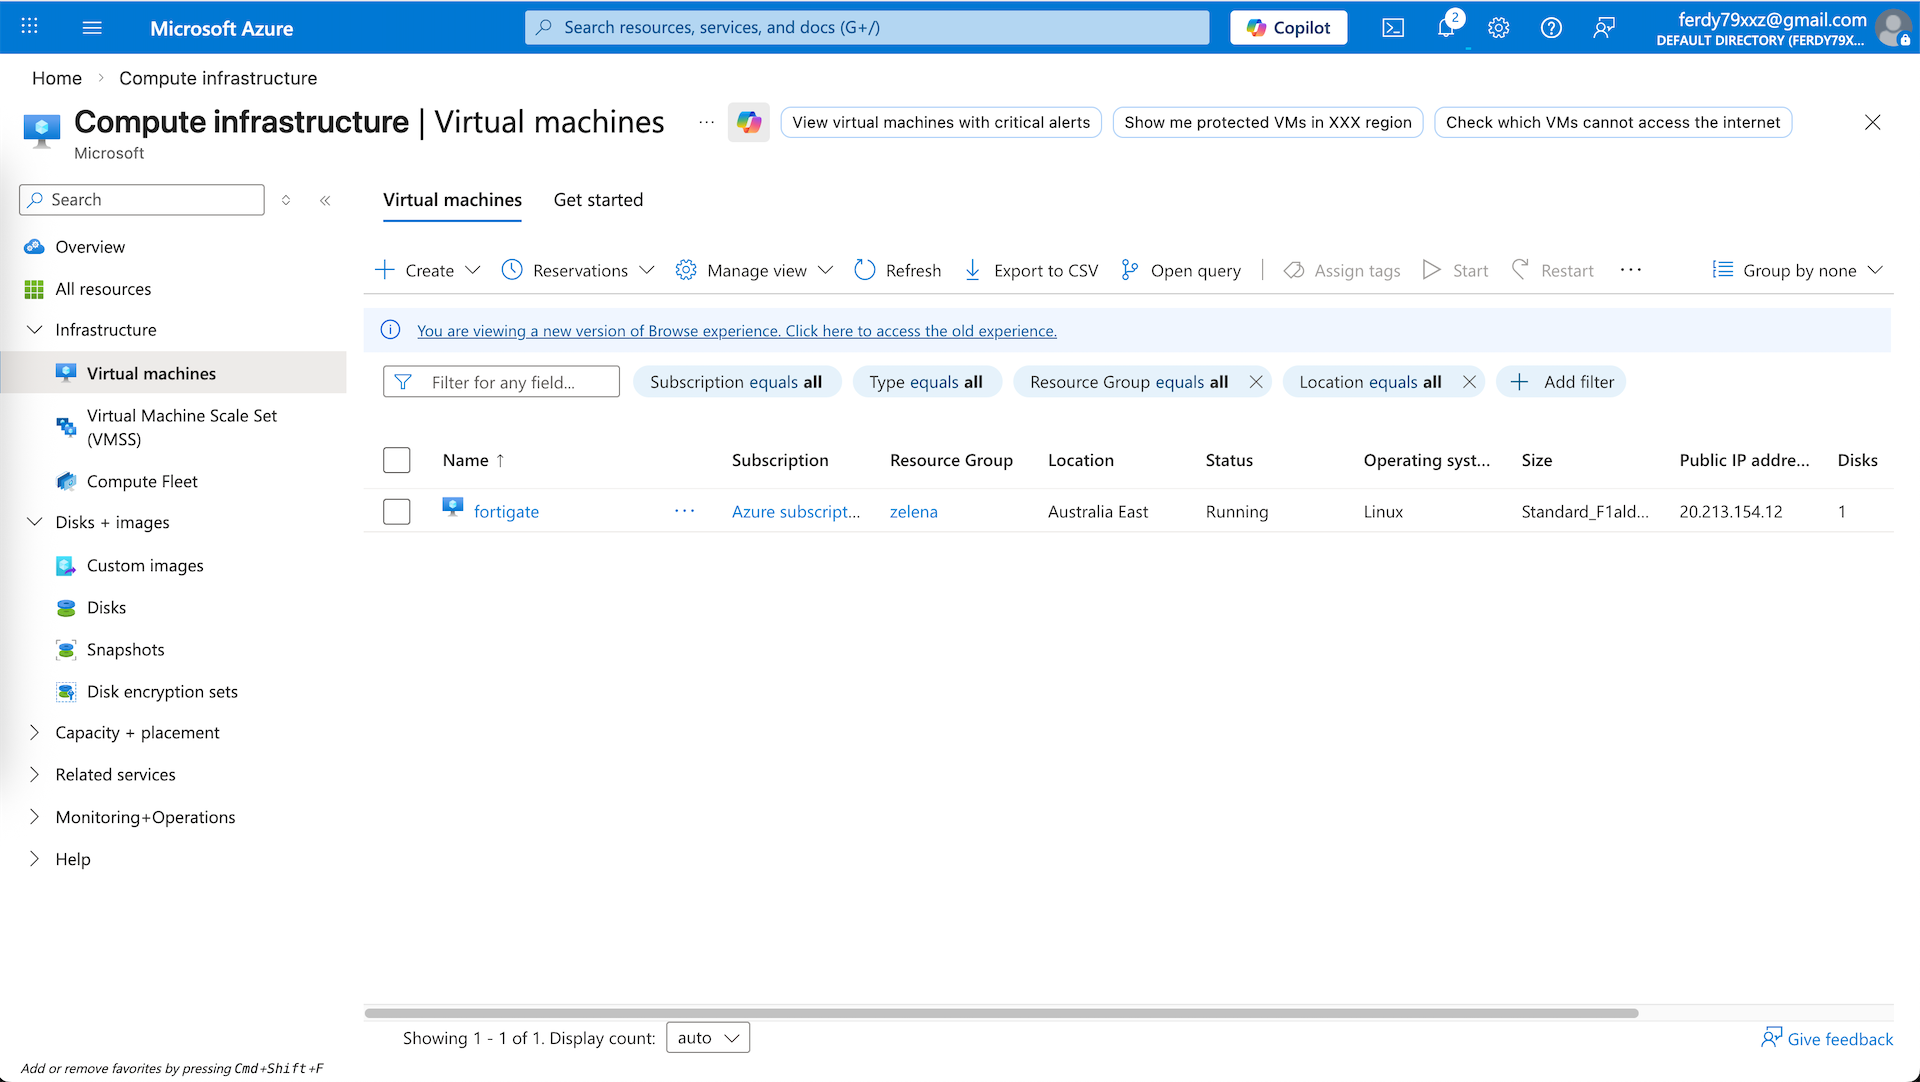
Here we have our VM deployed. Shut it down first because we will need to configure the second interface for internal facing
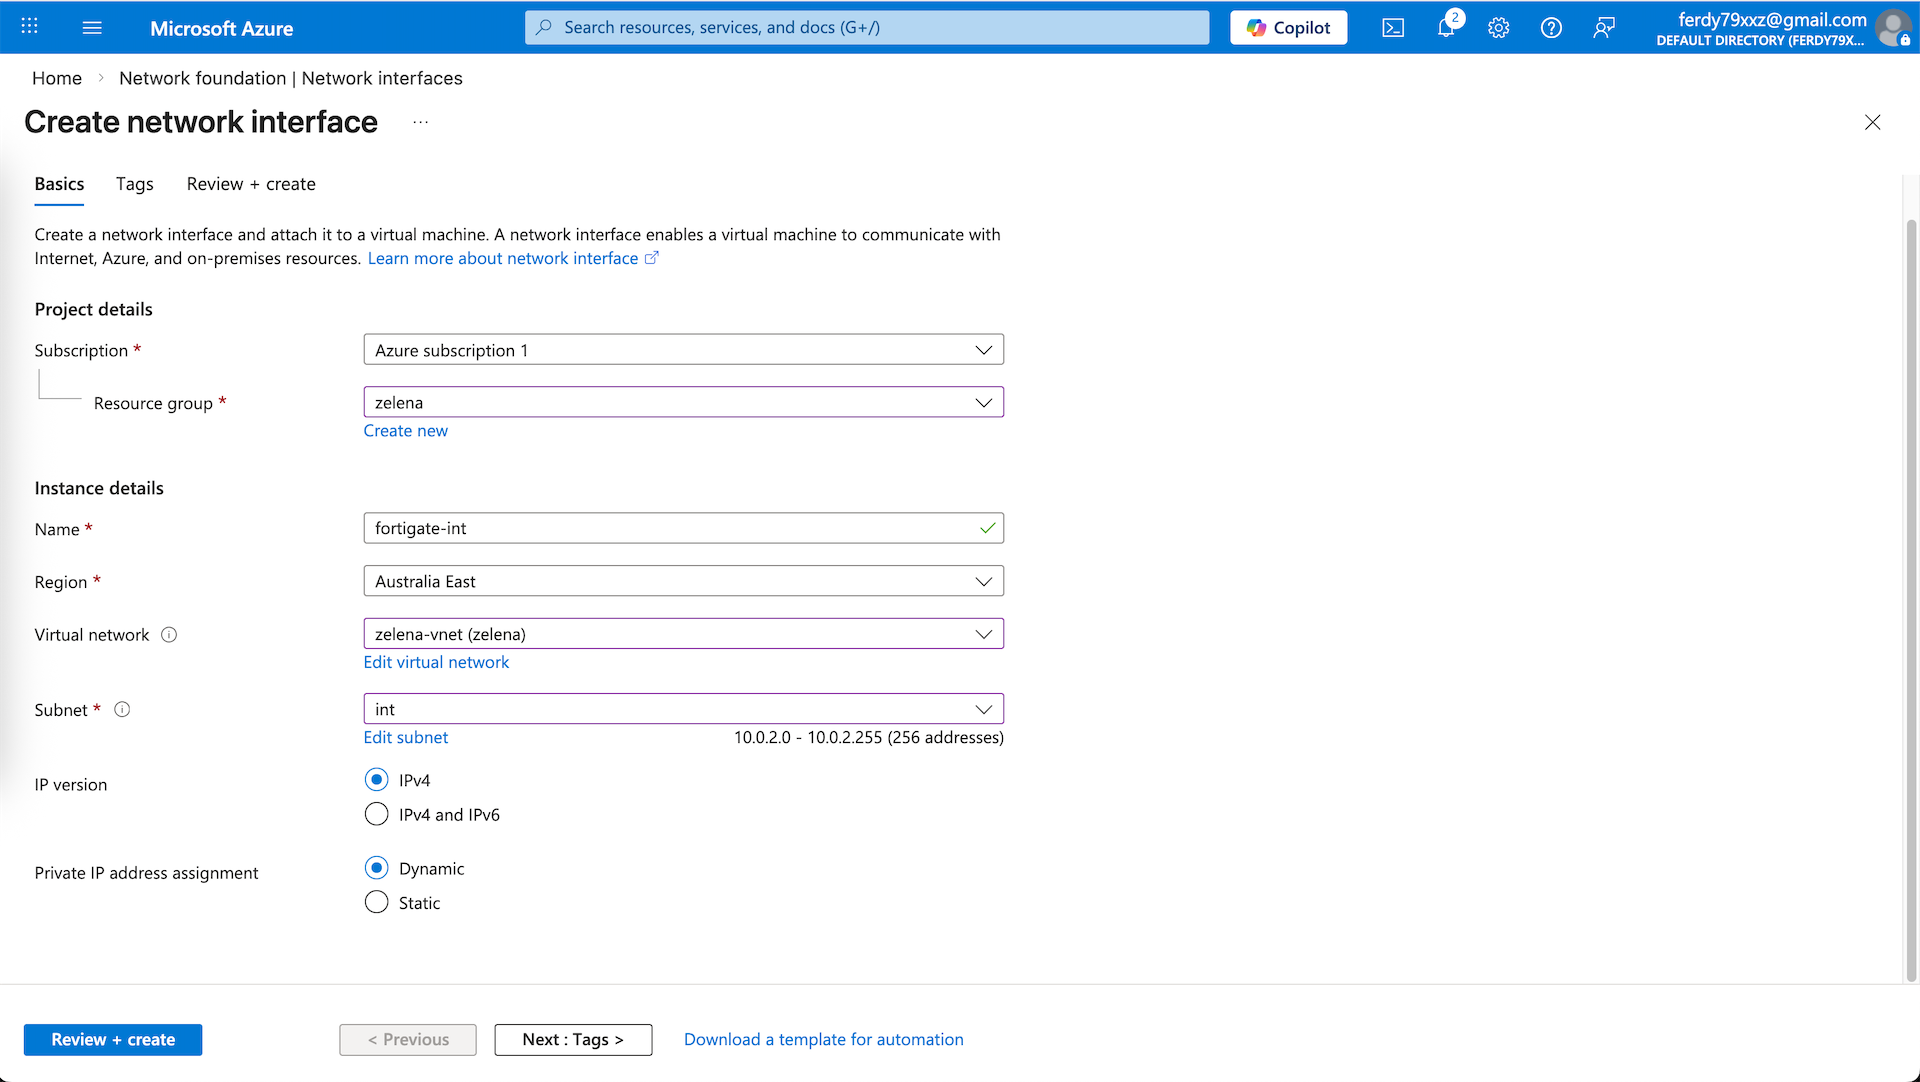
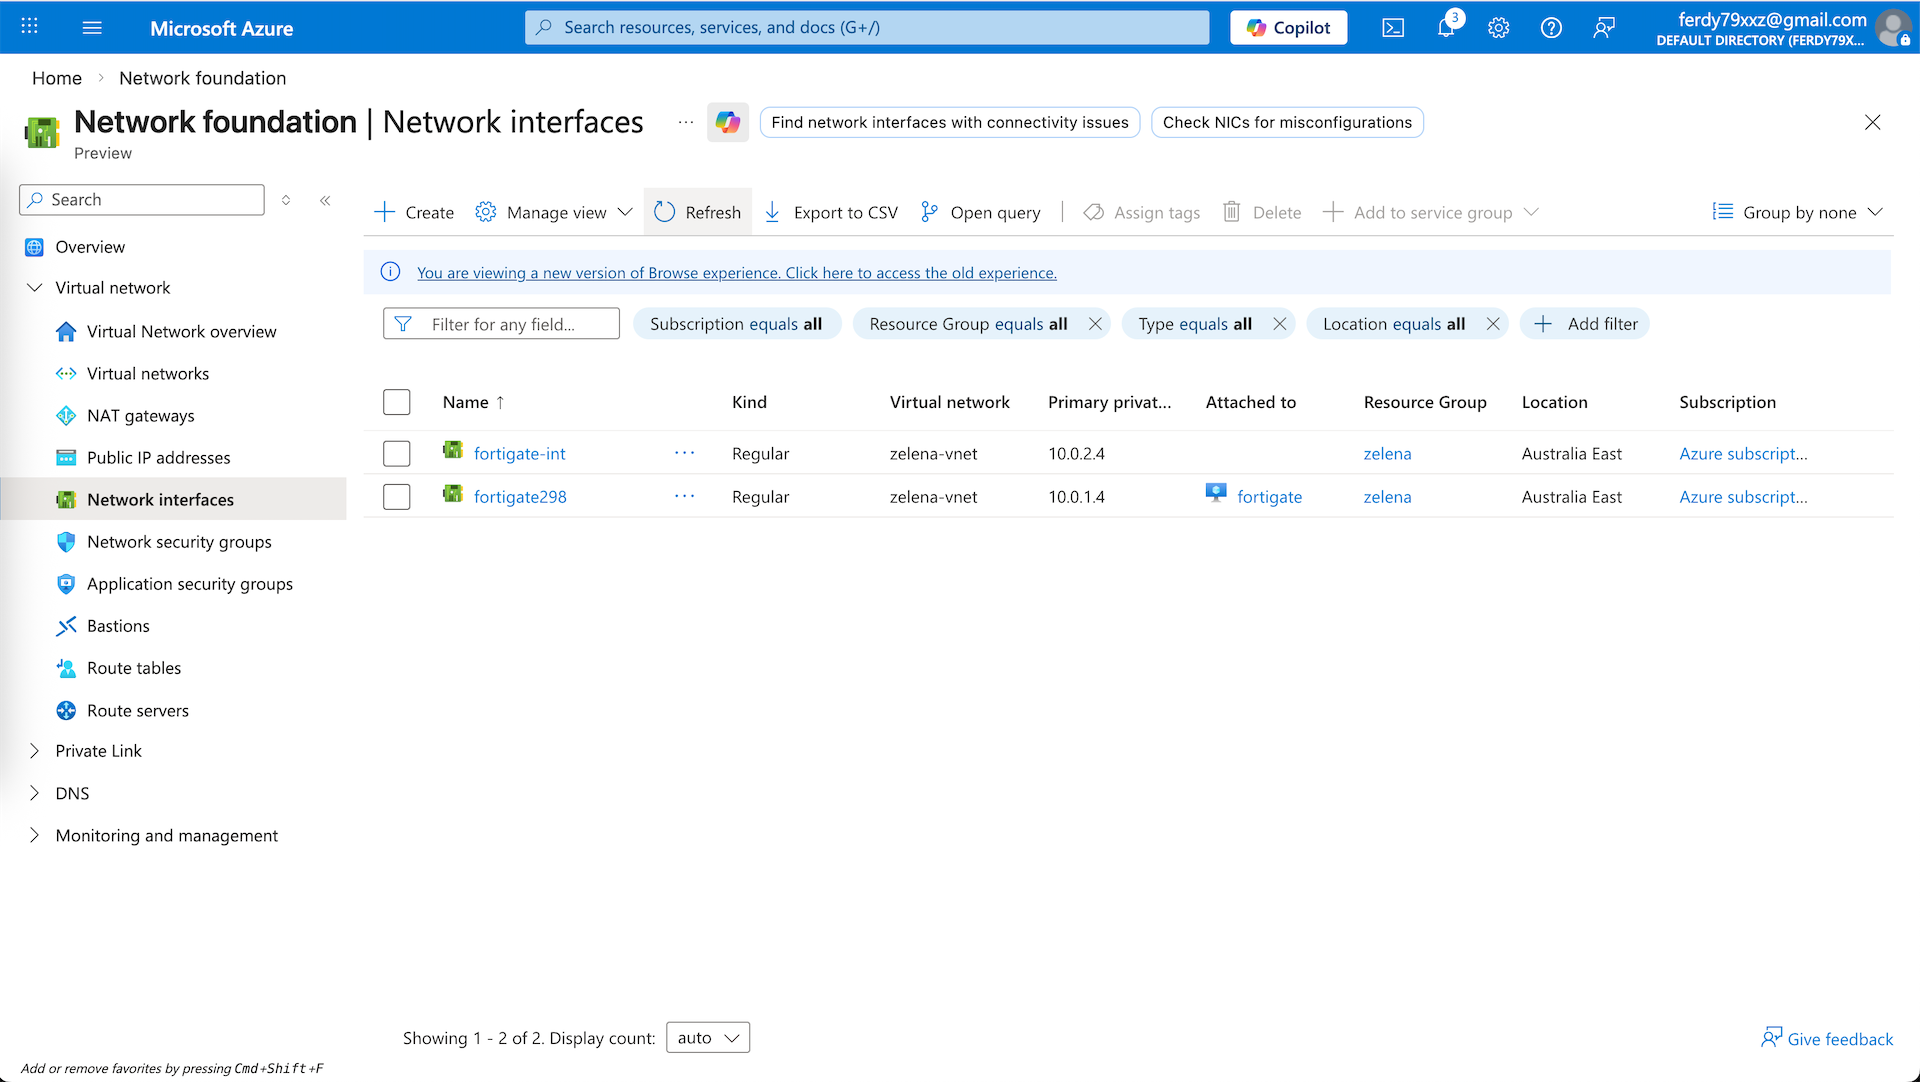
Back on our vnet, here we can see the automatically created ext interface, we manually create new one for int one

Give it name and select the int subnet
And now we have 2 interfaces for both ext and int subnet
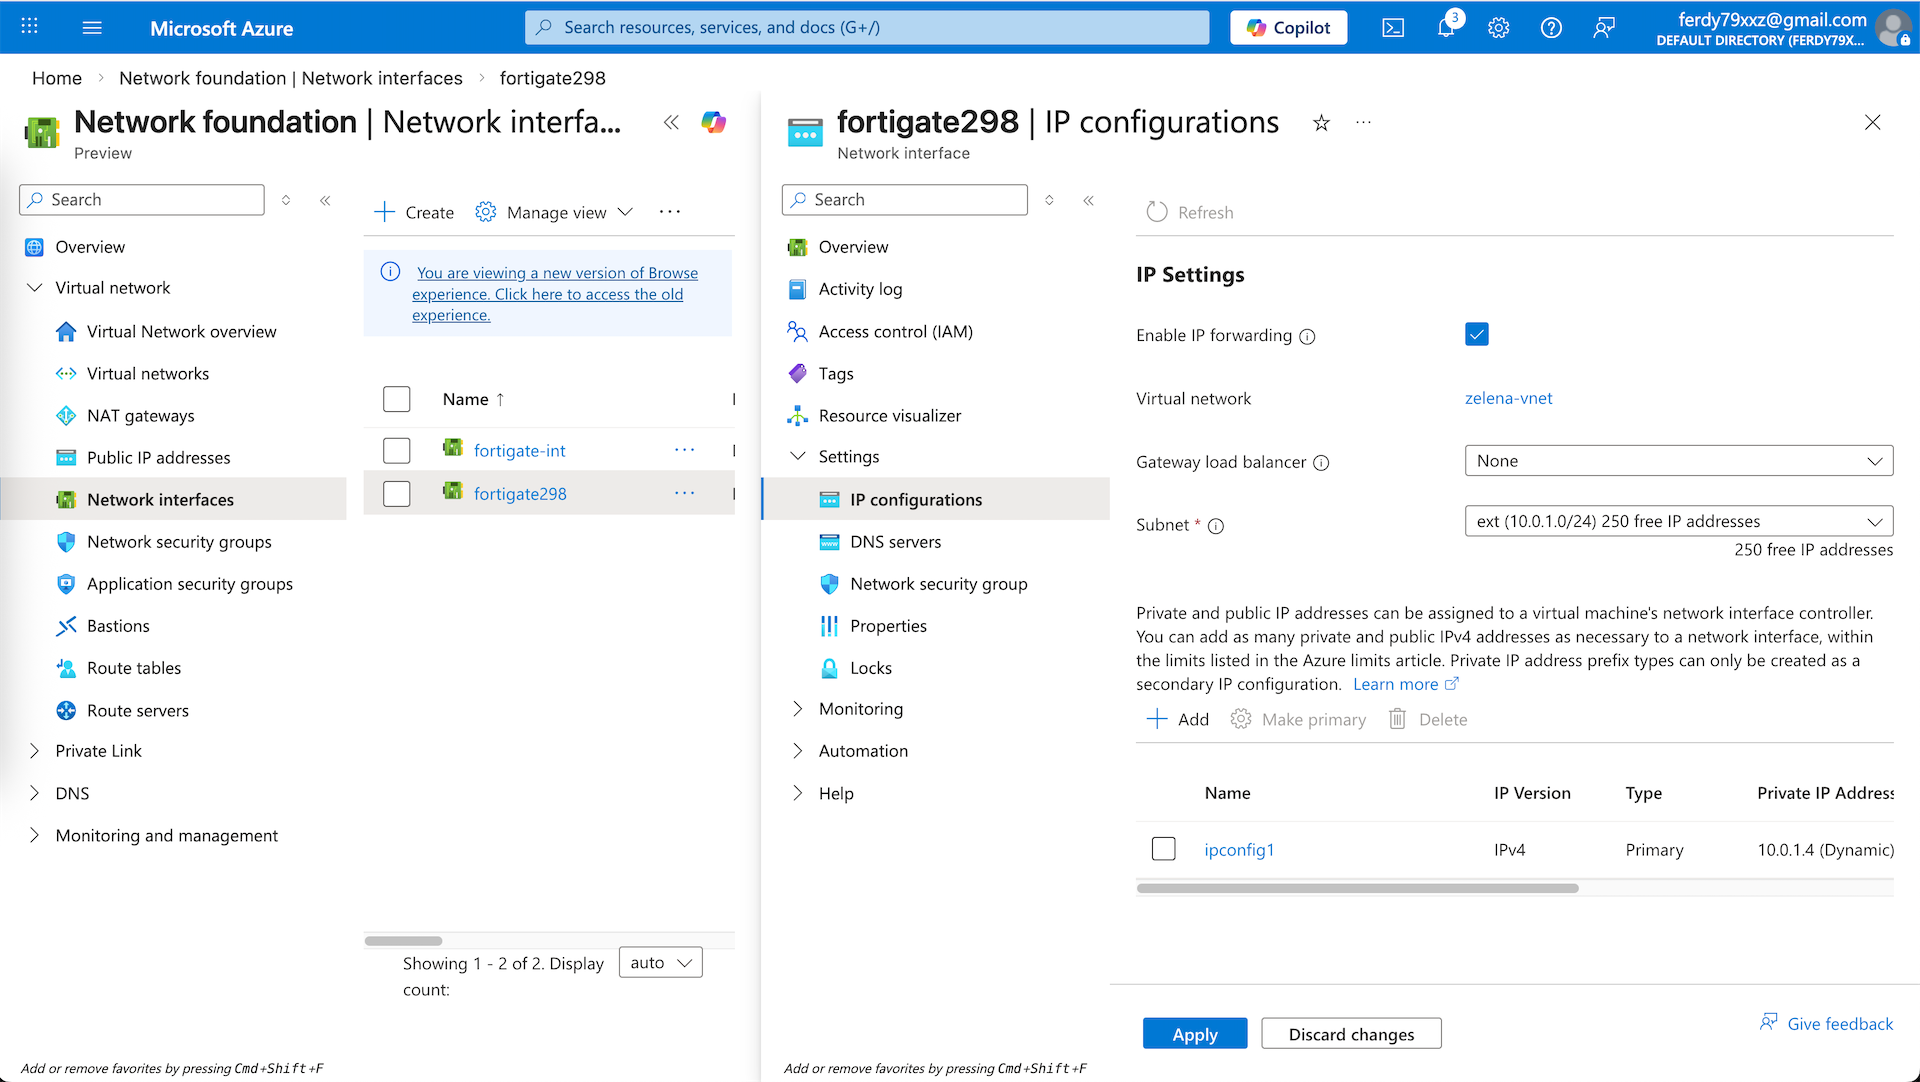
While at it, we also need to enabel IP Forwarding on both interfaces so our Fortigate VM can act as a Router/Firewall that can pass traffic
Back to our Fortigate VM, select Attach Network Interface and select our newly created fortigate-int
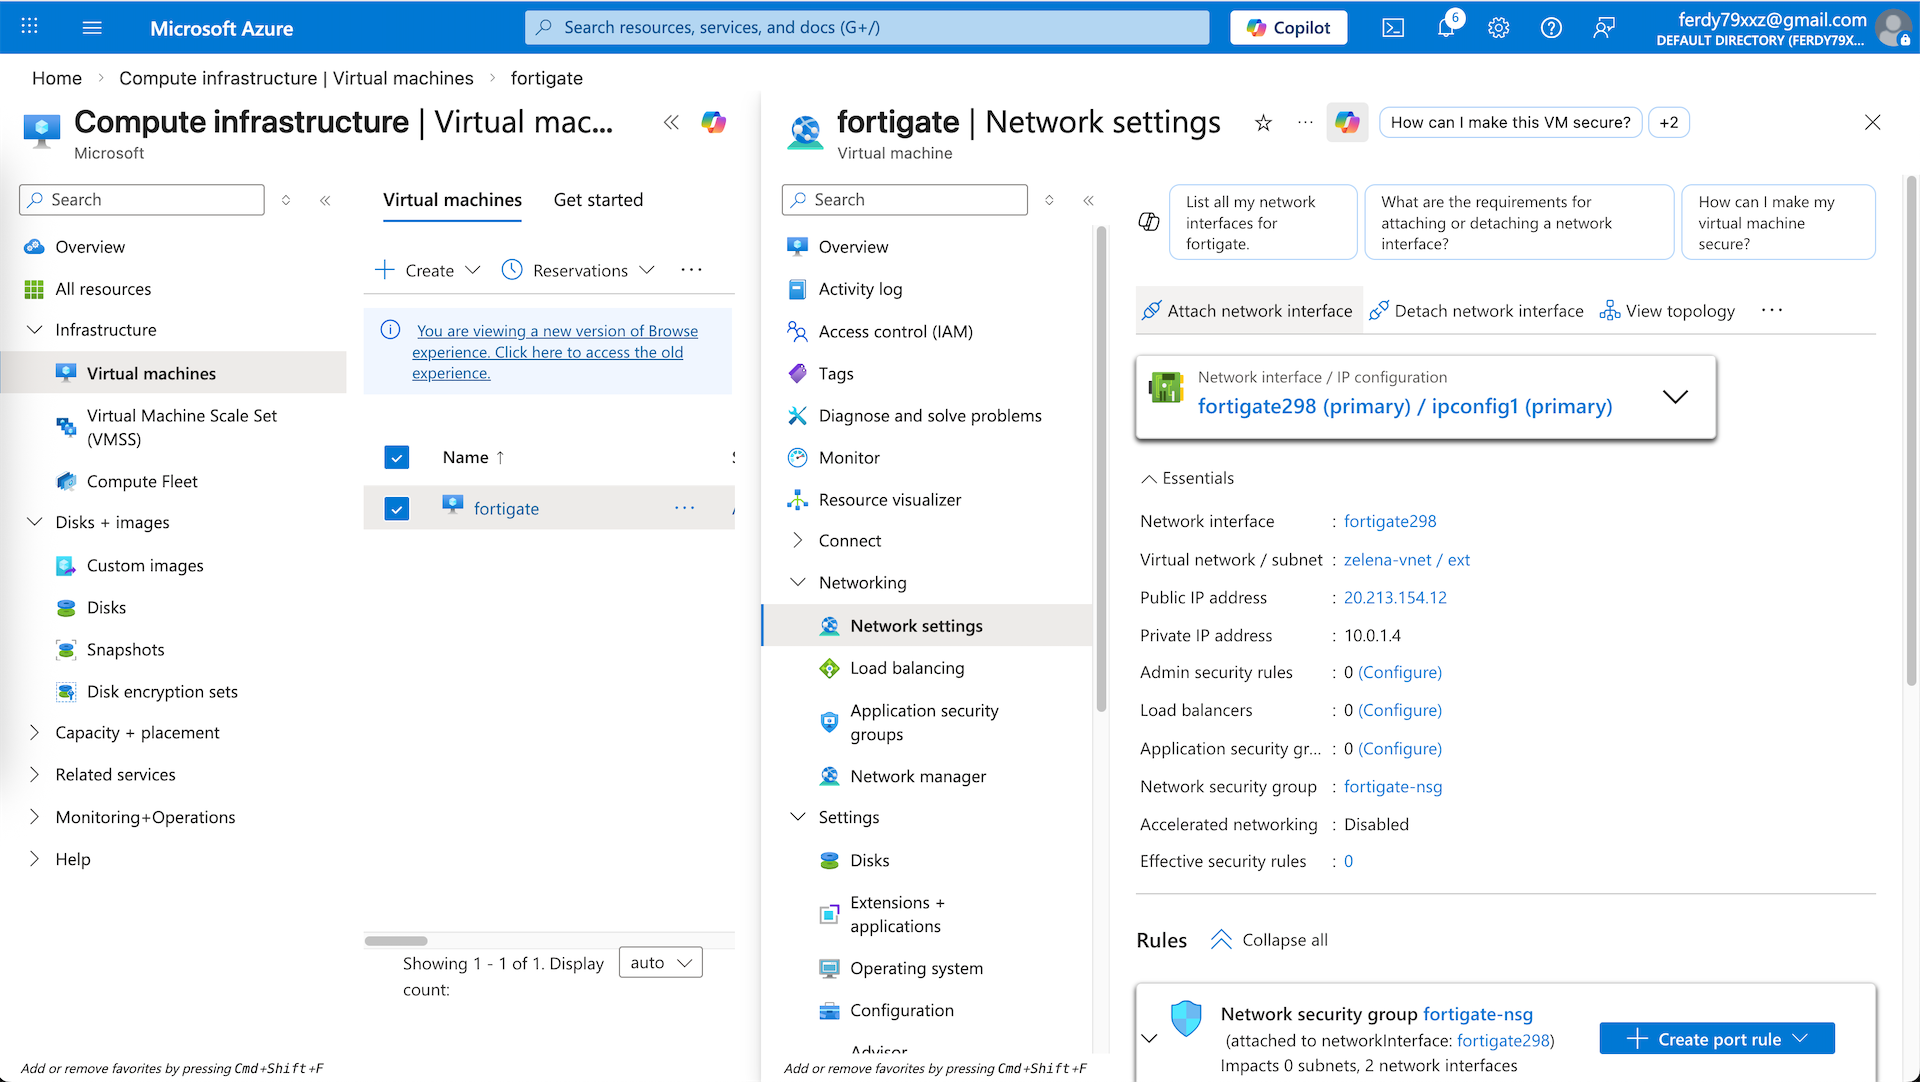
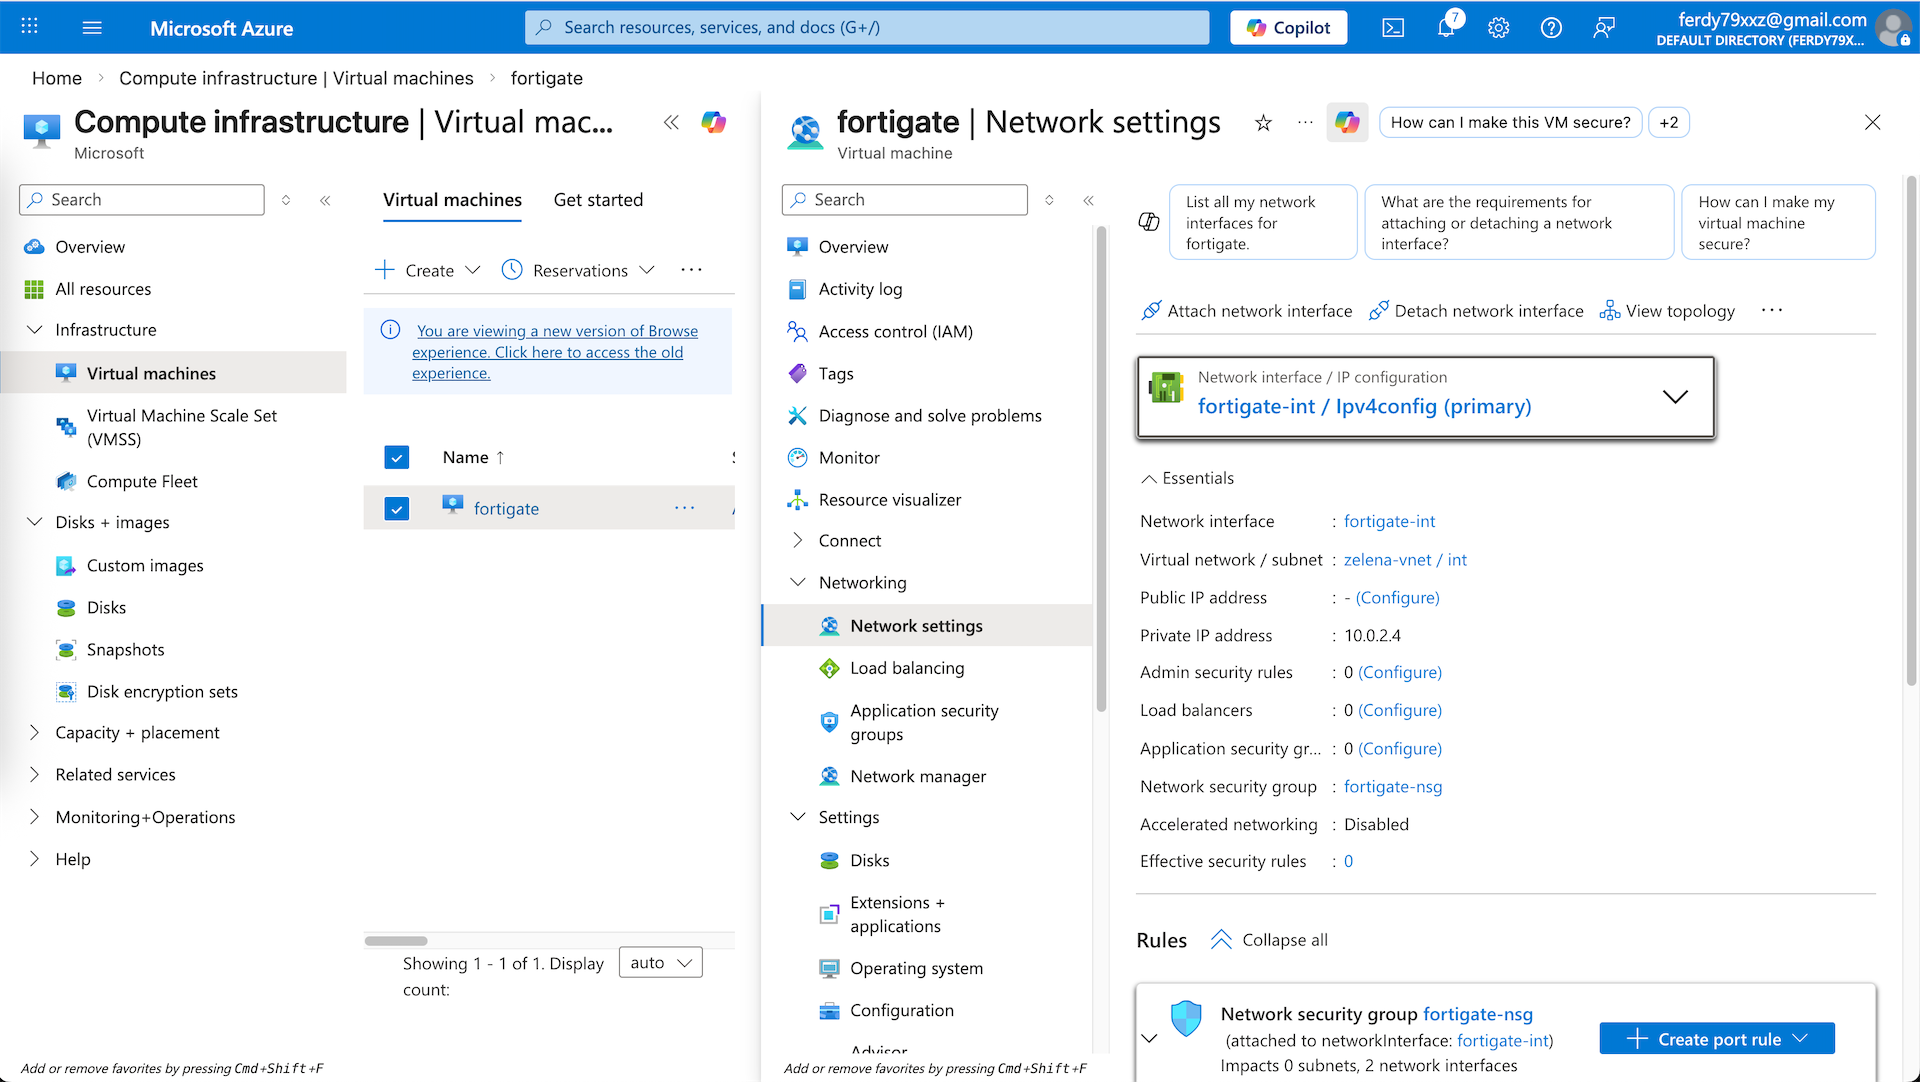
Now our int interface is also attached
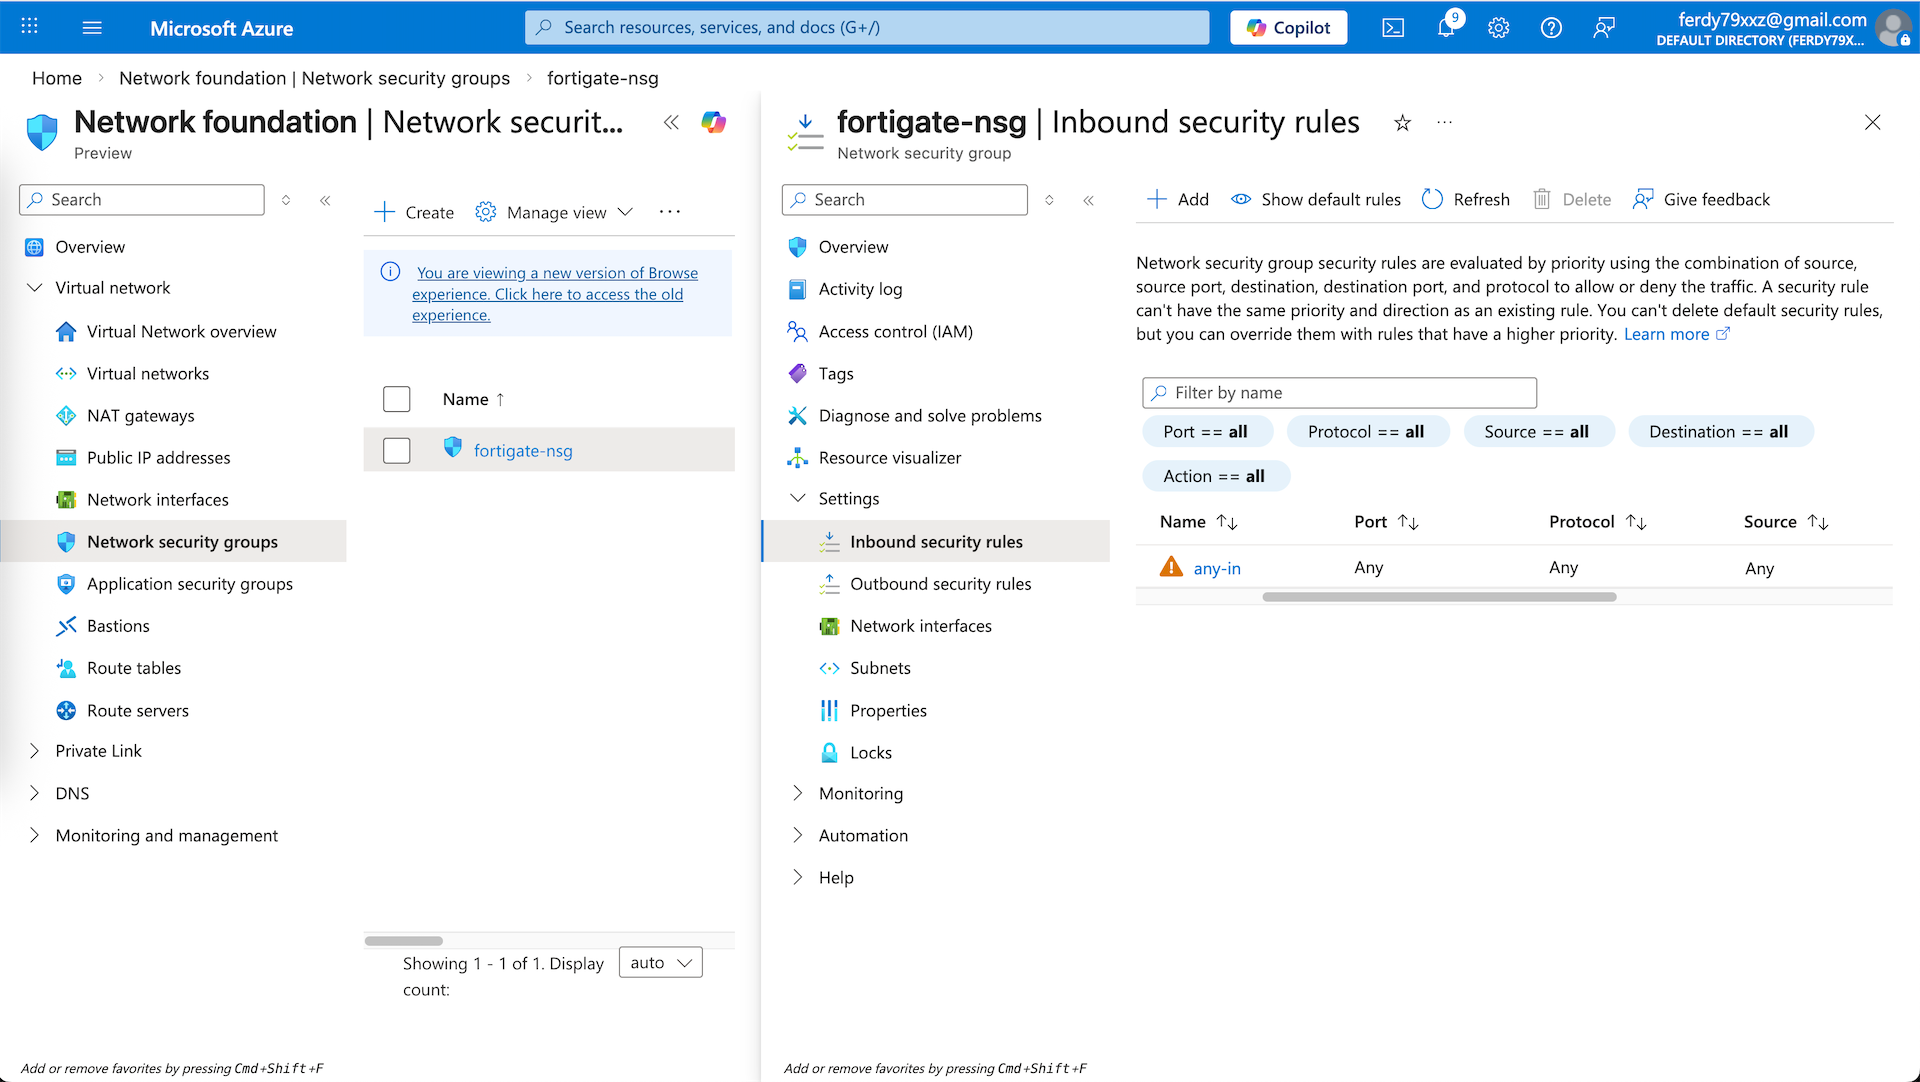
Network Security Group
Next we will configure our NSG to allow traffic coming in and out of our VM. Here we configure a simple any-any rules for simplicity

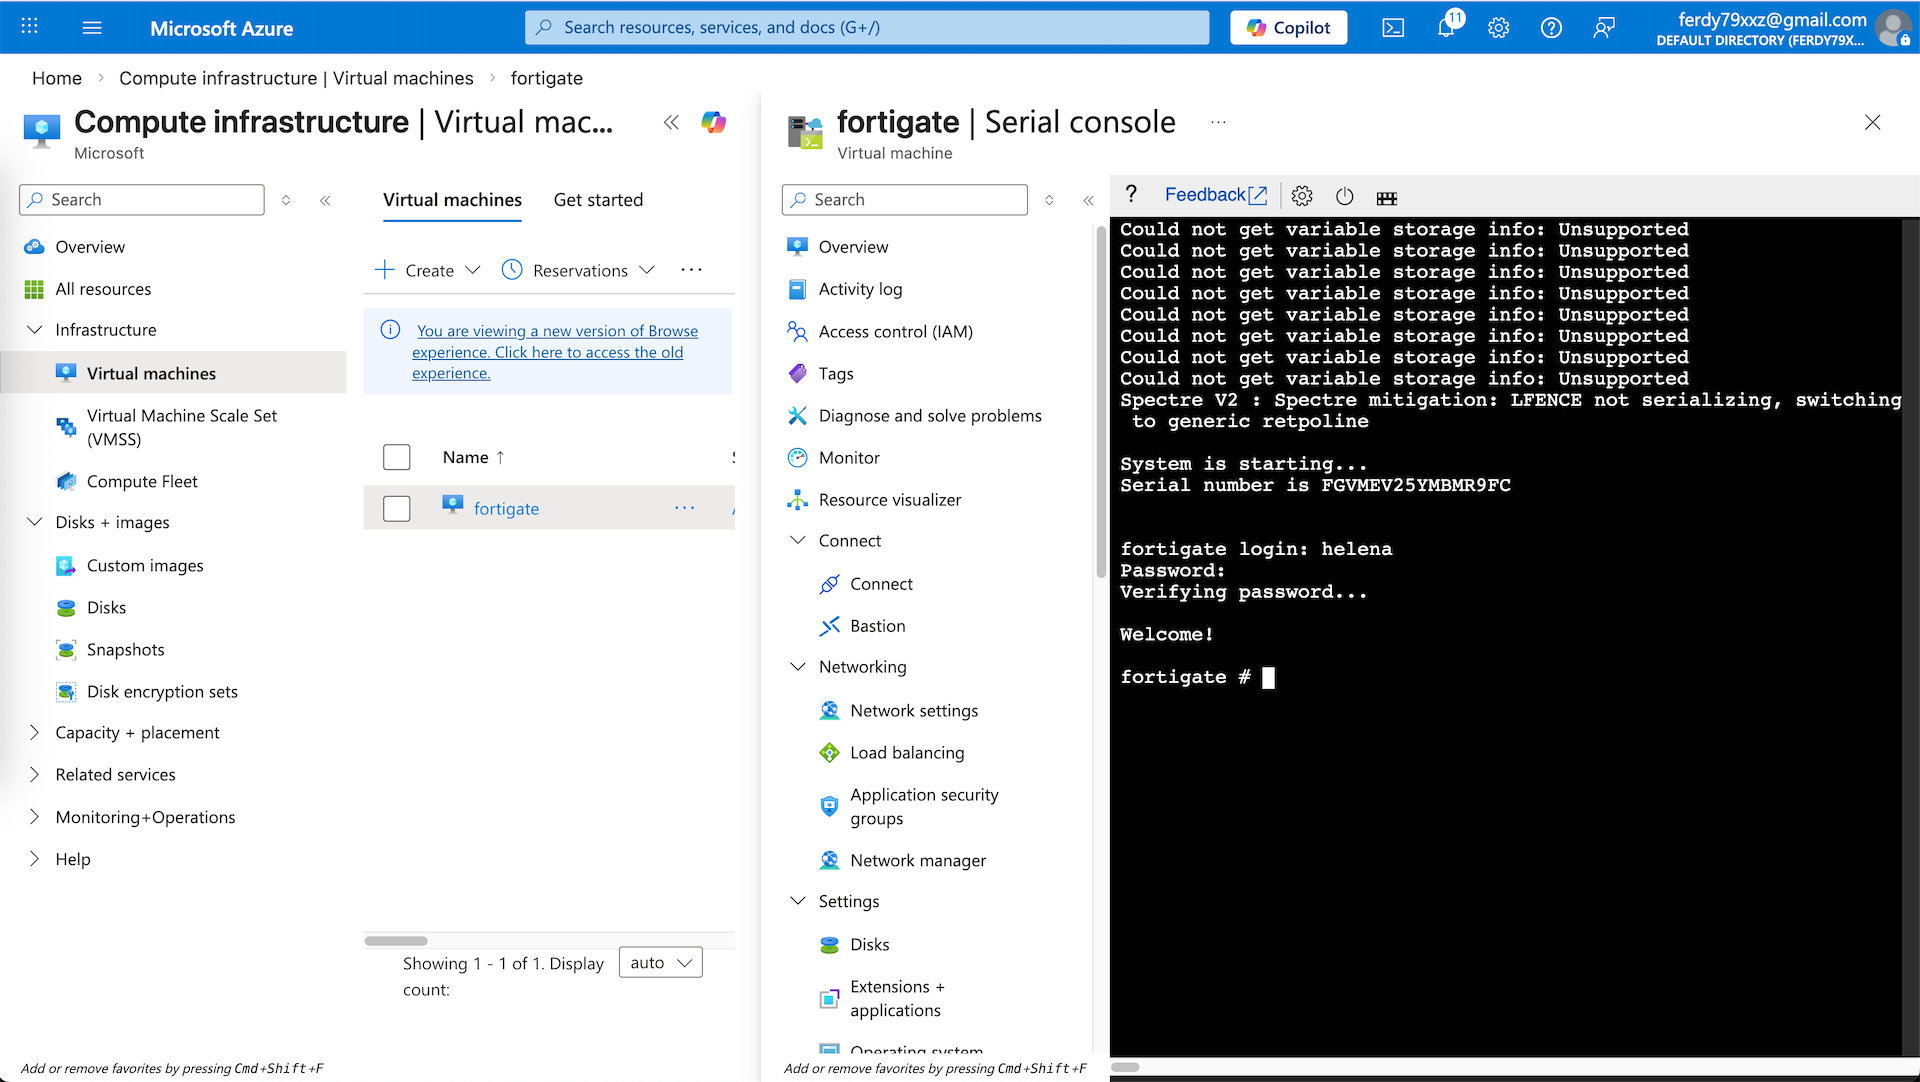
Powering On VM
Now that all of our networking configs is done, we can power on the Fortigate VM and access it using Serial Console
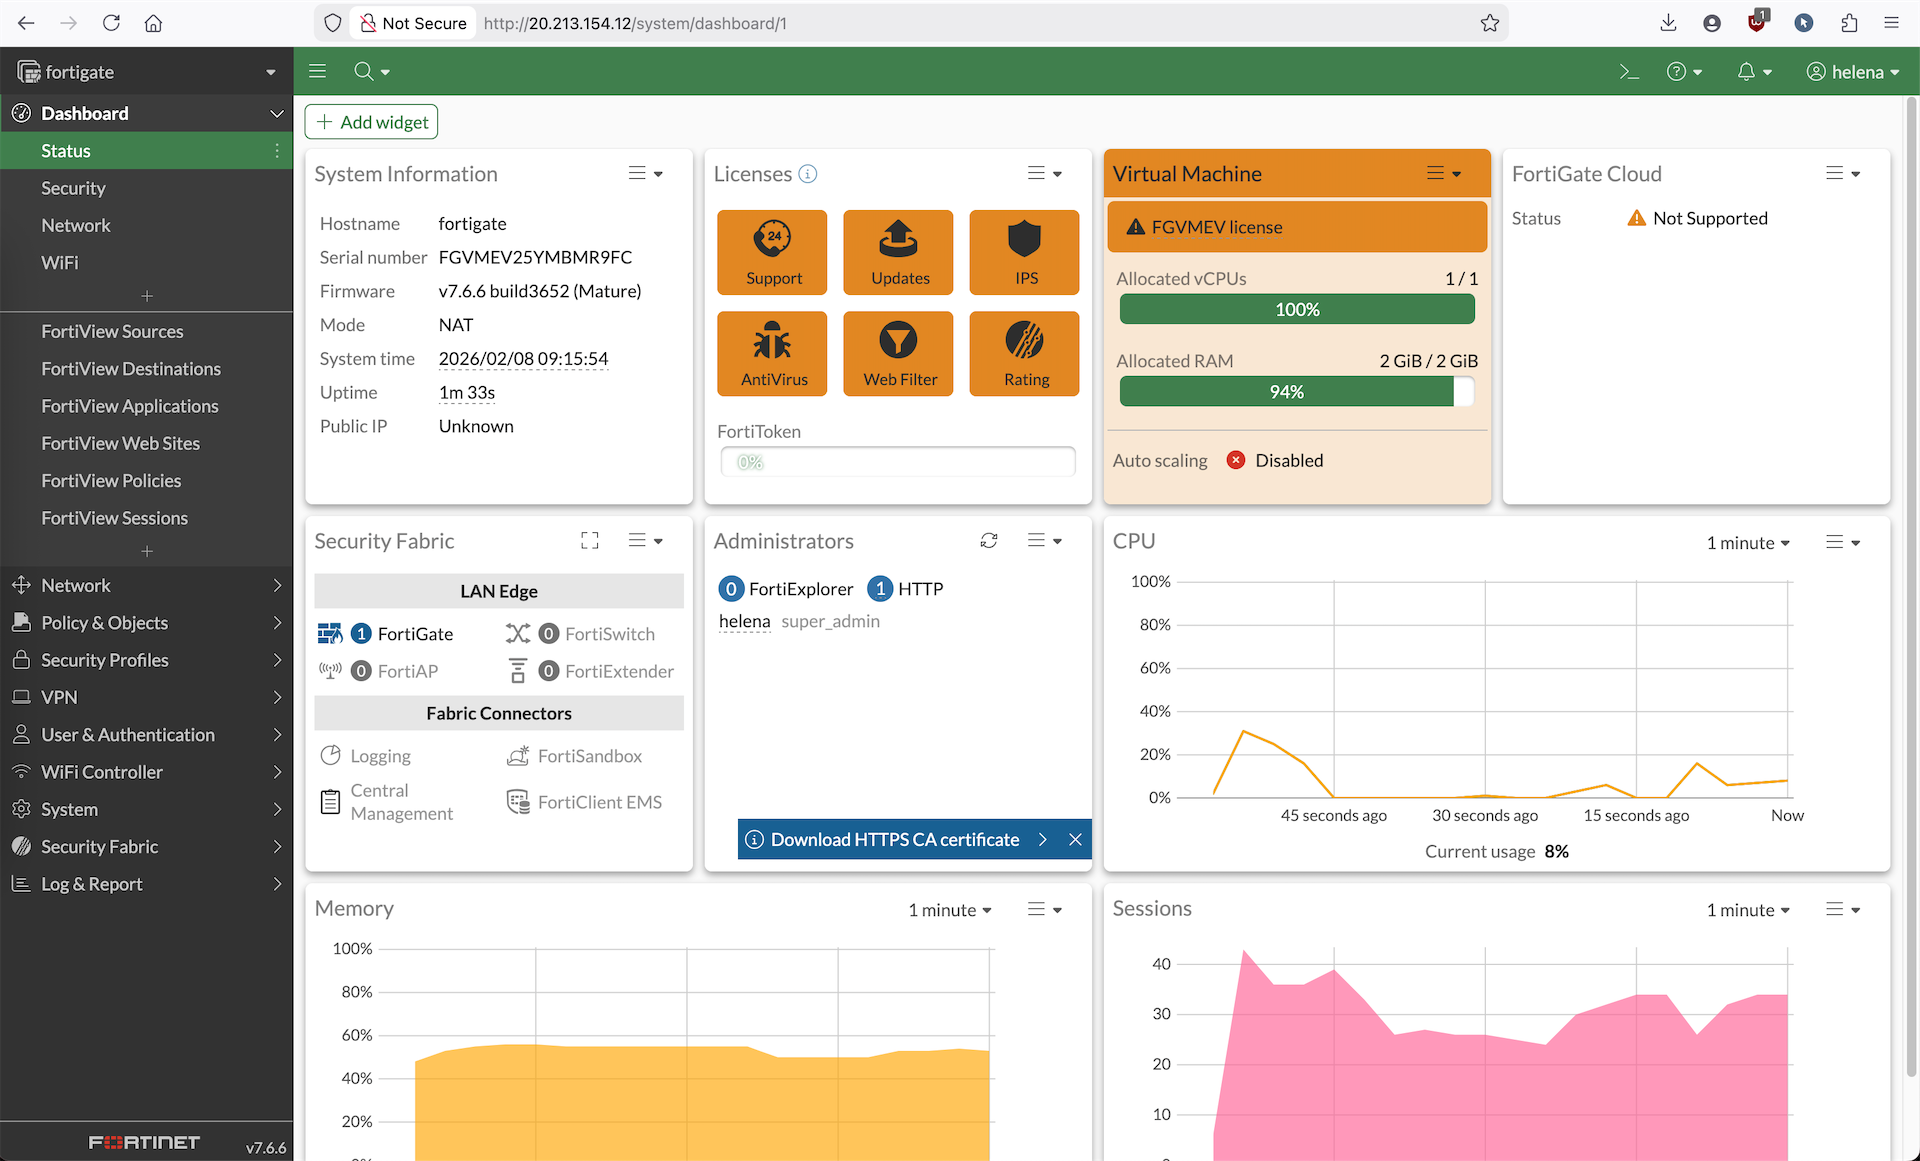
Or we can just access the GUI using the Public IP

Routes
Next we will configure routes so int subnet’s traffic is steered to use Fortigate as default gateway
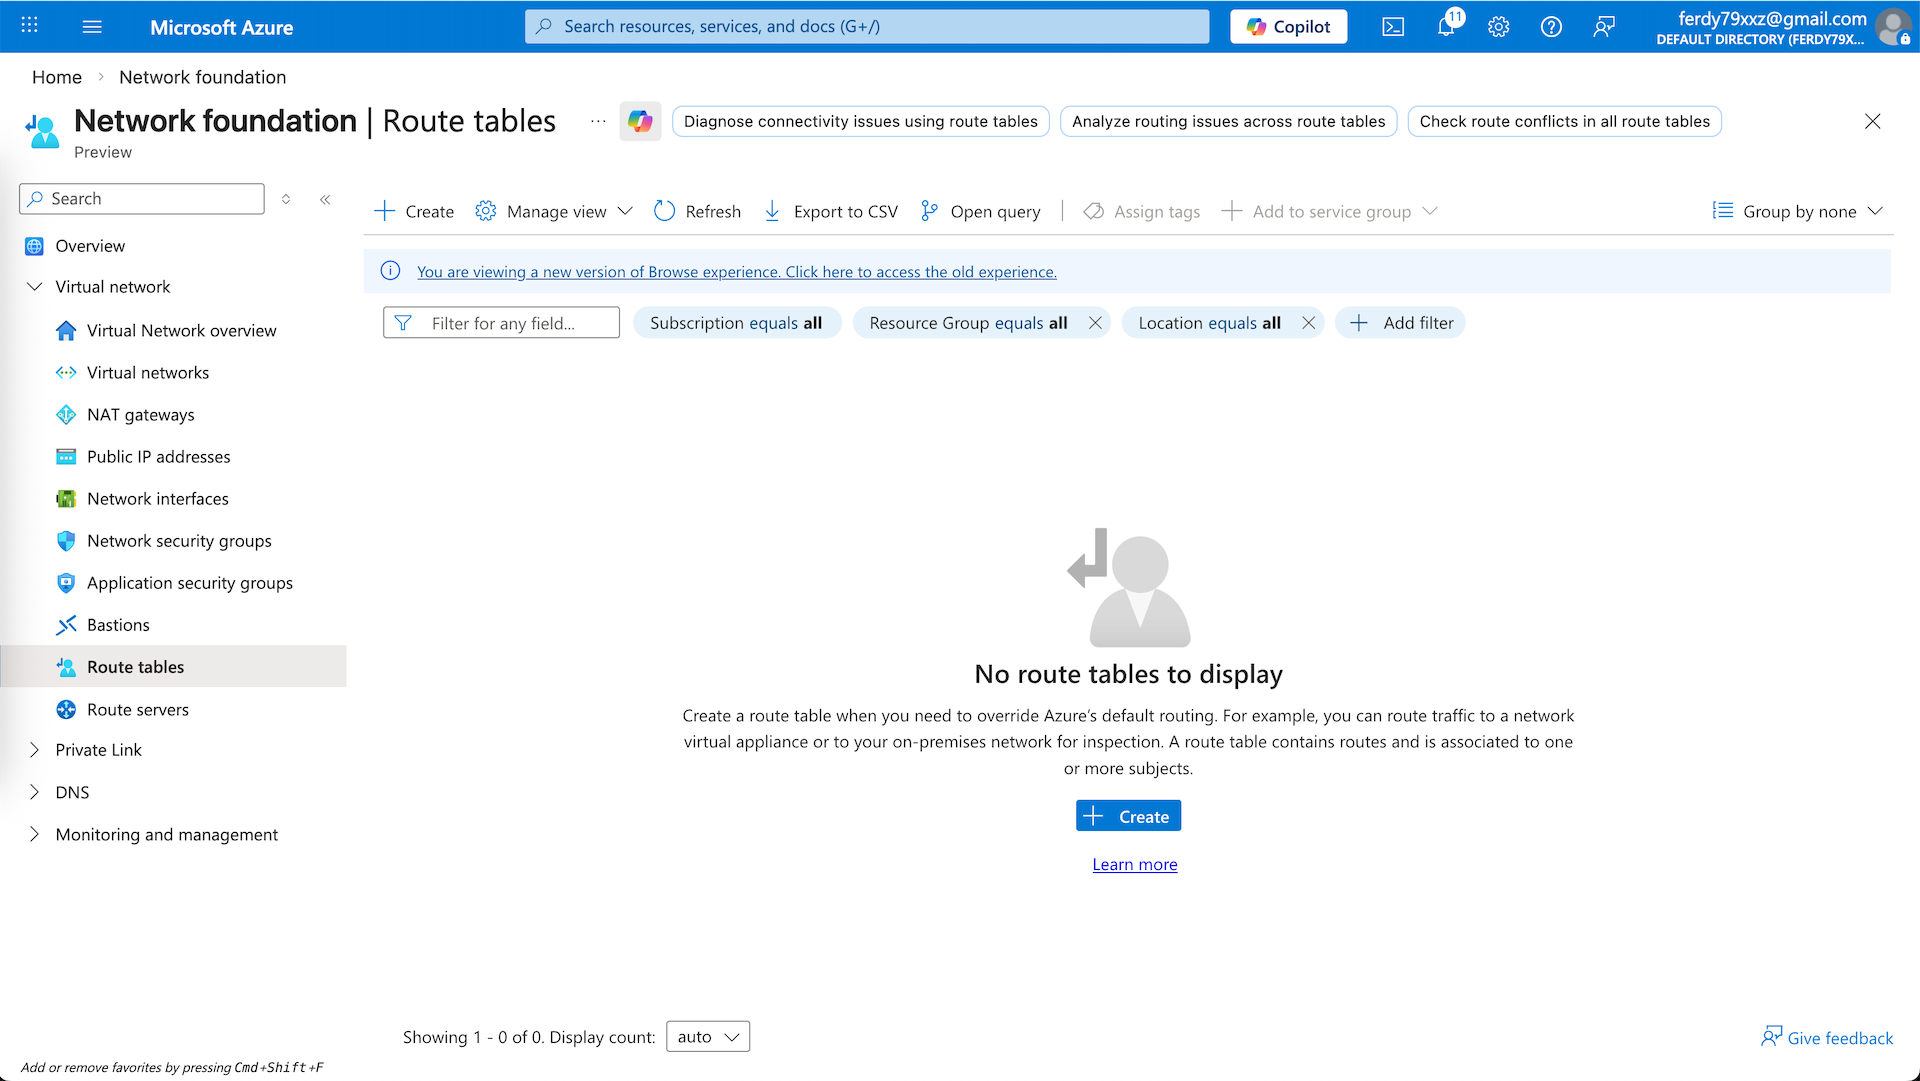
Here we create a new Route Table named ‘internal-routing’
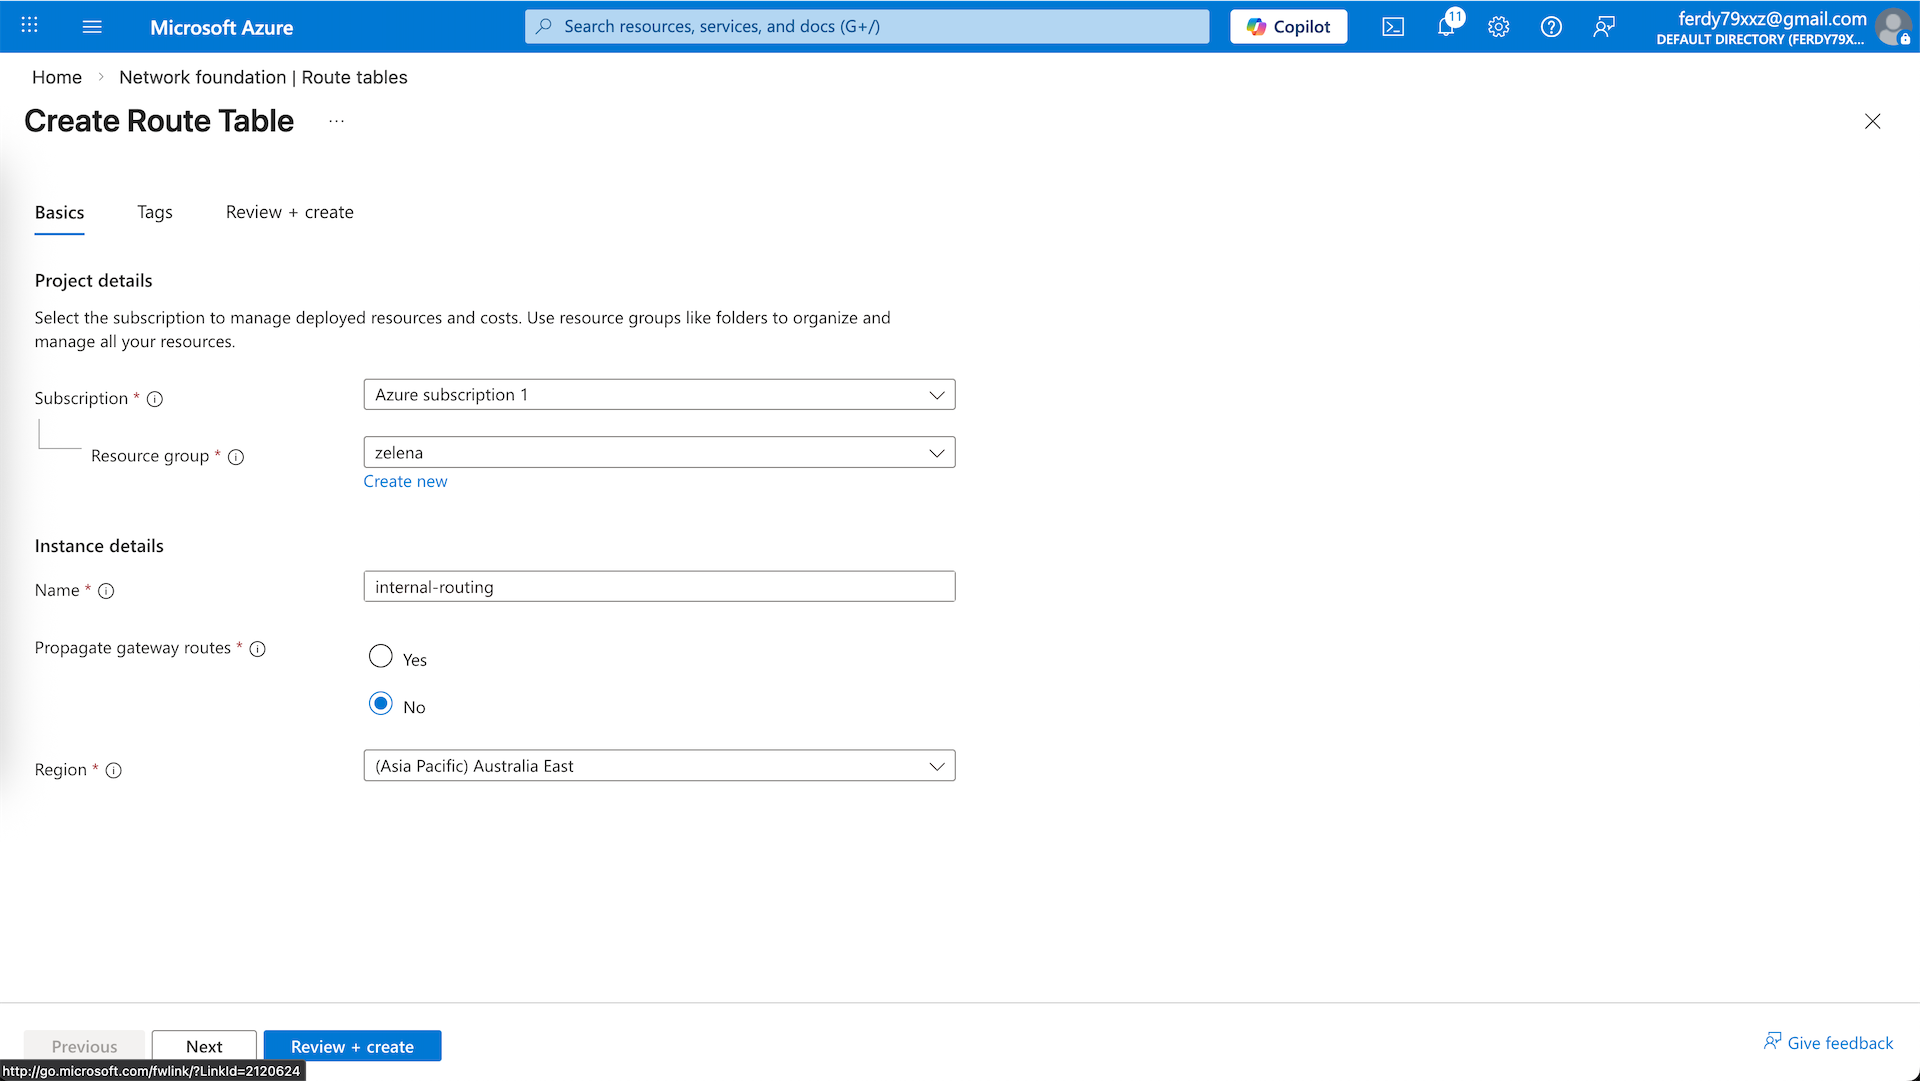
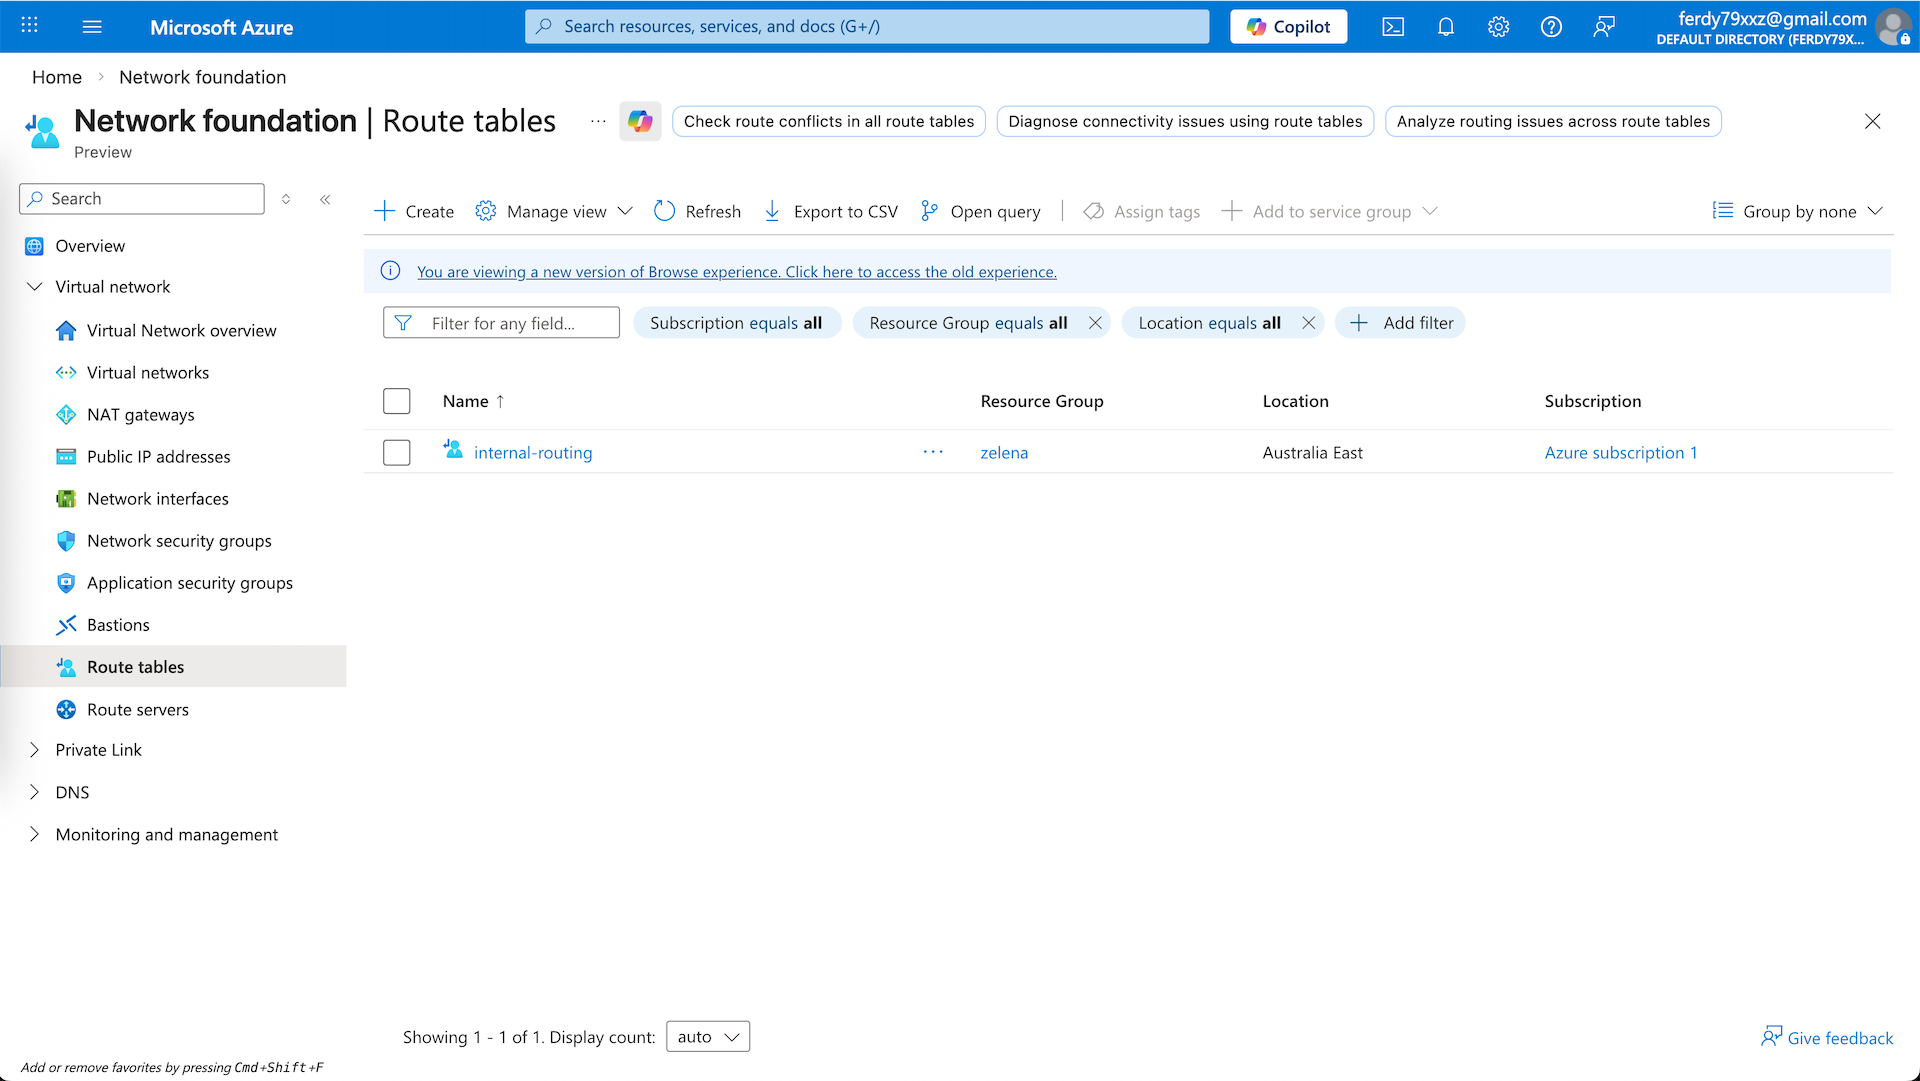
Enter the ‘internal-routing’ and and add Default Route that points to the Fortigate’s internal IP

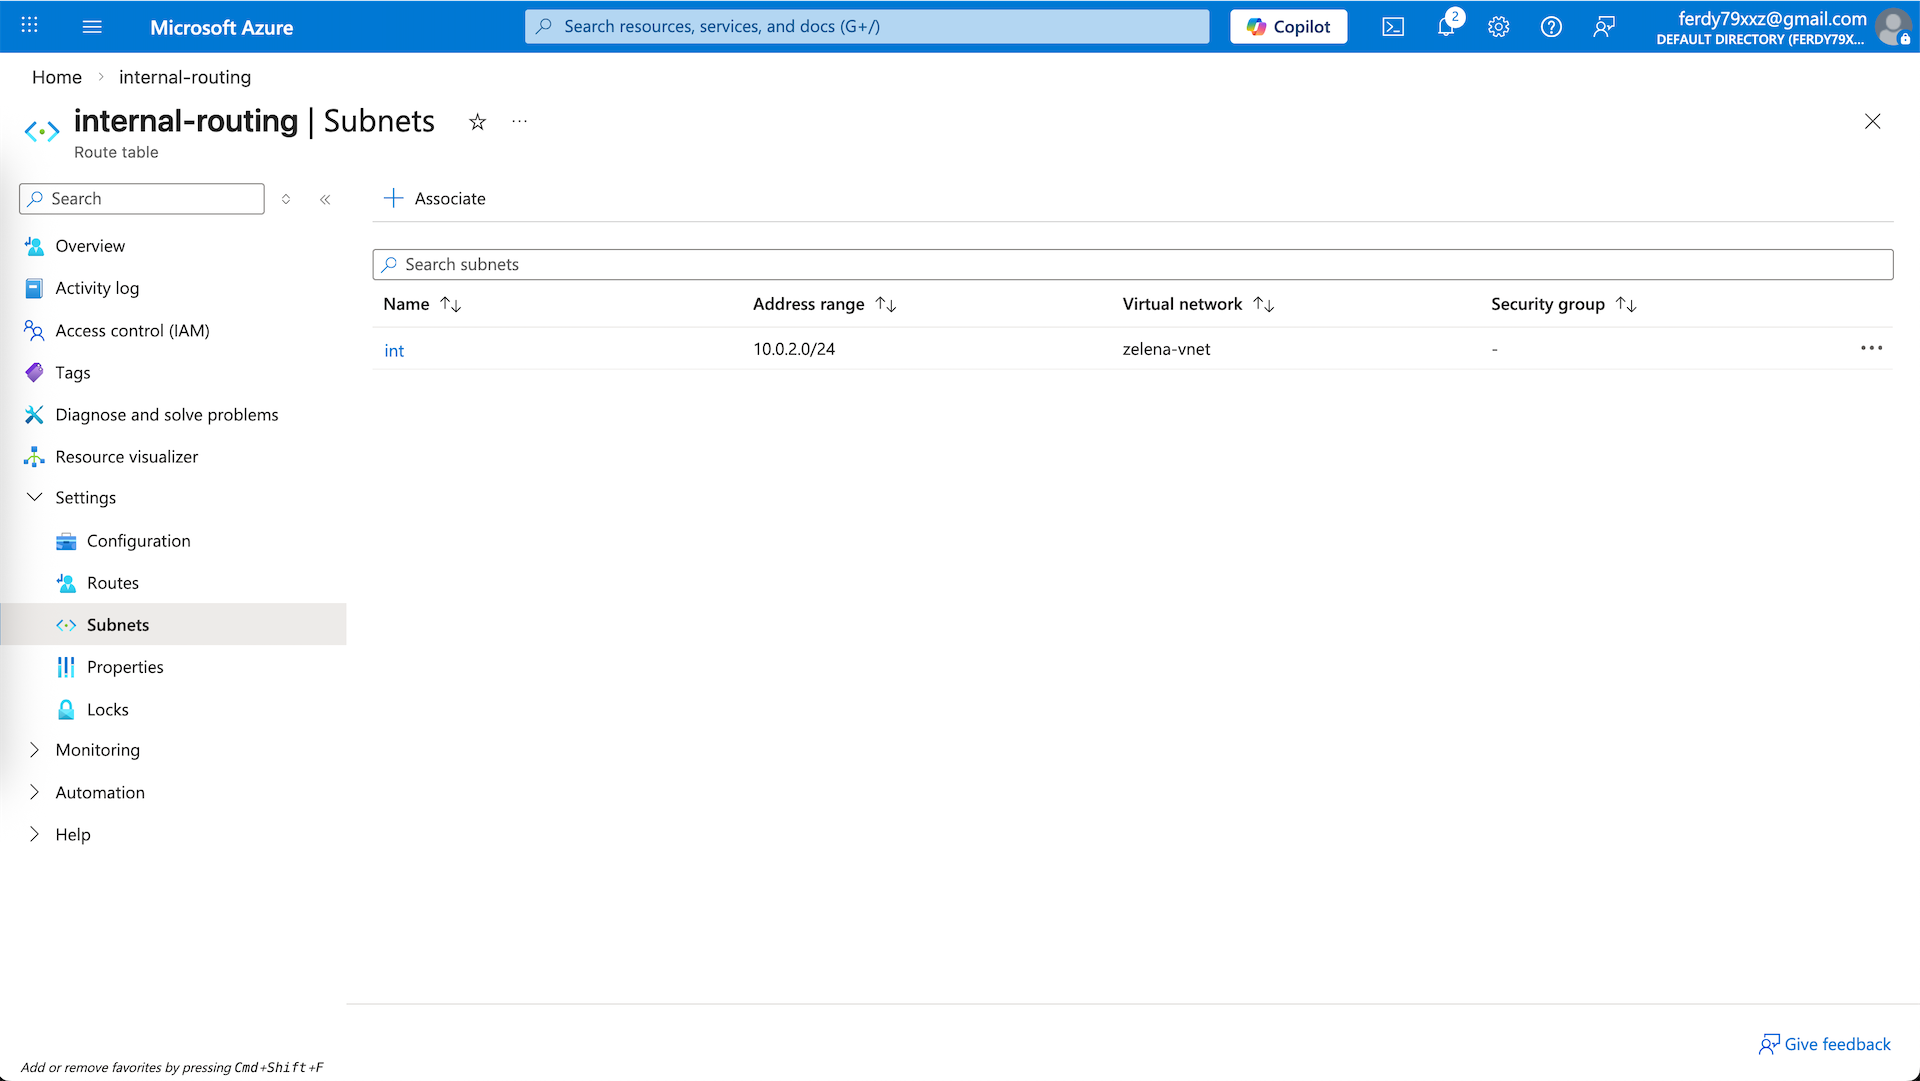
Then associate the routing table to the int subnet
Testing
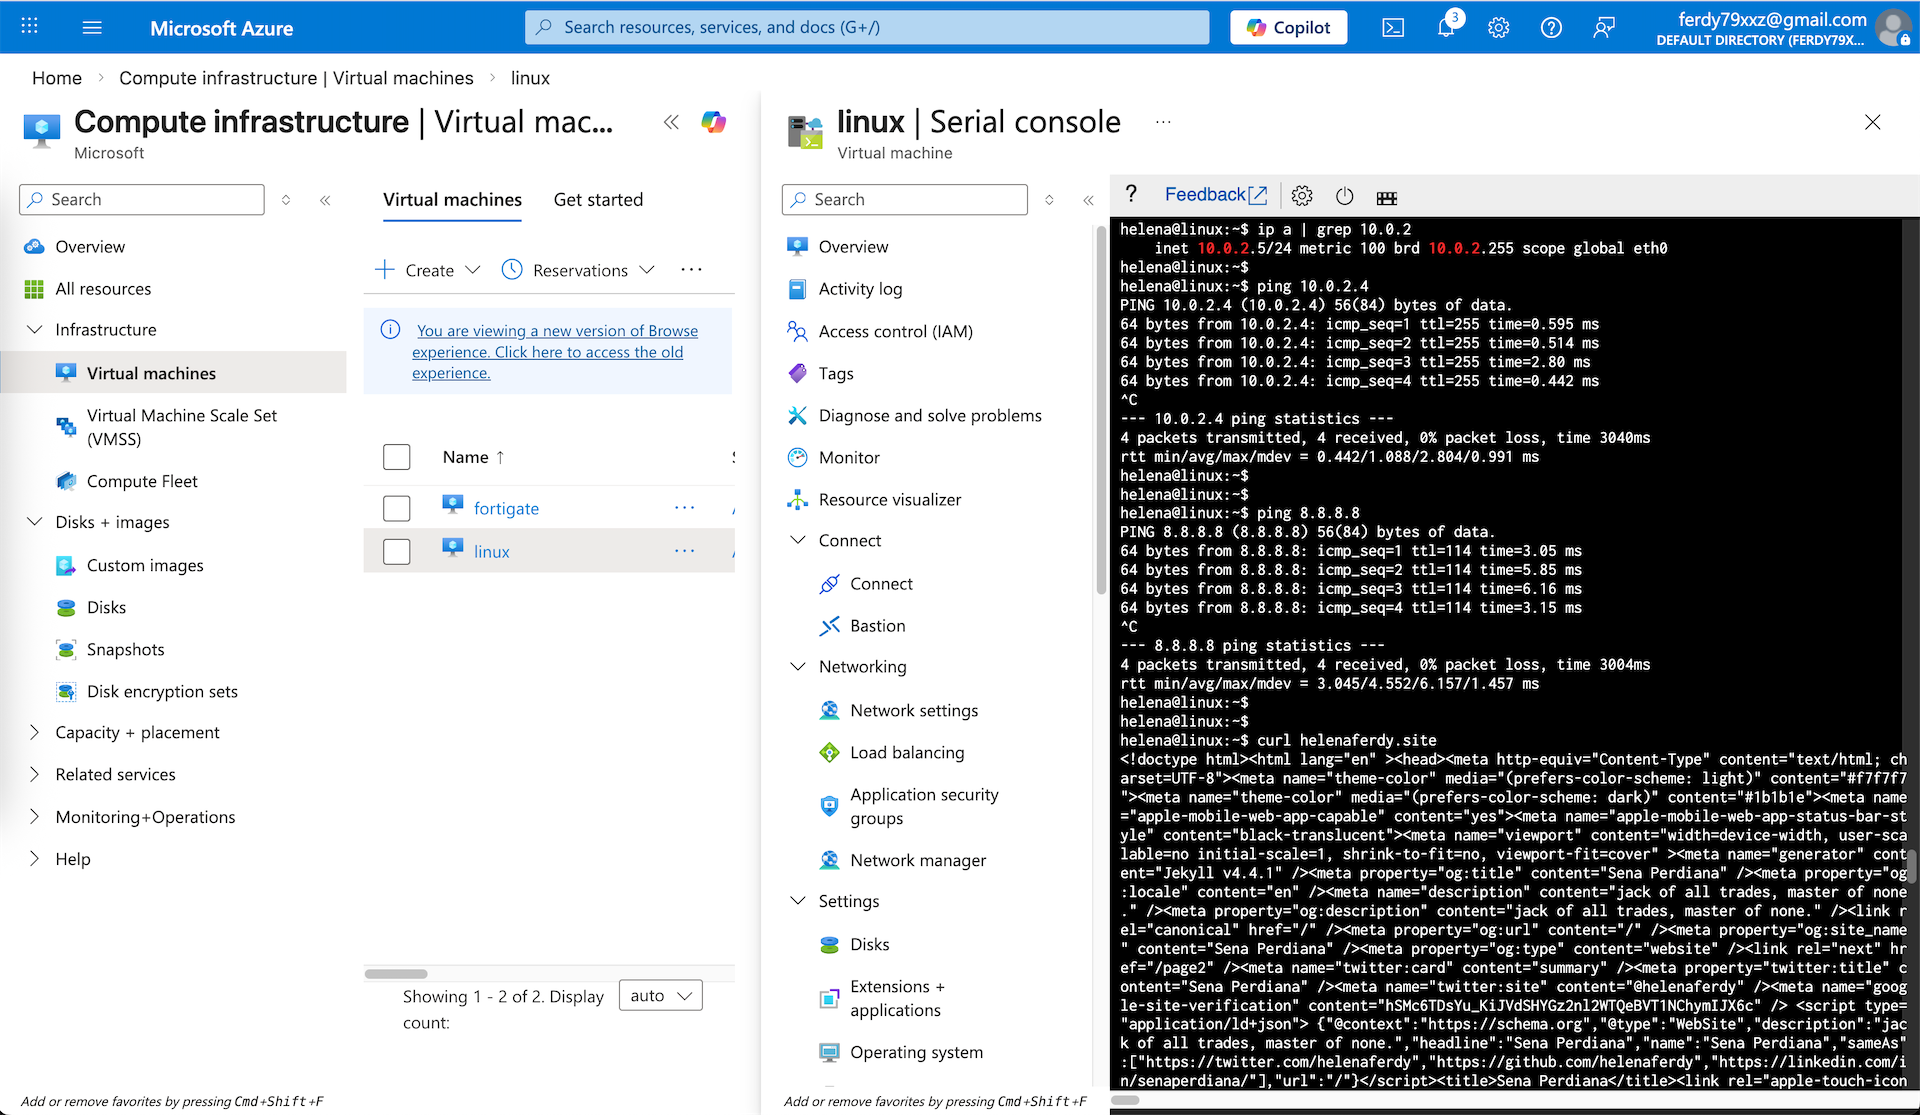
To test our firewall setup, we deploy a linux VM on the int subnet
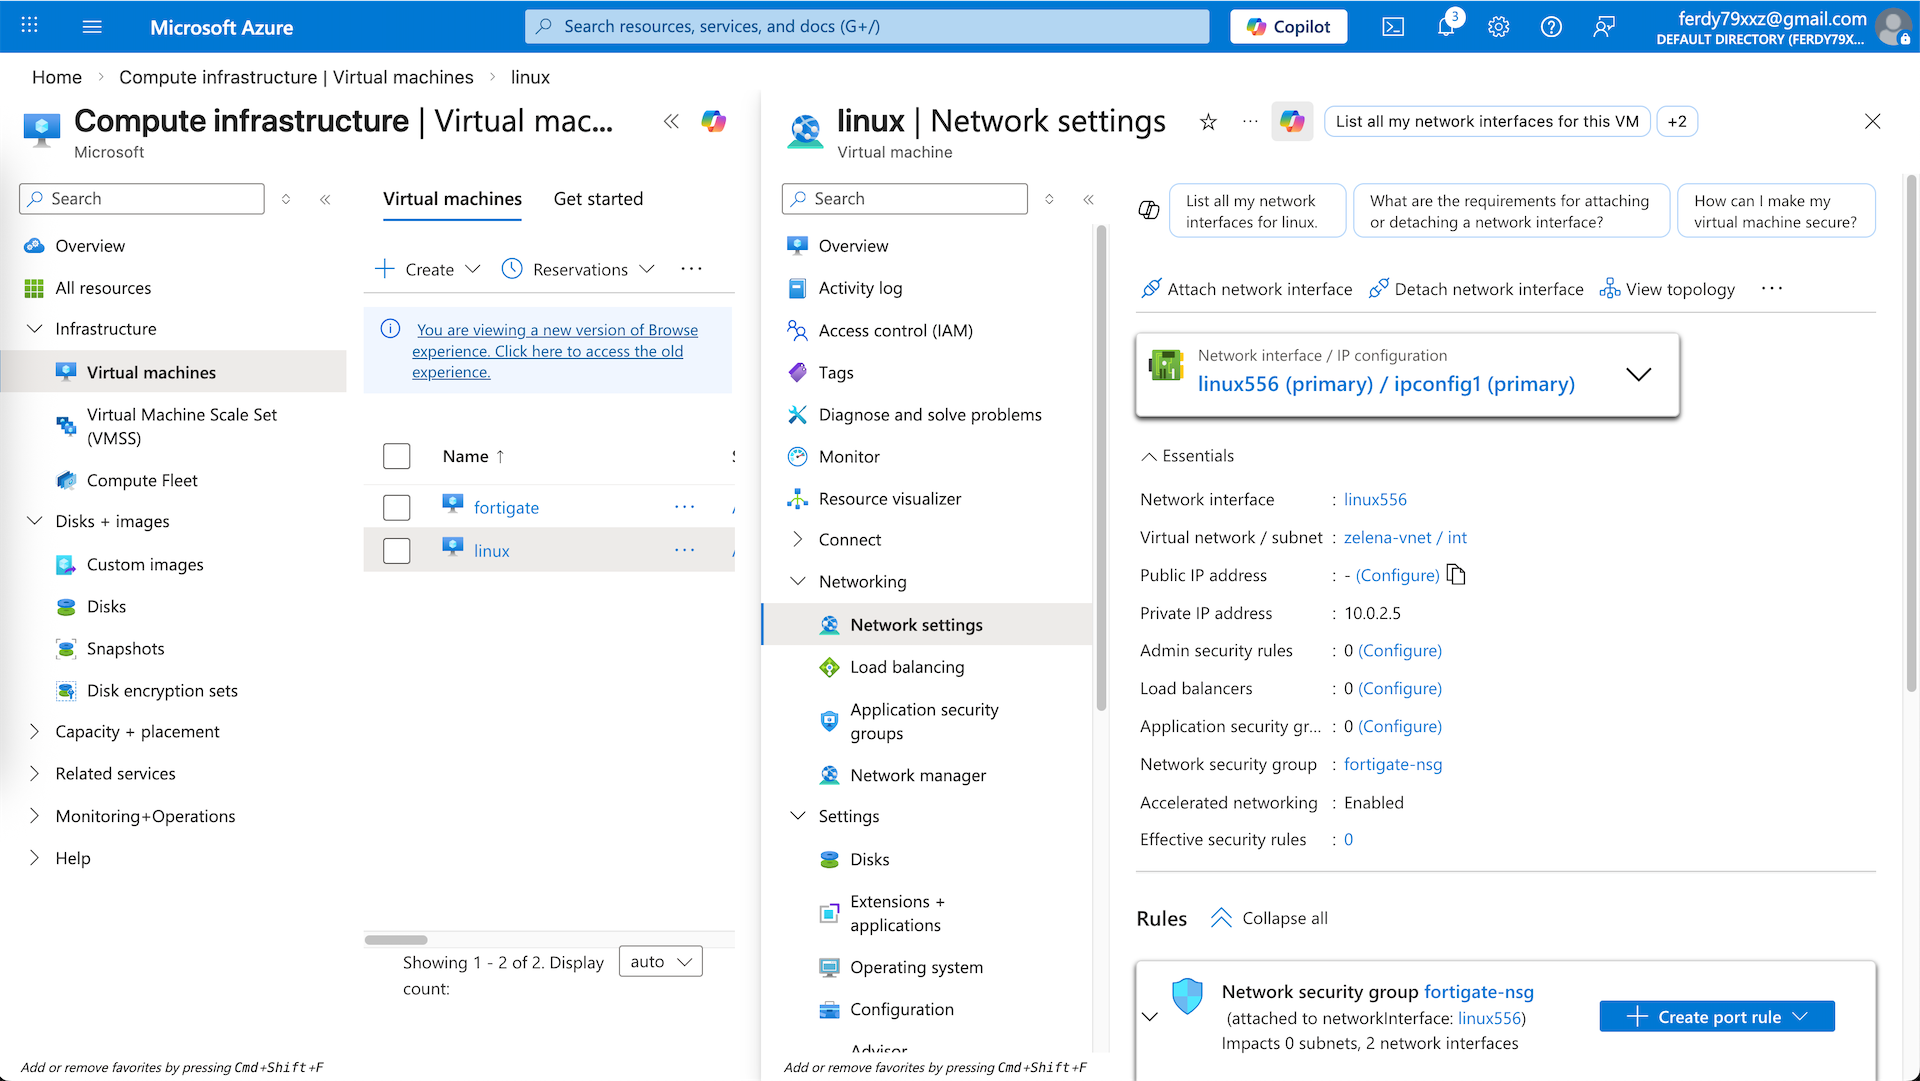
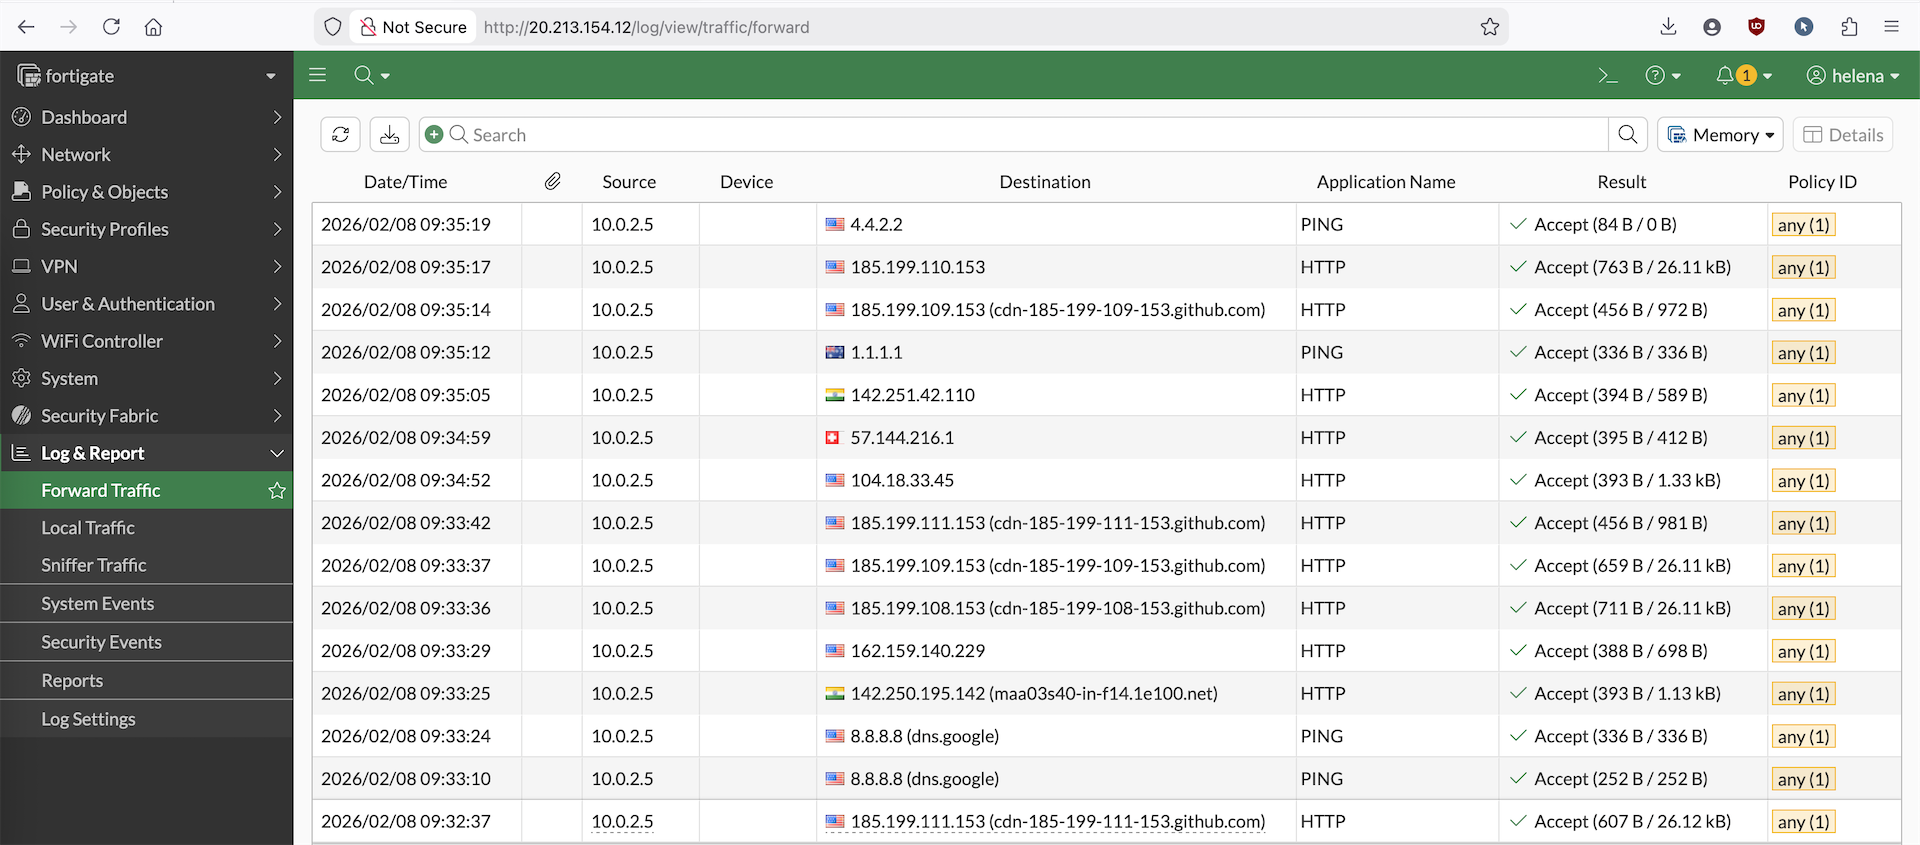
Here we can see that our Linux (10.0.2.5) can ping the Fortigate’s internal IP and also can access the internet
On Fortigate’s firewall logs, we can also see the logs of our linux server accessing internet through our Fortigate