GCP Classic VPN with Check Point
In this lab, we build a site-to-site VPN between on-premises Check Point and Google Cloud Platform (GCP) using Classic VPN with static routing. This approach relies on encryption domains instead of tunnel interfaces (VTIs). Encryption domains define which on-prem and GCP subnets are allowed to traverse the tunnel, acting as the traffic selector for Phase 2. Since Classic VPN has no routed interface, this subnet-based matching is the only way to determine what traffic gets encrypted.
Configuring Classic VPN on GCP
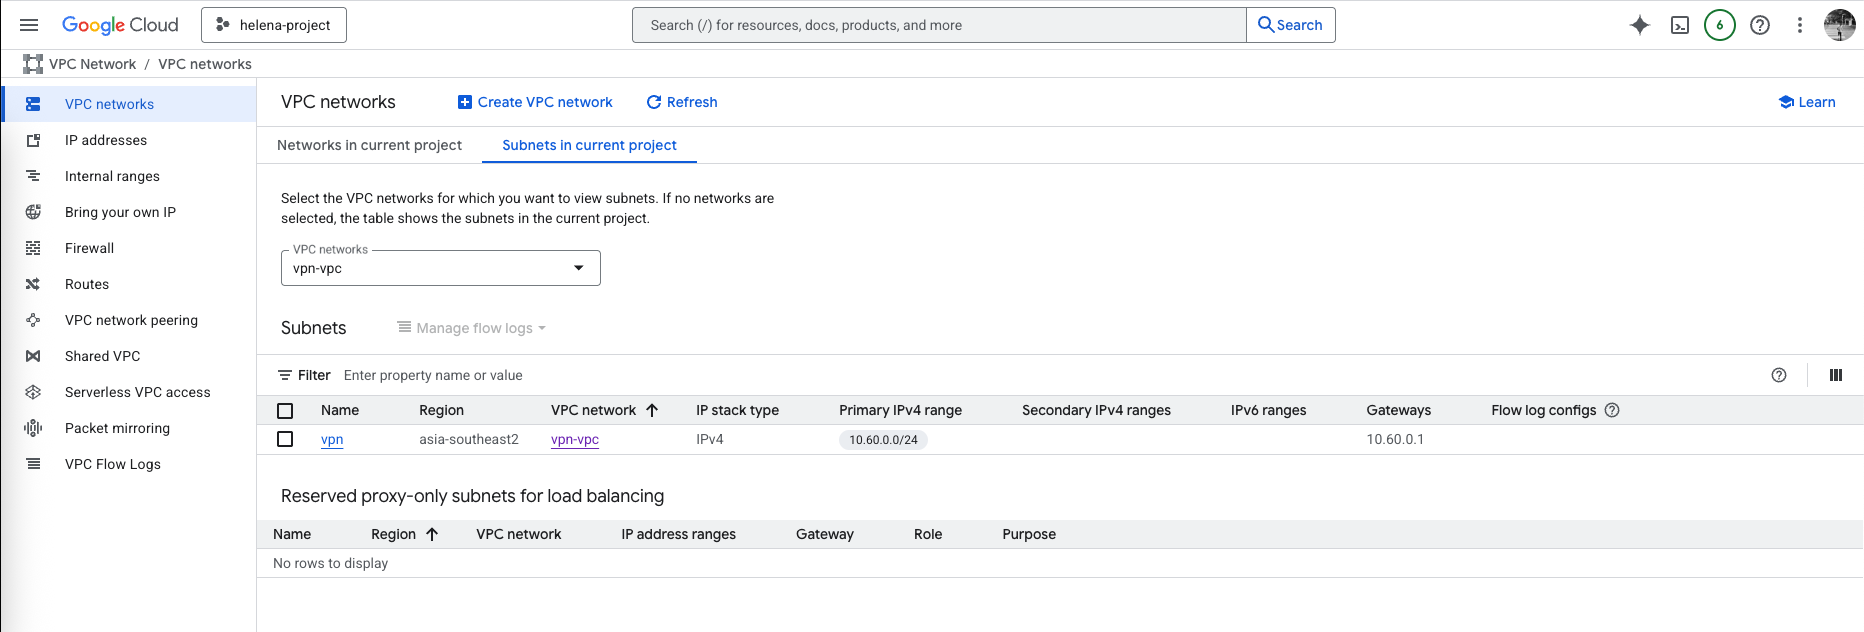
For this lab, we create a new VPN-VPC with subnet 10.60.0.0/24
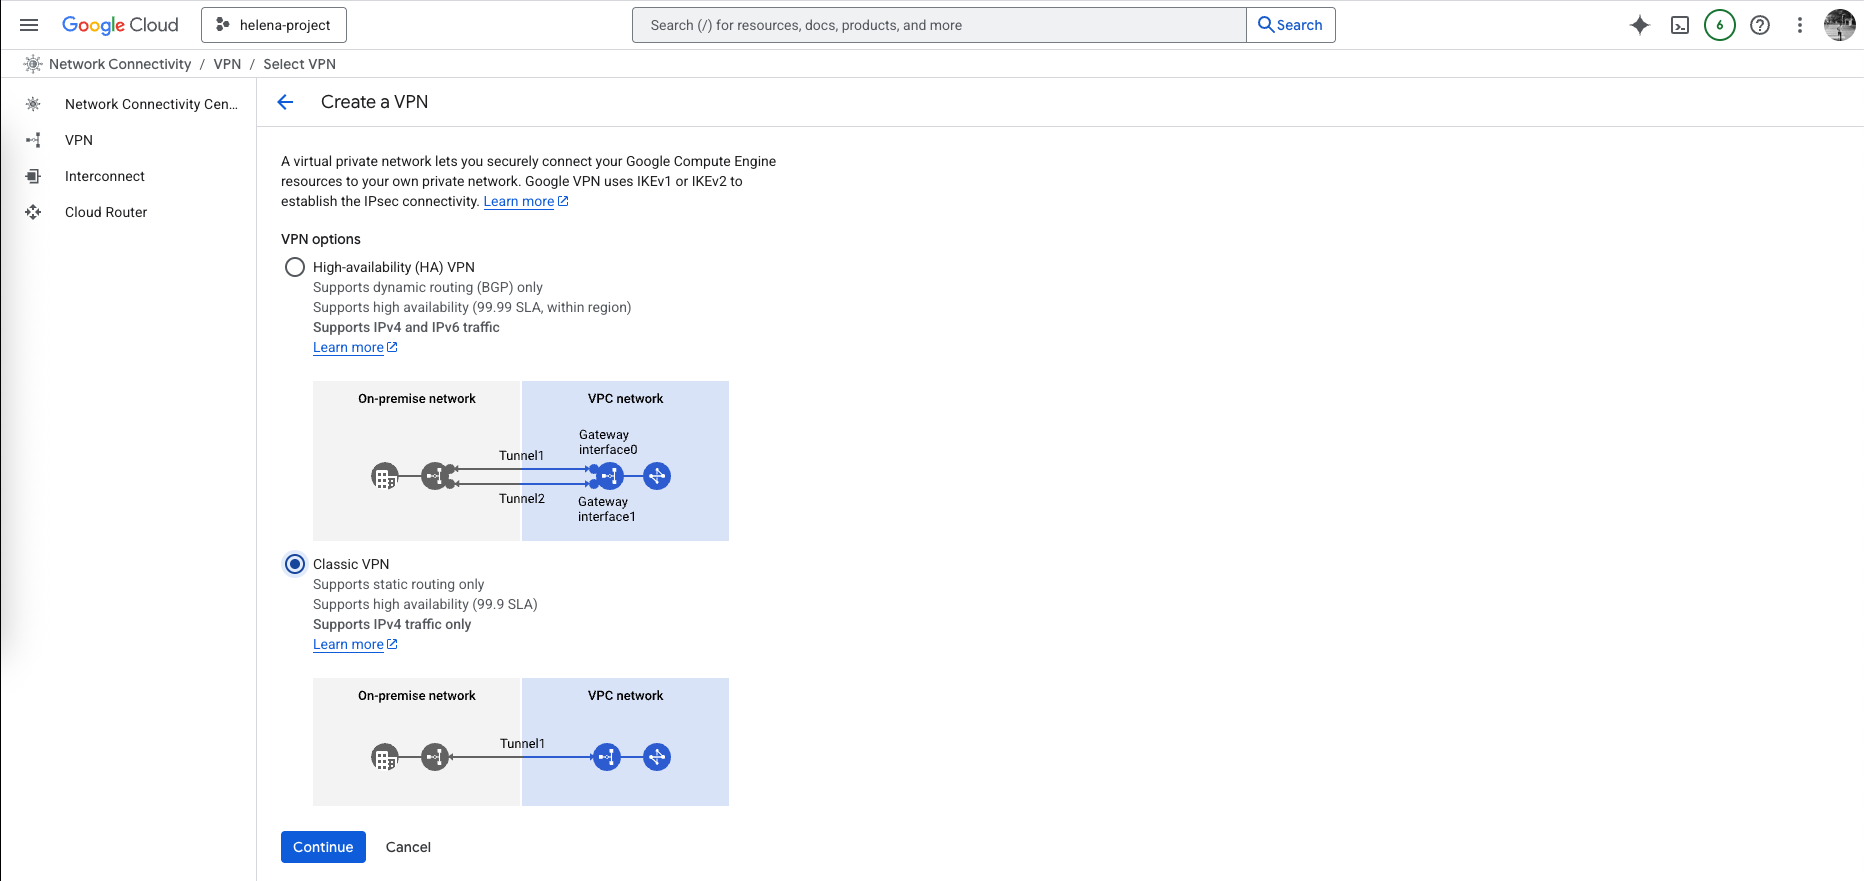
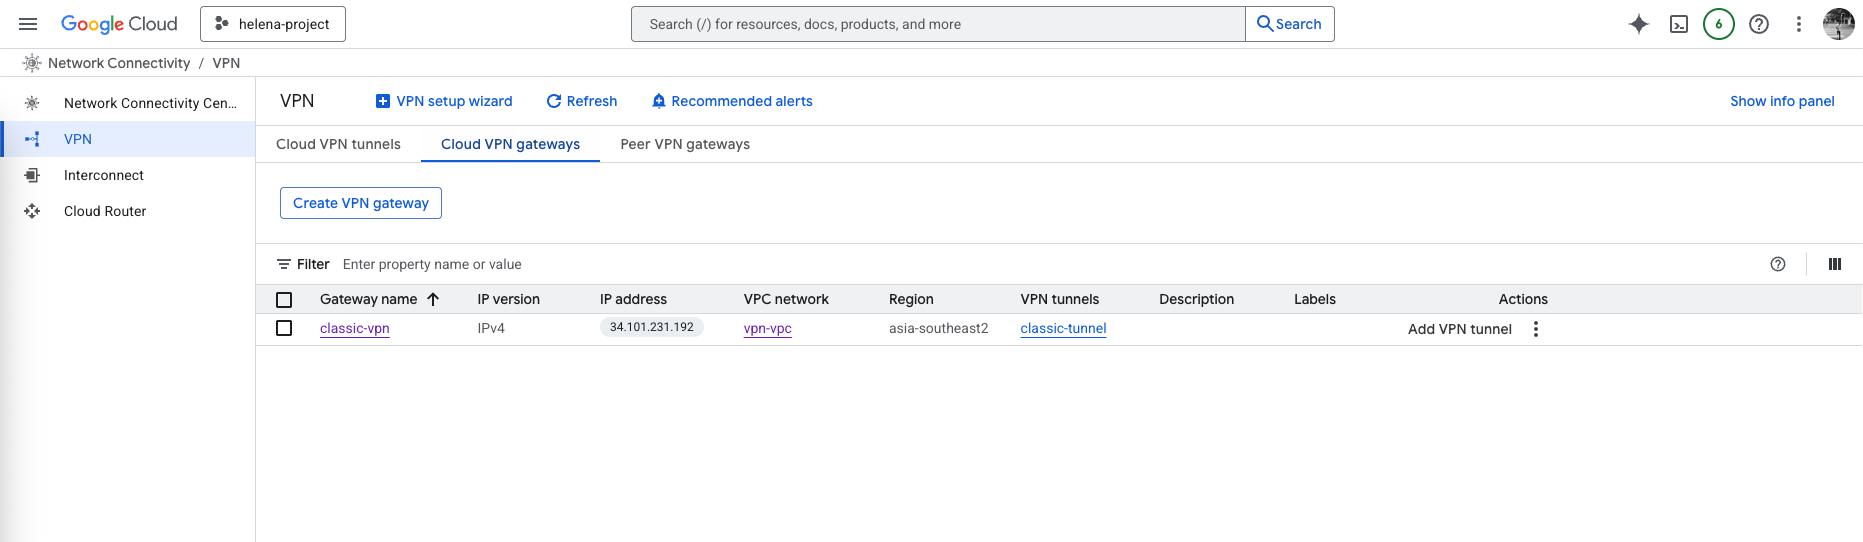
Next we create the Classic VPN
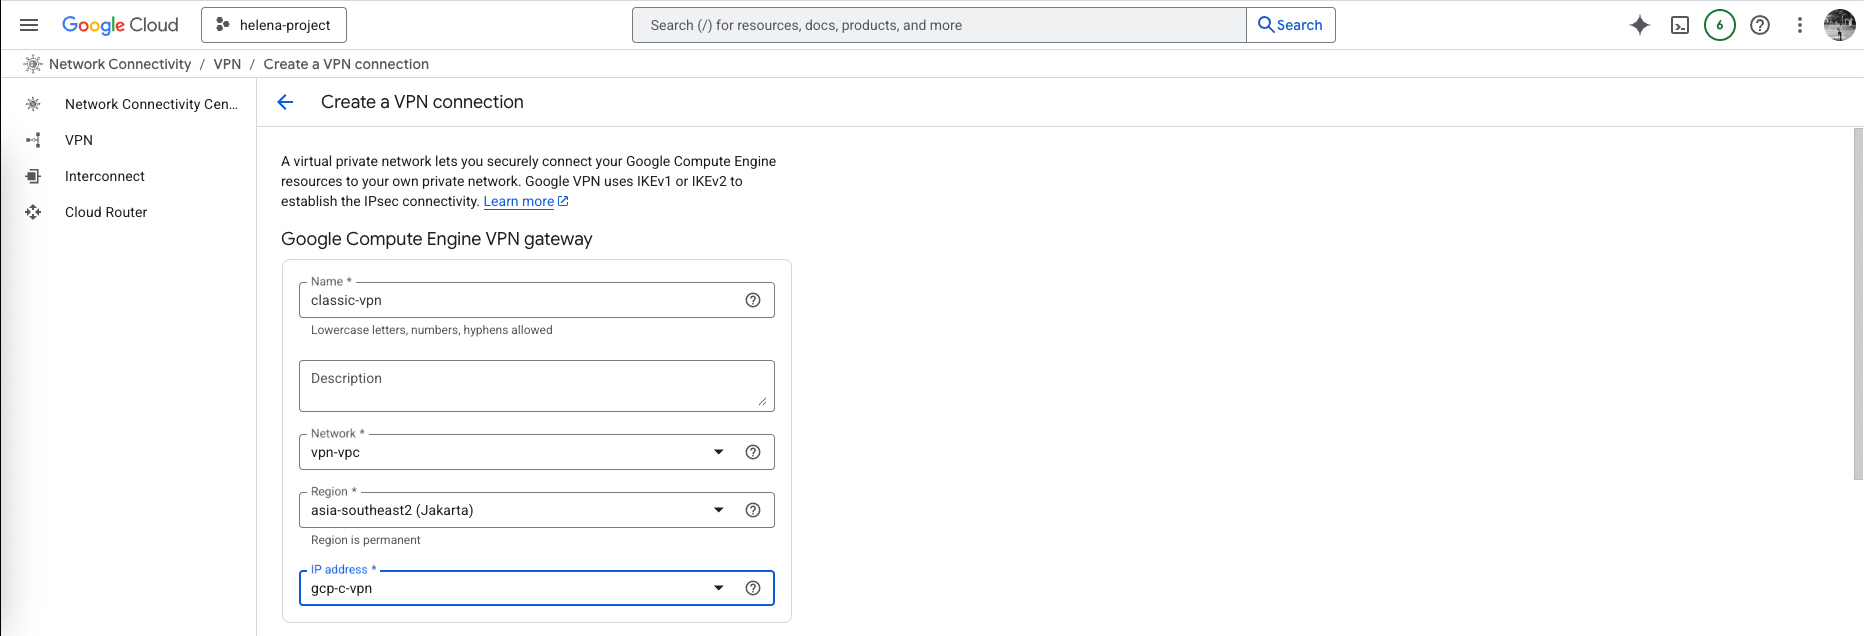
Then select the VPC and give it a Public IP Address
After that setup the tunnel, here we set the on-prem’s Check Point Public IP Address, the Check Point itself sits behind NAT so it’s not a direct public IP
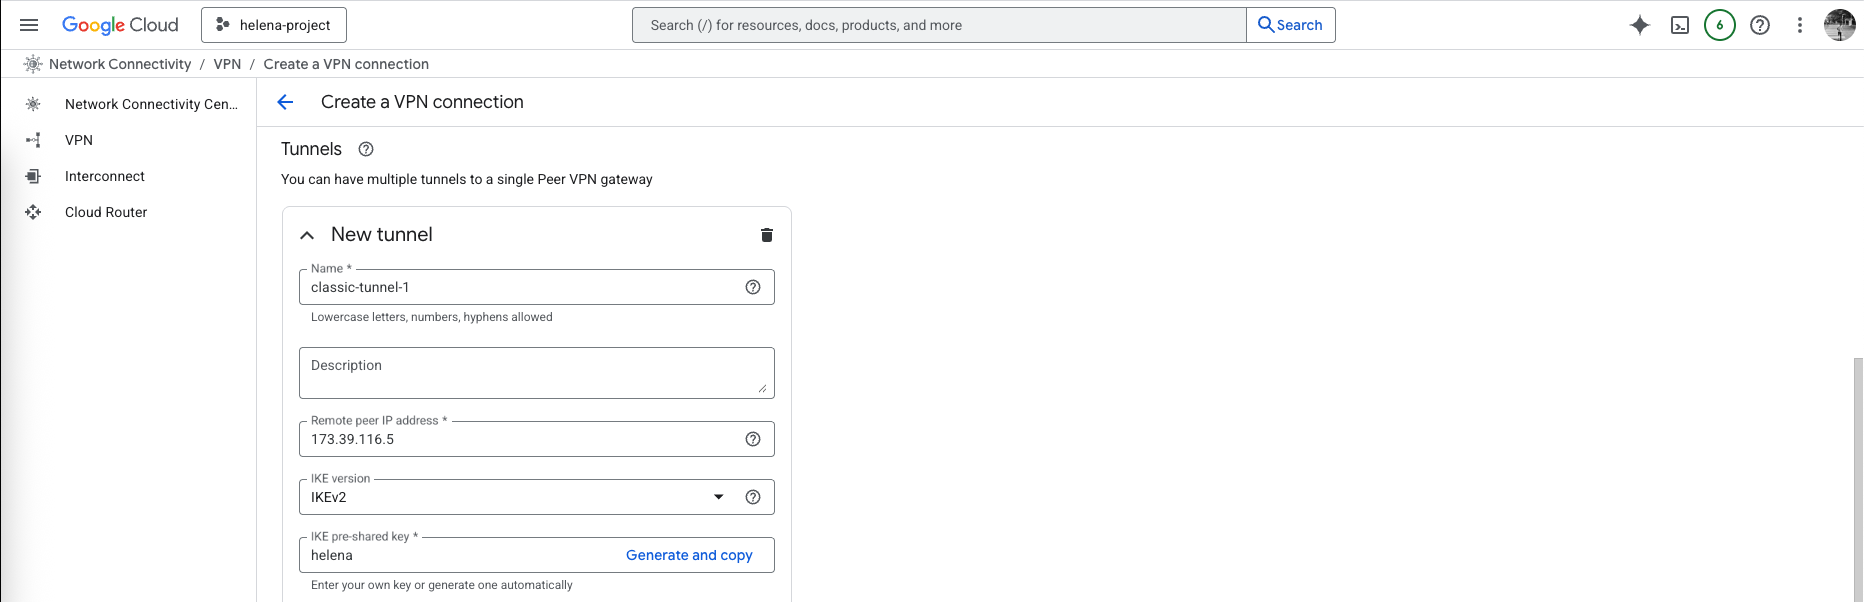
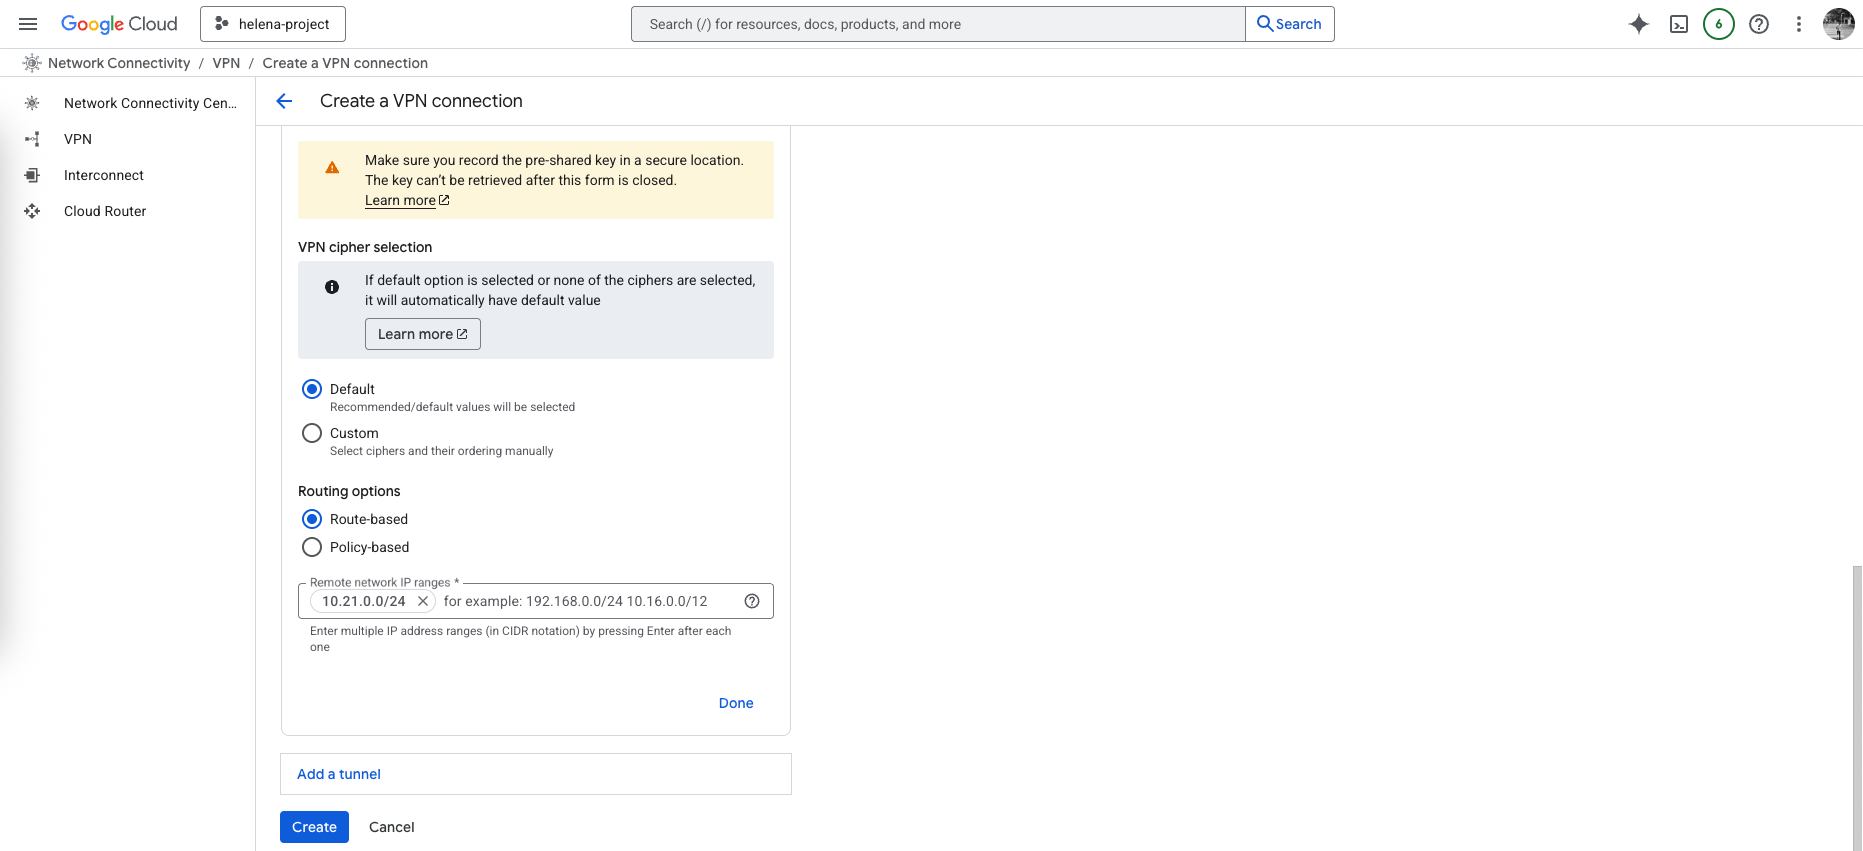
The we configure the cipher settings, we could specify the encryptions and hash settings but we’ll leave the default values for simplicity, and we select the Route based routing and enter the on-prem’s local prefix (10.21.0.0/24), then hit create.
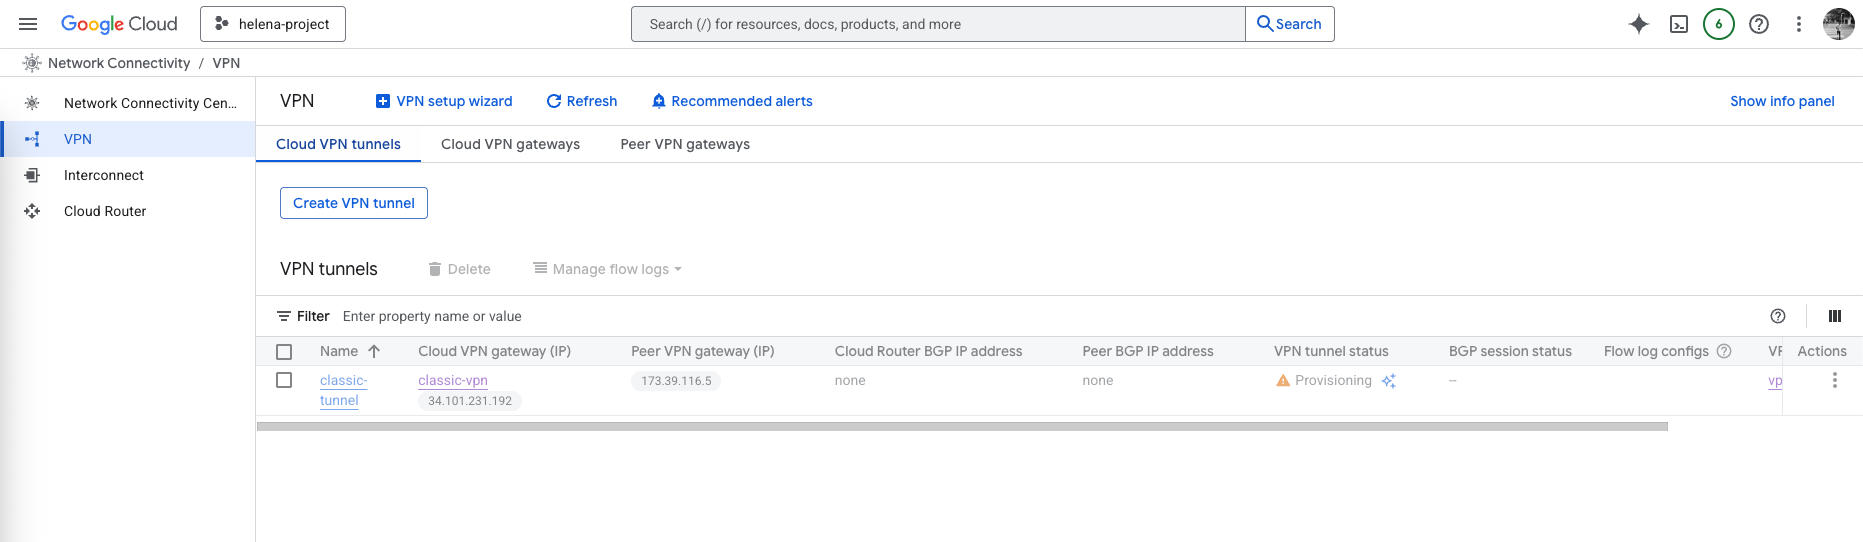
The Tunnel should be created
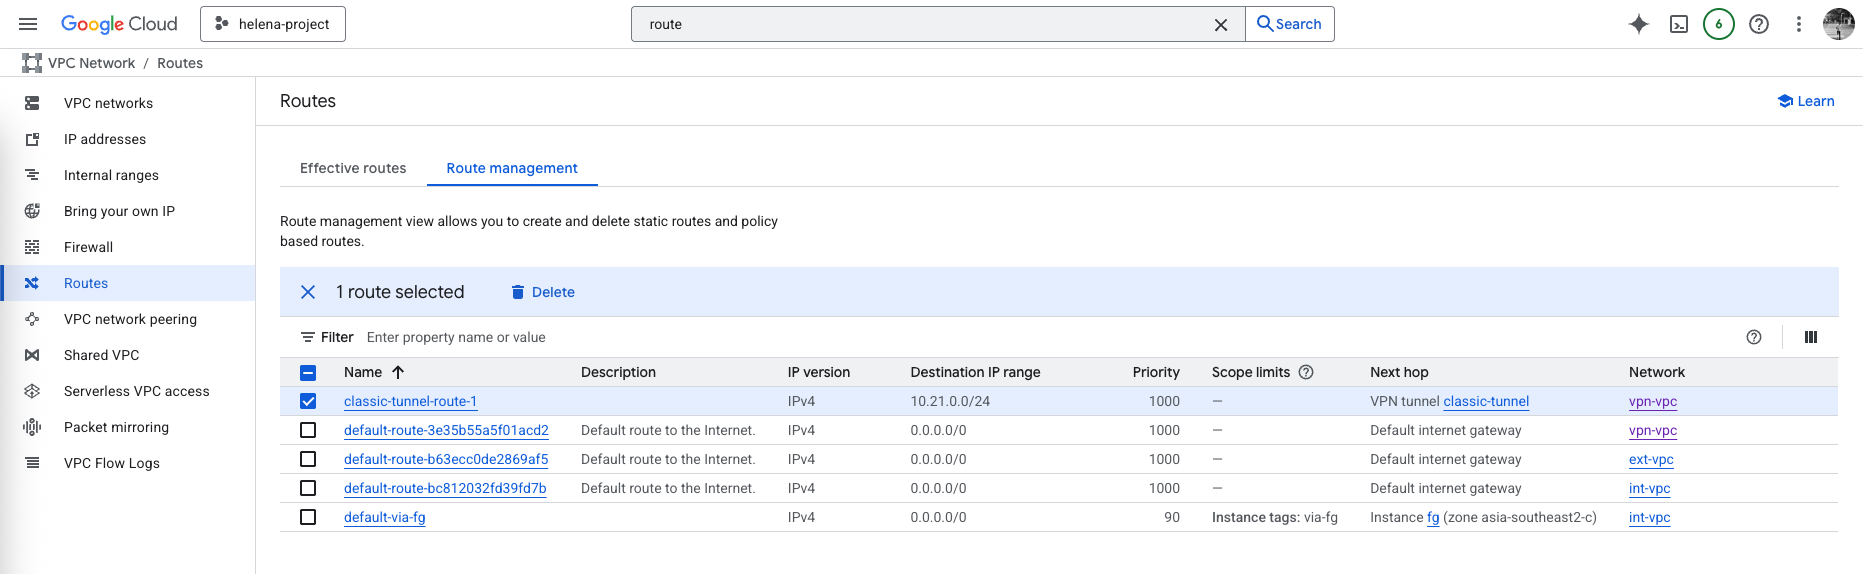
This also automatically creates a static route to 10.21.0.0/24 using the VPN as the next hop
Configuring VPN on Check Point
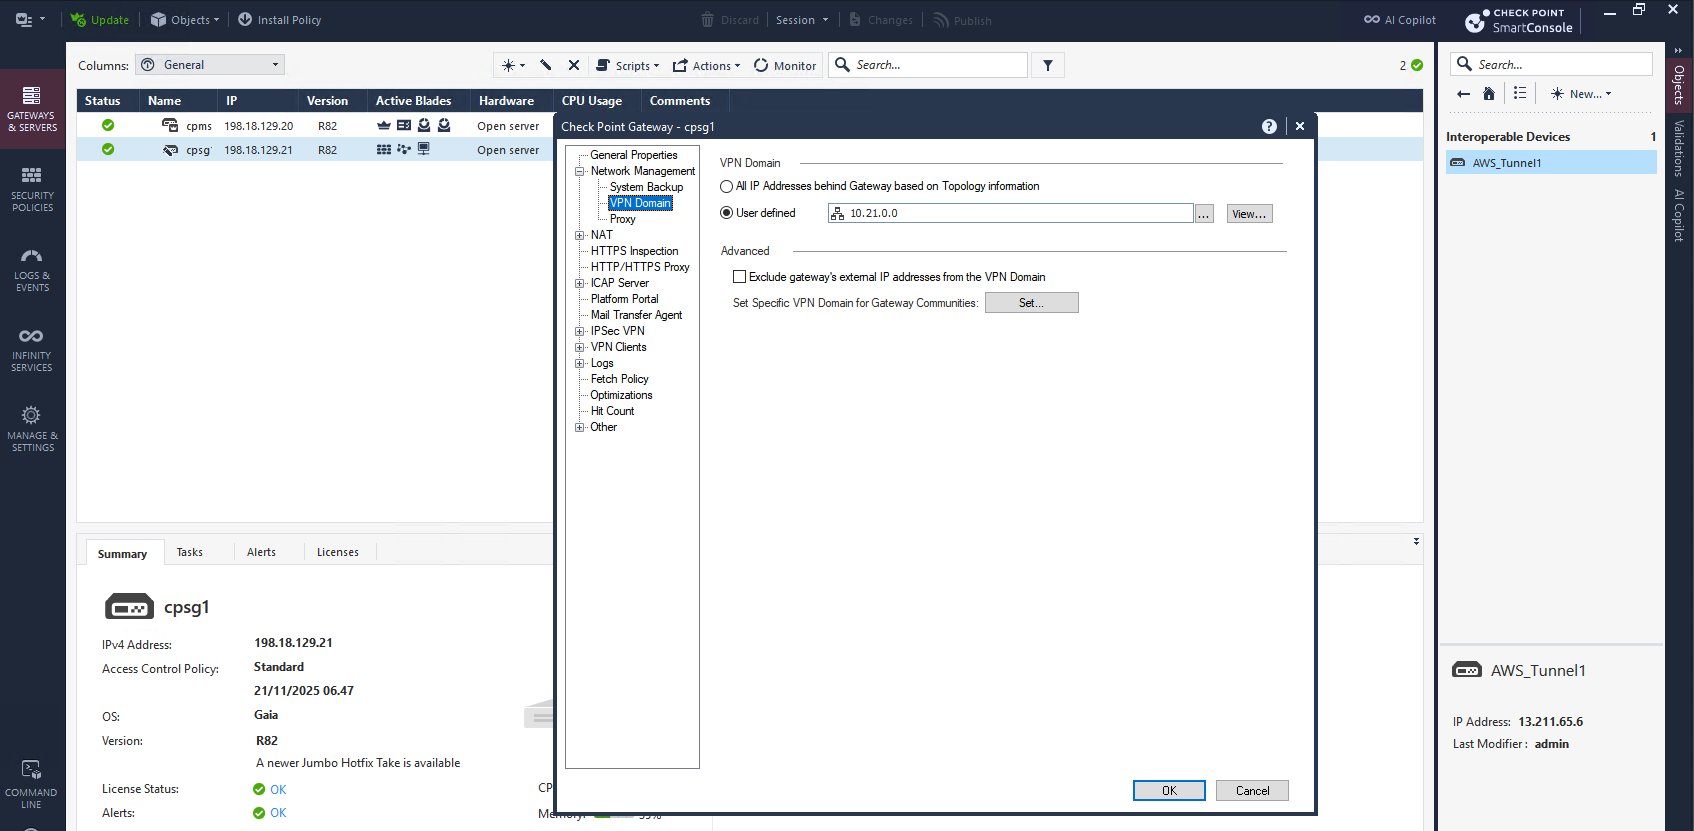
On CP side, first we enable the VPN Domain of the local subnet
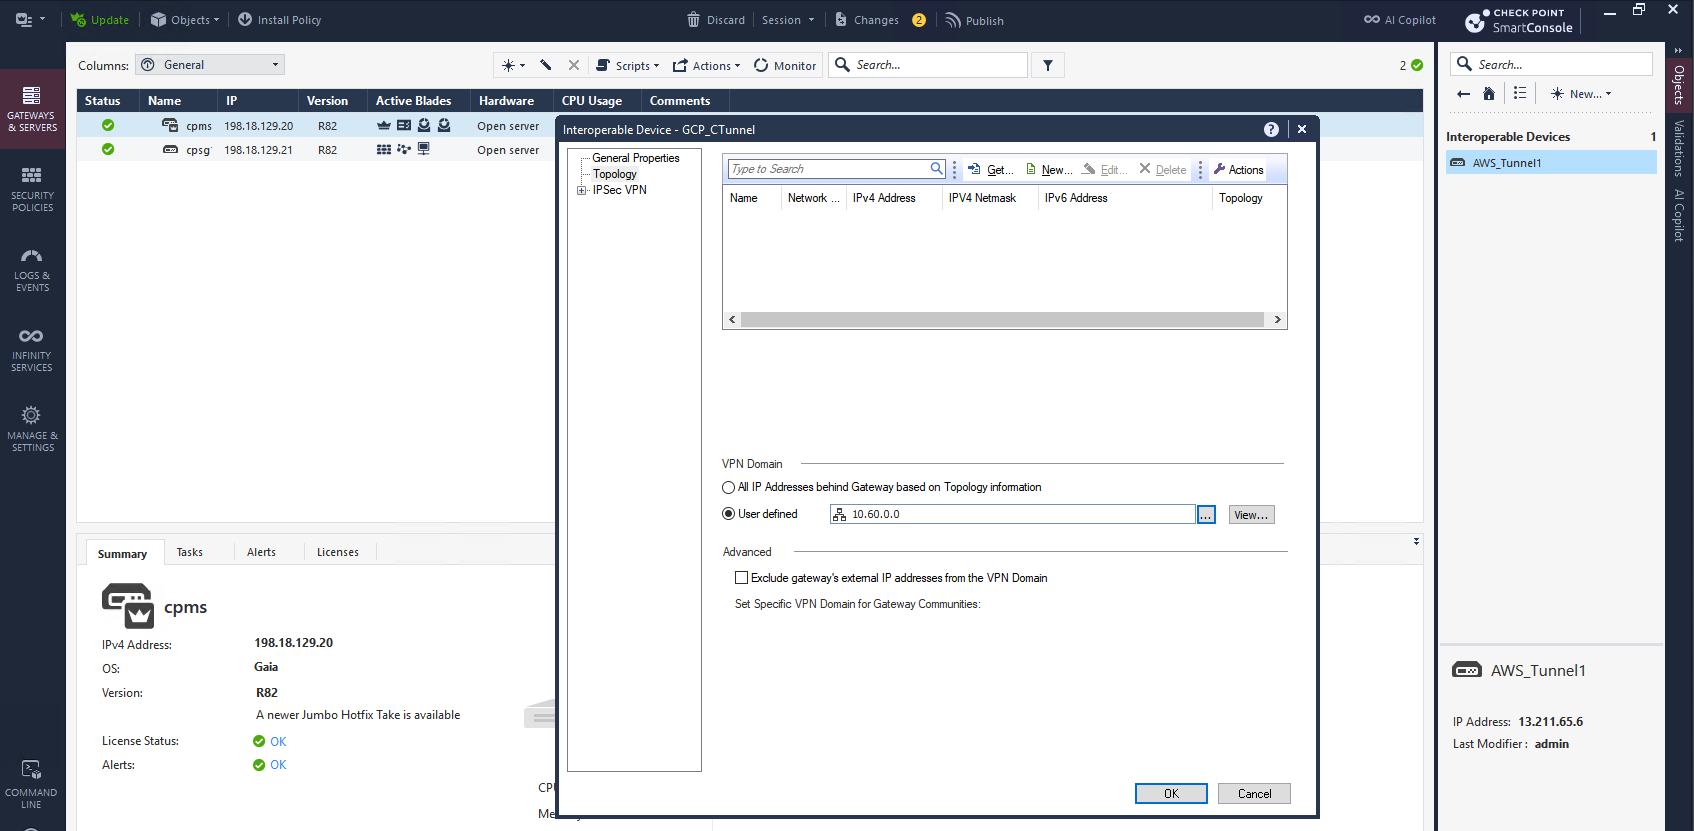
Next we create a new Interoperable Device and enter the GCP’s VPN Public IP Address that we got when creating the VPN earlier

On Topology, here we have to enter GCP’s prefix because this GCP Classic VPN doesn’t use Virtual Tunnel Interface (VTI) but rather an Encryption Domain (Policy Based VPN), where the prefix entered here will decide what destination prefix is sent through the tunnel
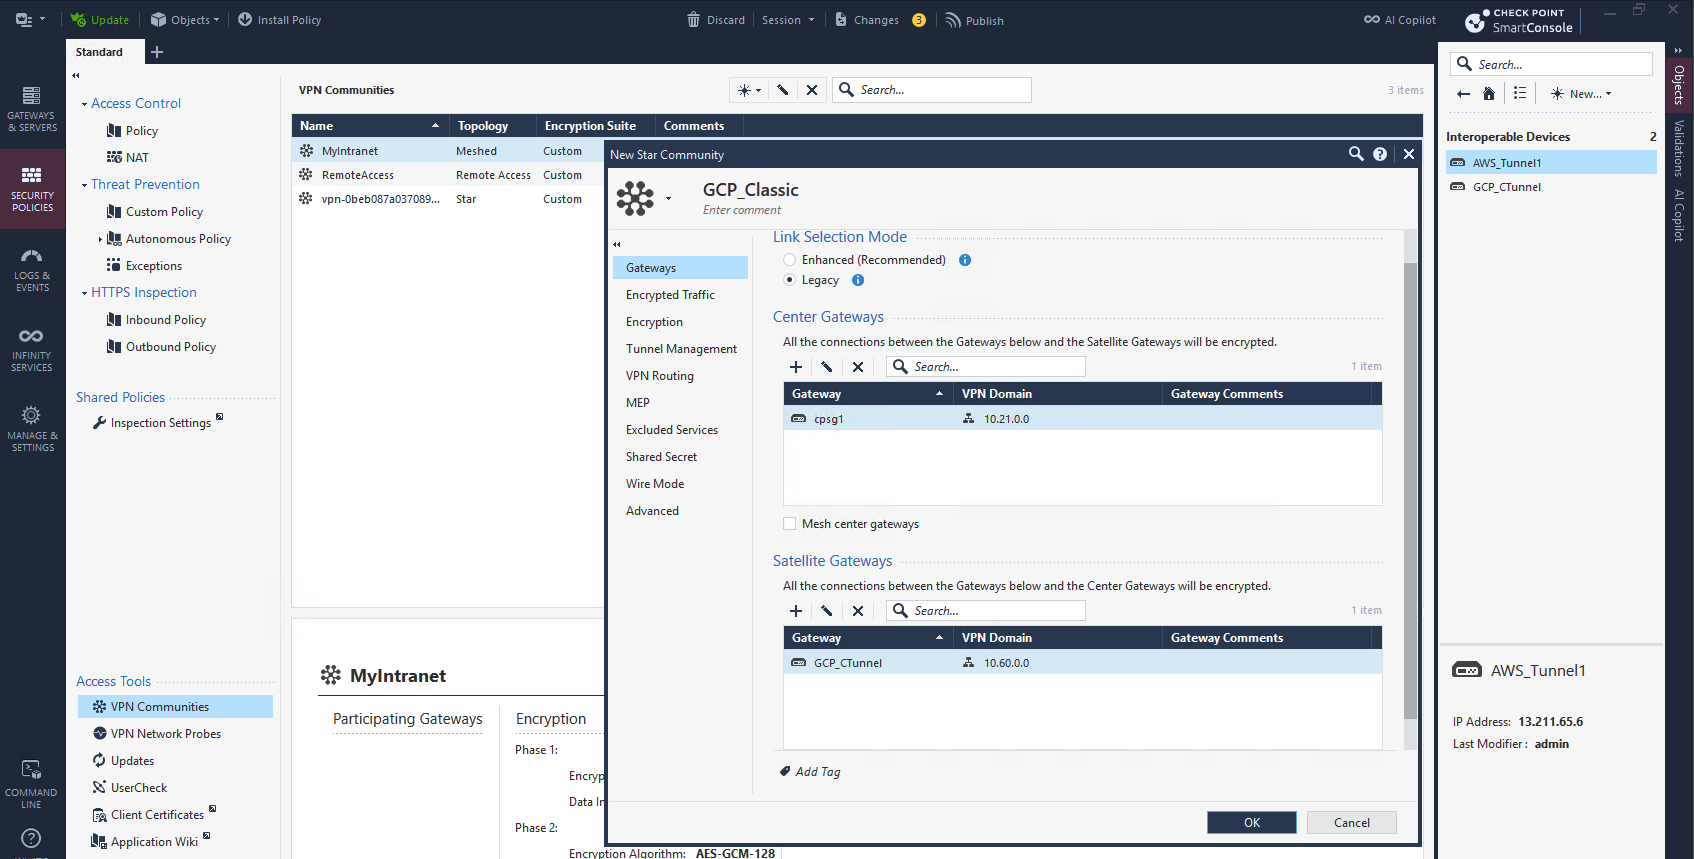
After that we create a Star VPN Community, selecting CP as Center Gateway and GCP as the Satellite Gateway
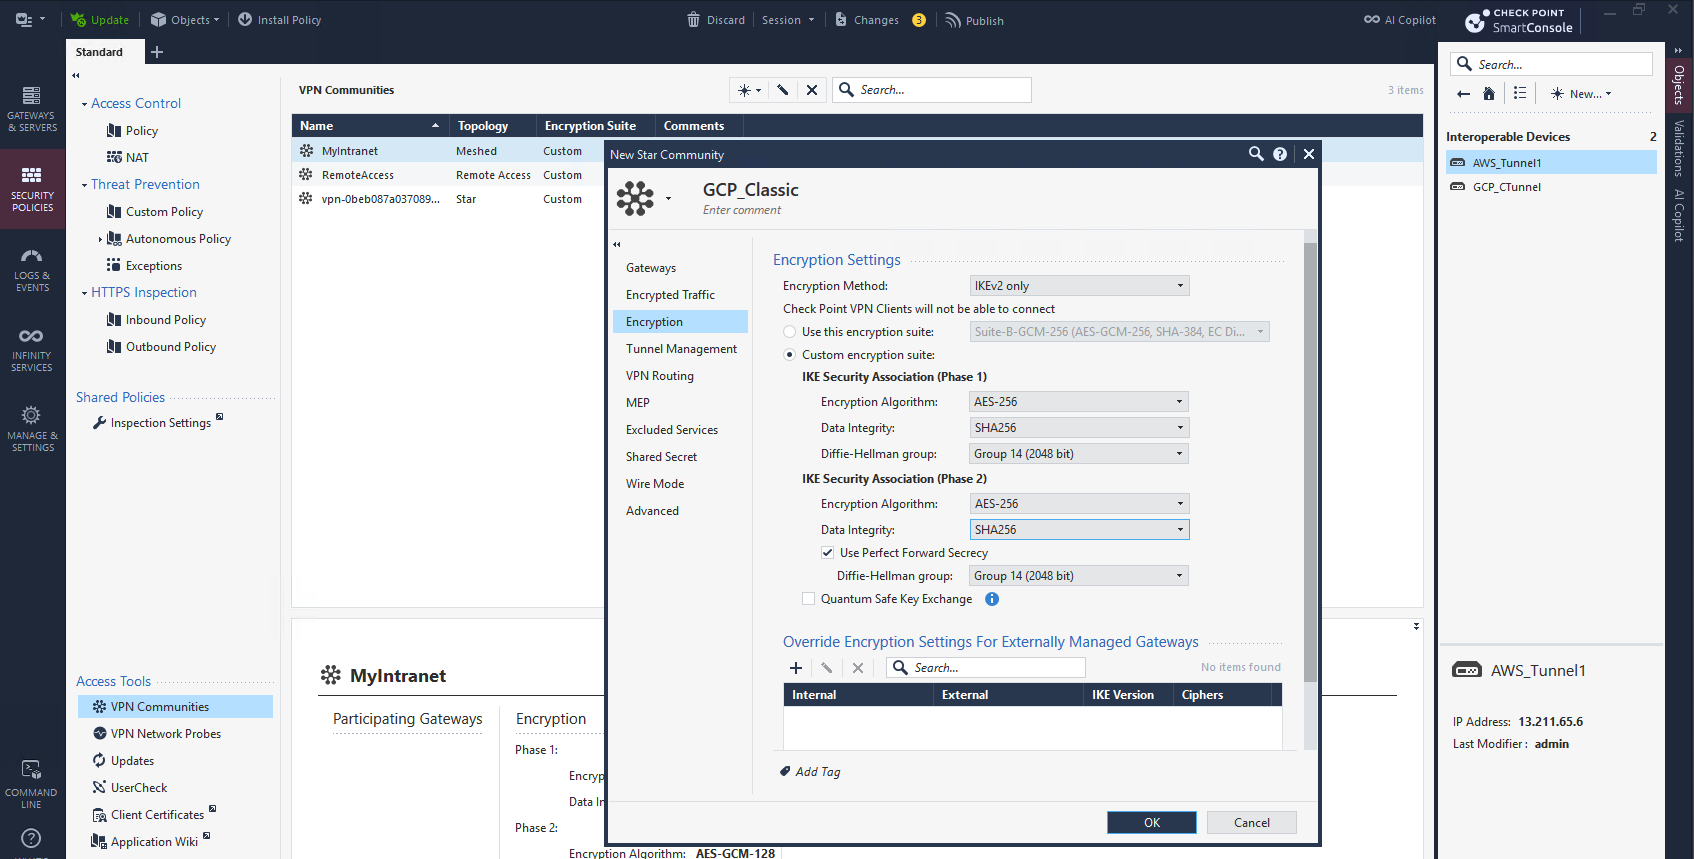
On Encryption we configure the default supported values for GCP Classic VPN
On Tunnel Management, we enable Permanent Tunnels and we select One Tunnel per Subnet

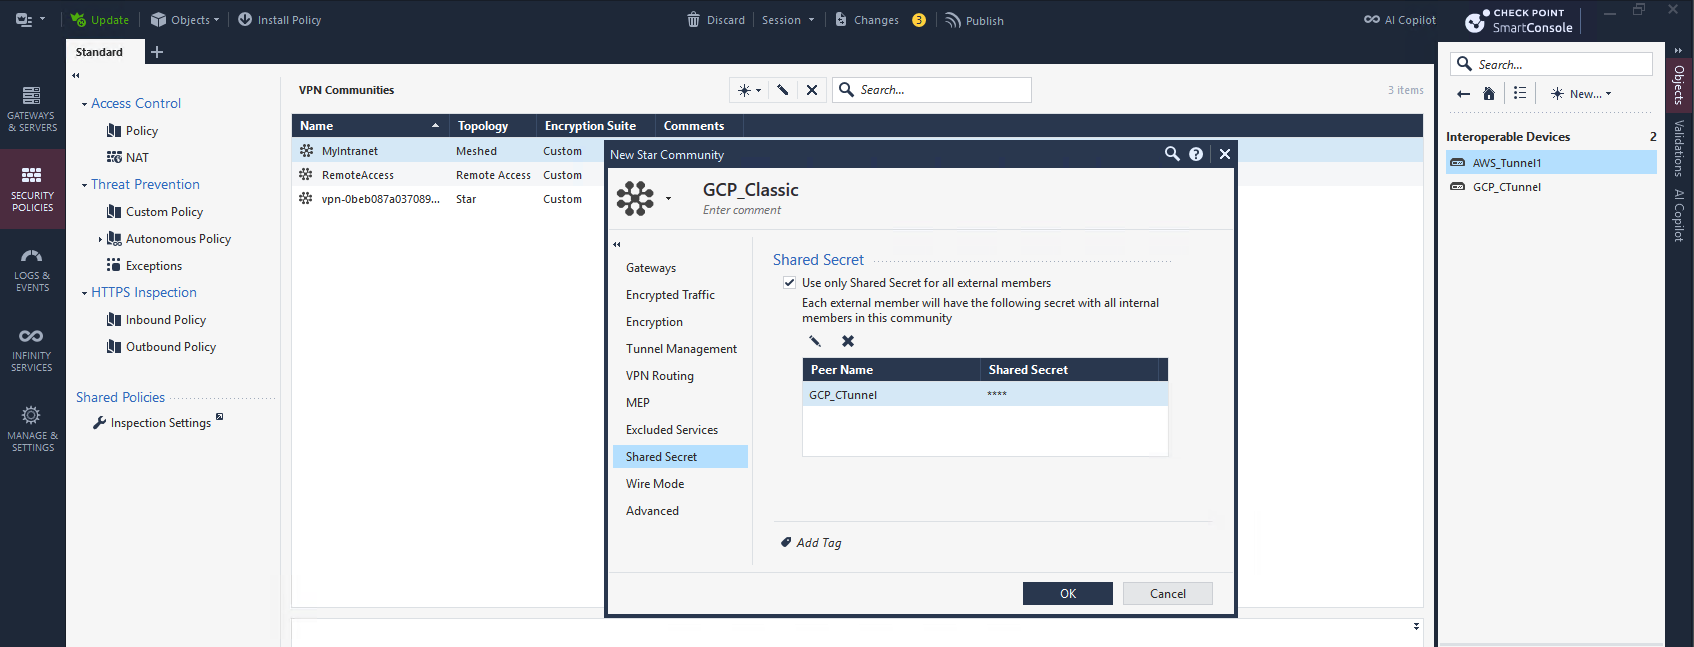
And lastly here we enter the Pre-shared Key
Finally, we create a simple policy rule to allow traffic between the two subnets and push the configurations

Verifying VPN
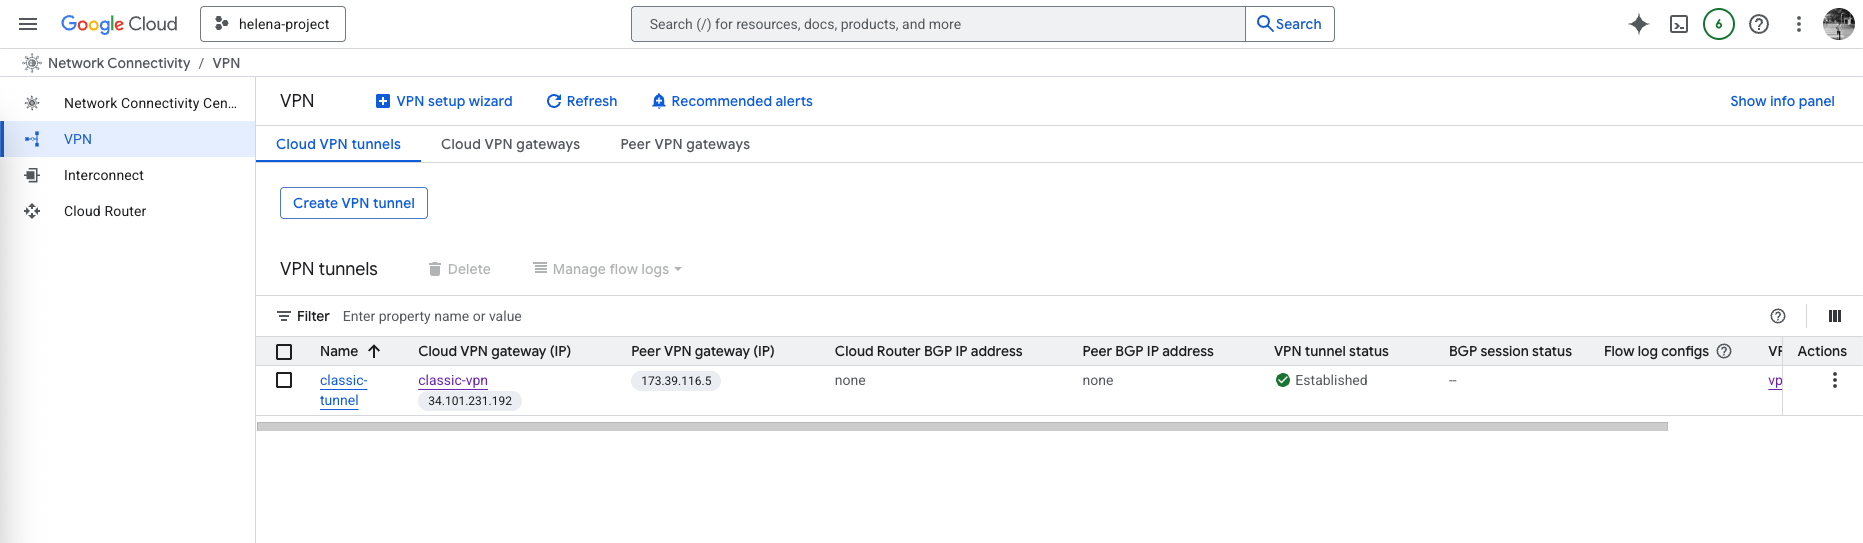
On GCP side, we can see the Tunnel is now Established
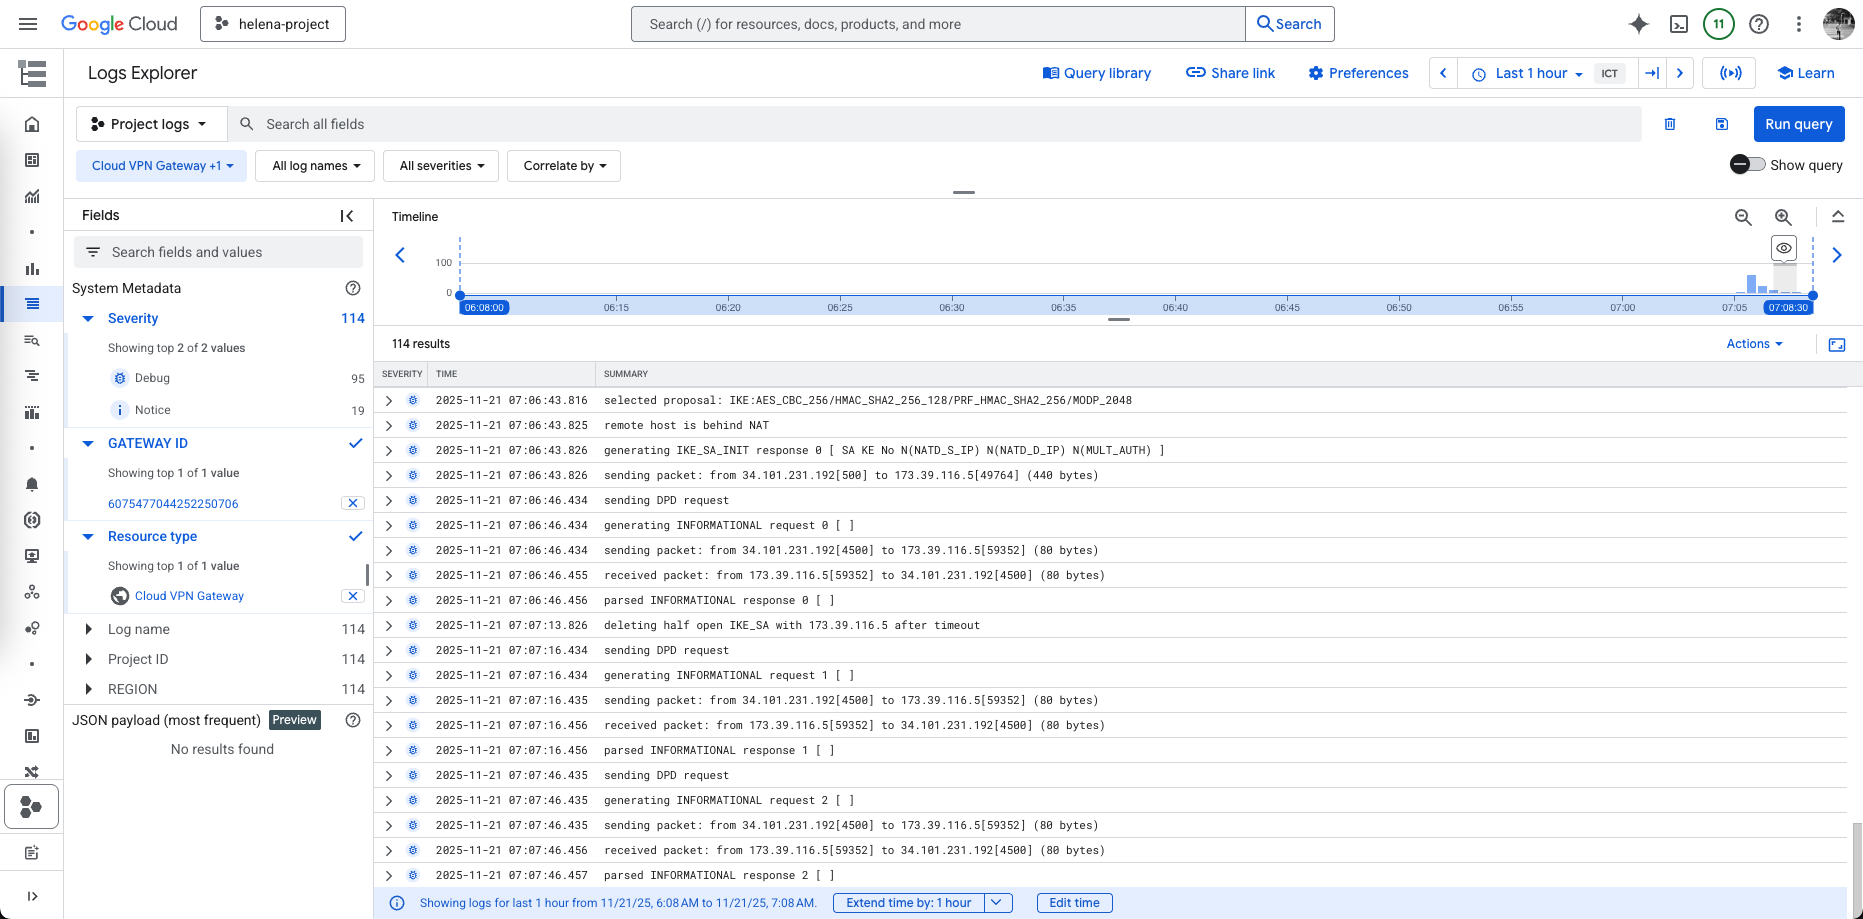
We can also see the detailed logs for the tunnel negotiation process

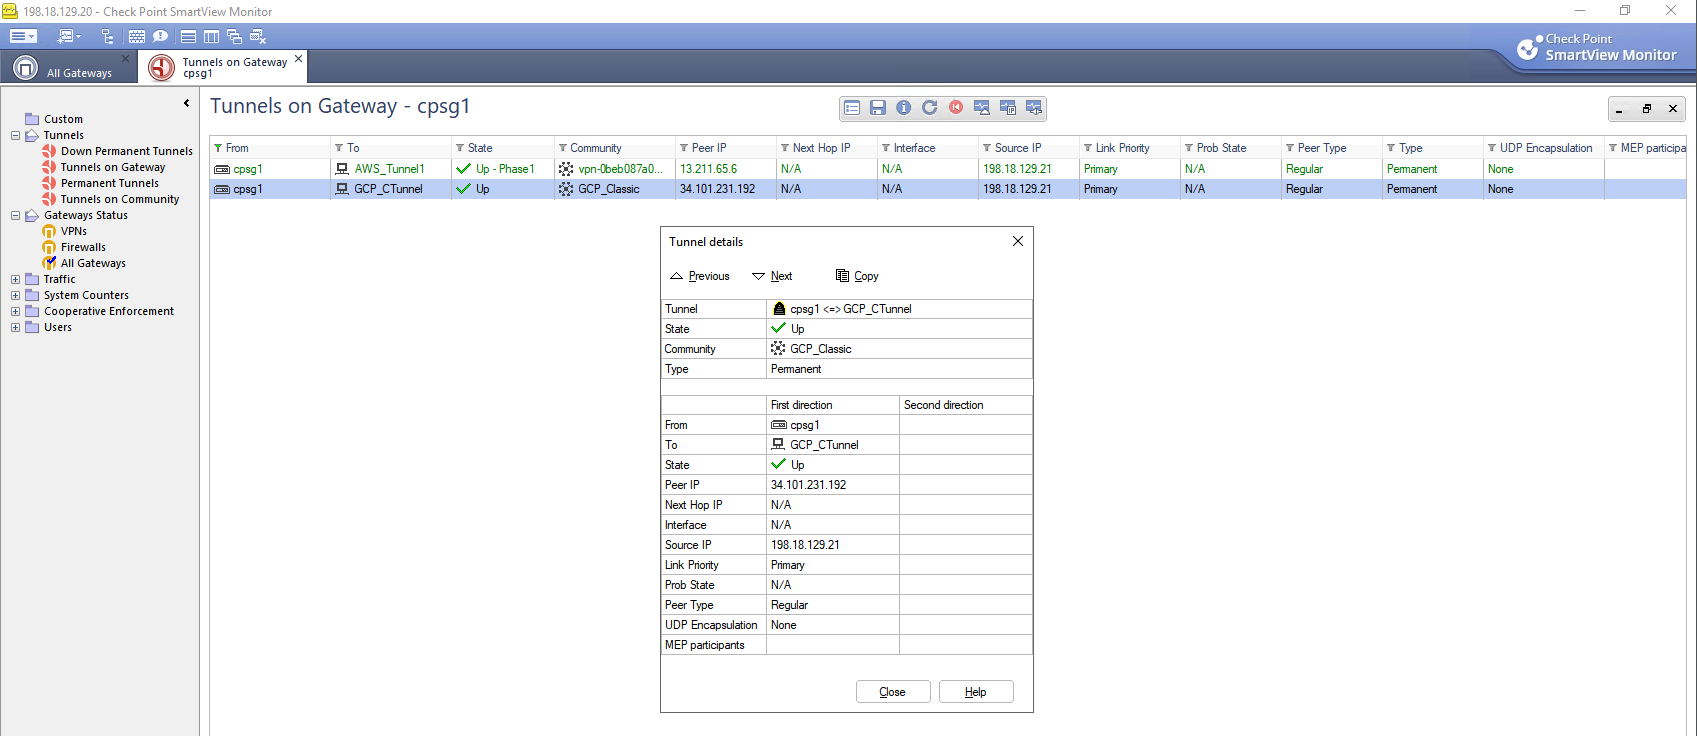
On CP side, the tunnel is also UP, verifying that this VPN setup is complete
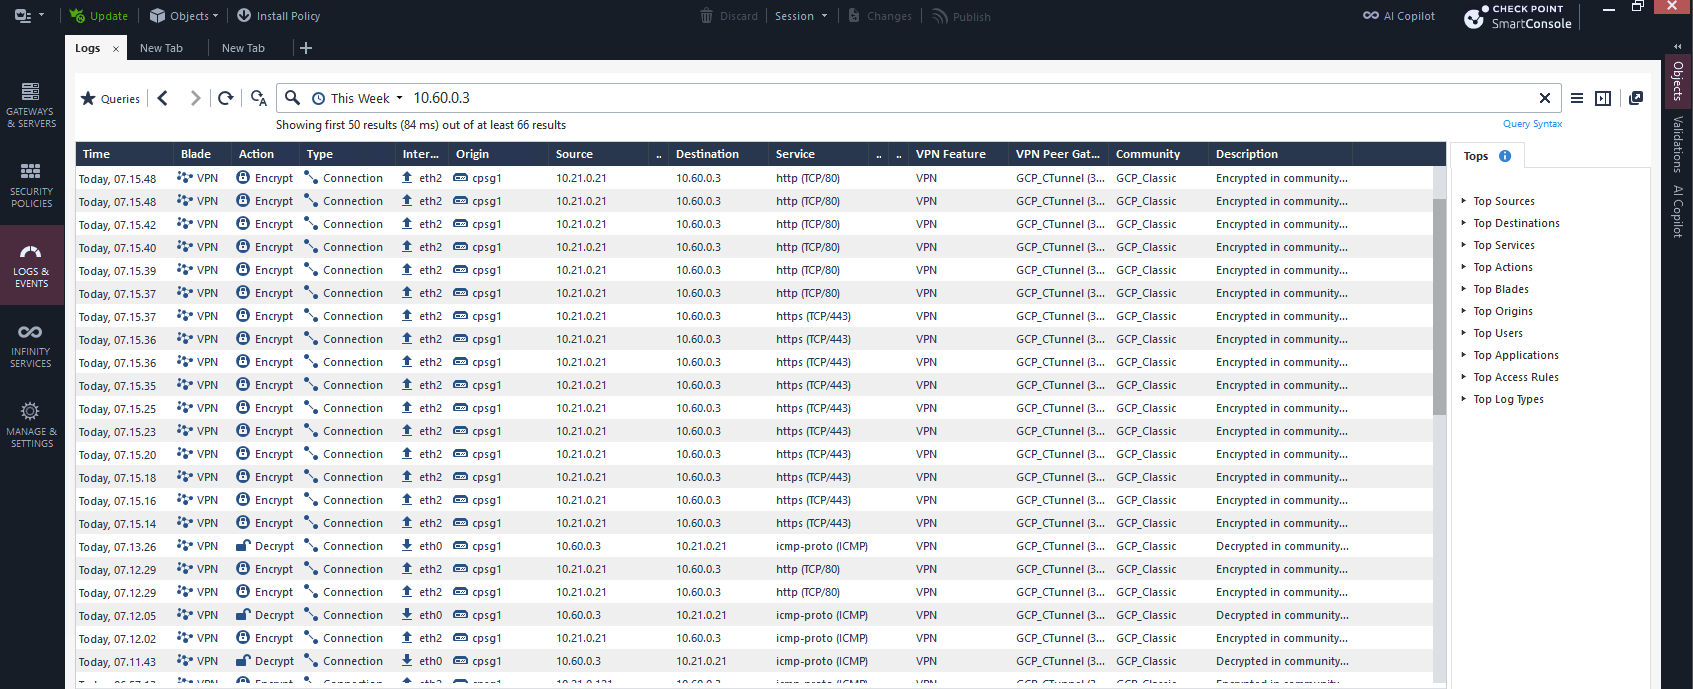
Now we can test by sending some traffic from On-prem to GCP
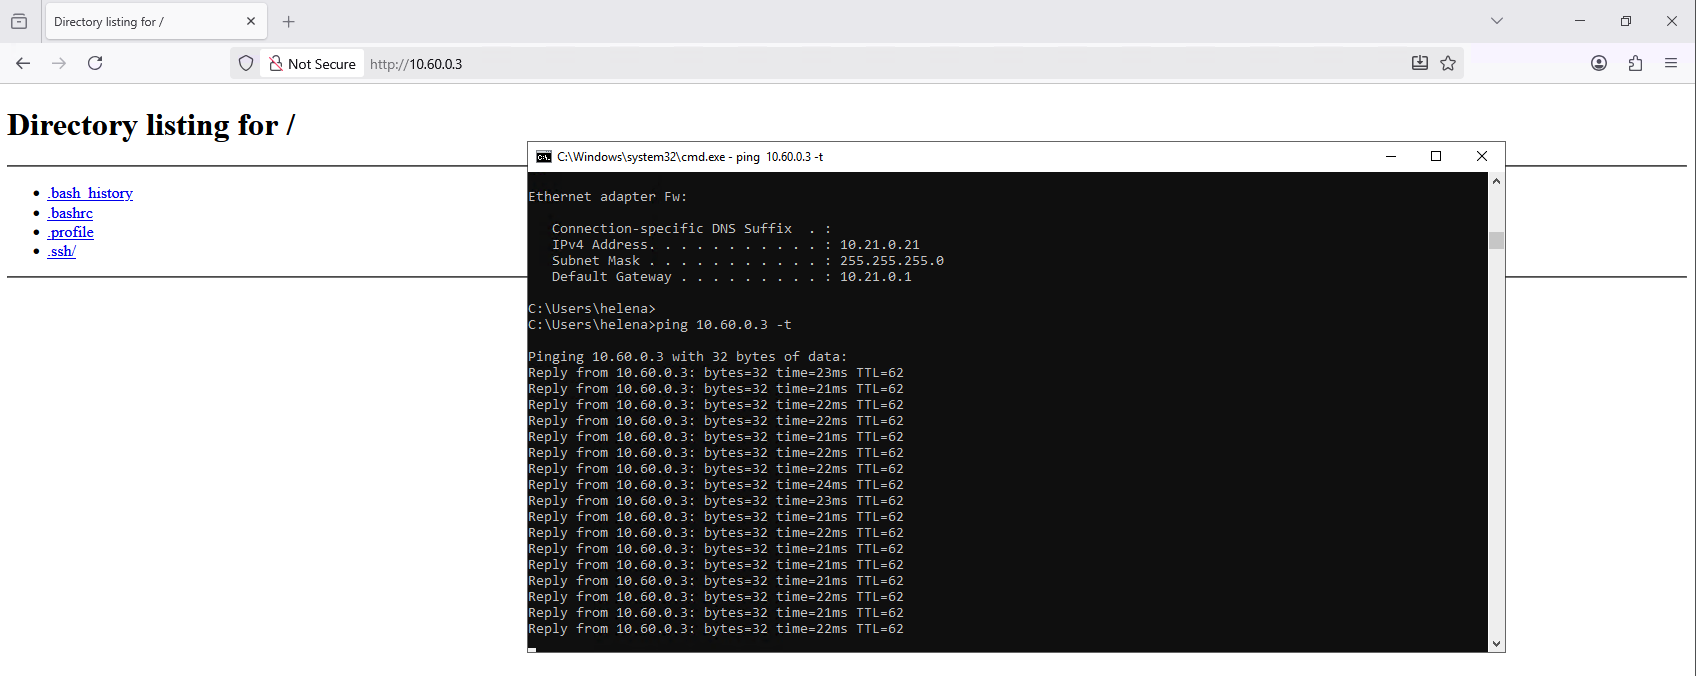
And also from GCP to On-prem

We can see the traffic going back and forth between these 2 subnets here on Check Point’s firewall logs